Disclosure: This post may contain affiliate links. If you click and buy, we may earn a commission at no extra cost to you. As an Amazon Associate, we earn from qualifying purchases.
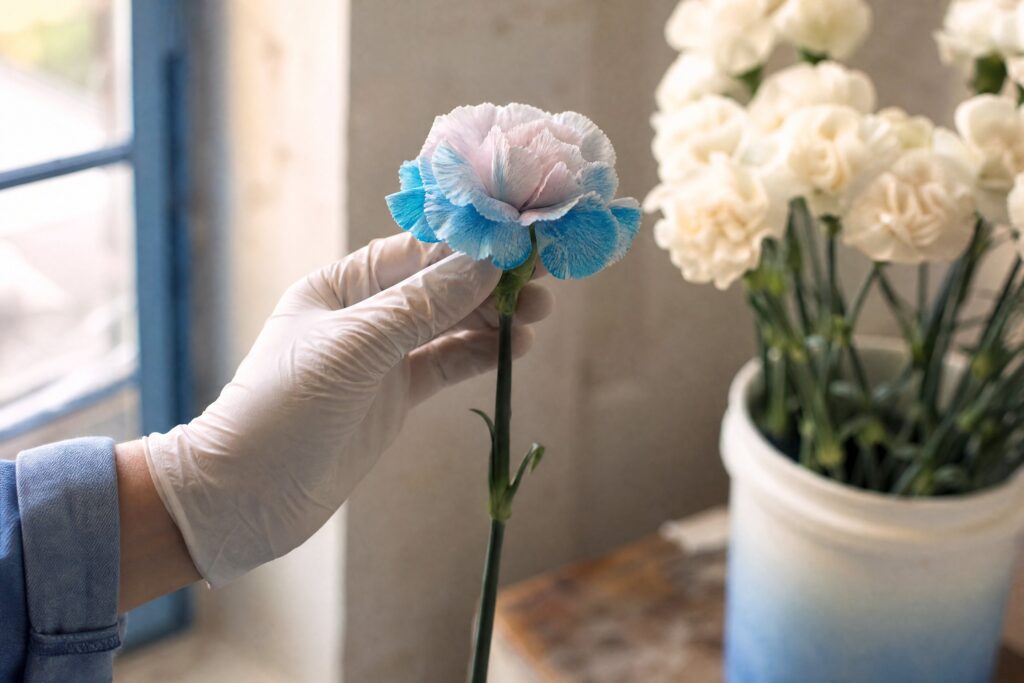
I got a question the other day from a customer who wanted deep navy blue carnations for a wedding - and she wasn’t interested in hearing that blue carnations don’t exist in nature. She wanted navy blue. So we made them navy blue.
Dyeing flowers isn’t some niche dark art. It’s a practical skill that every florist - and plenty of serious DIYers - should have in their back pocket. The trick is knowing which method to use and which products actually deliver. Read on, and I’ll walk you through exactly how we do it.
Know Your Method Before You Touch a Flower
There are three main approaches to dyeing fresh flowers: absorption (through the stem), dip-and-rinse (head-dipping), and spray tinting. Each has its place. Use the wrong one, and you’ll end up with streaky, uneven color - or worse, wilted flowers that can’t recover. In my experience, choosing the right method up front saves a lot of headaches.
Absorption Method: Color From the Inside Out

You probably learned about this in grade school - drop food coloring in a glass of water, stick a white carnation in it, and watch the petals change. The professional version of that experiment is absorption dyeing, and it scales up beautifully for larger batches.
Absorption dye works best on white or light-colored flowers that haven’t been hydrated yet. If your flowers have already been in water, you can still use it, but uptake is slower, and results are less predictable. In my experience, already-hydrated flowers are better candidates for the dip-and-rinse method.
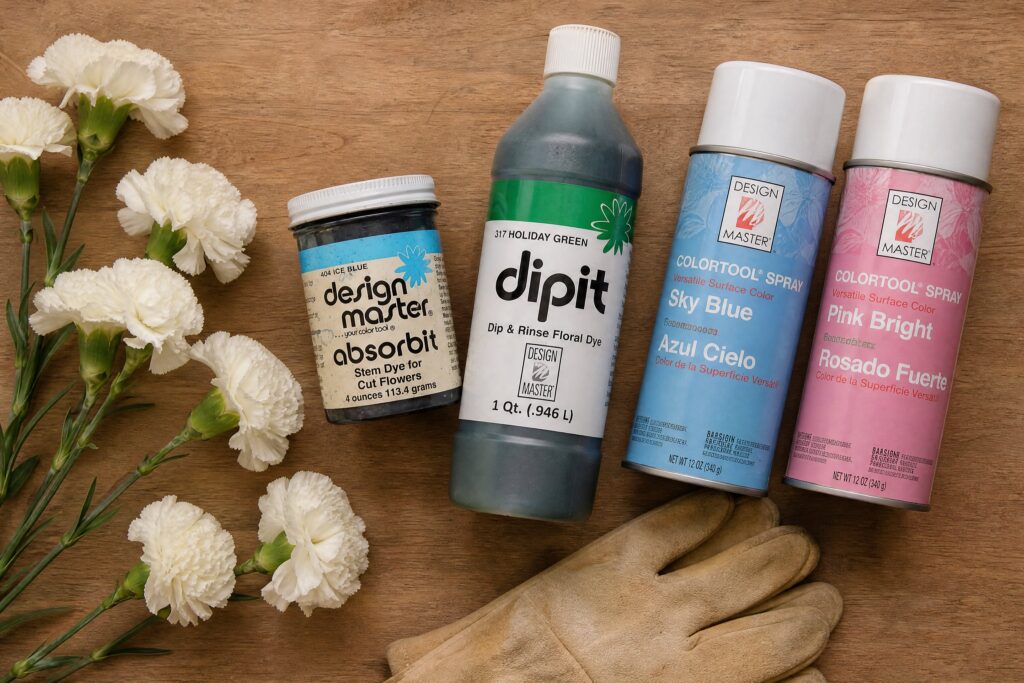
Design Master makes a professional powdered systemic dye called “Absorbit.” It’s formulated specifically for fresh flowers and comes in a solid range of colors - holiday red and green, pink, hot pink, light/medium/dark blue, teal, purple, lavender, lime, yellow, and orange.
What I use in the shop: Design Master Absorbit - it’s reliable, the color range is solid, and the powder-to-water ratio is easy to dial in once you’ve done it a few times.
Use professional-grade powdered dyes as directed. The ratios matter - too little dye and the color is washed out, too much and you get an unnatural, over-saturated look.
Honestly, though, for volume dyeing - hundreds or thousands of stems - I prefer to let the growers handle it. They have the setup, the consistency, and frankly, the time. The photo below shows what’s possible at the grower level. Those rainbow roses? Each stem is split lengthwise and placed into different dye colors simultaneously. The result is stunning, but the execution requires precision that’s hard to replicate on a shop table.
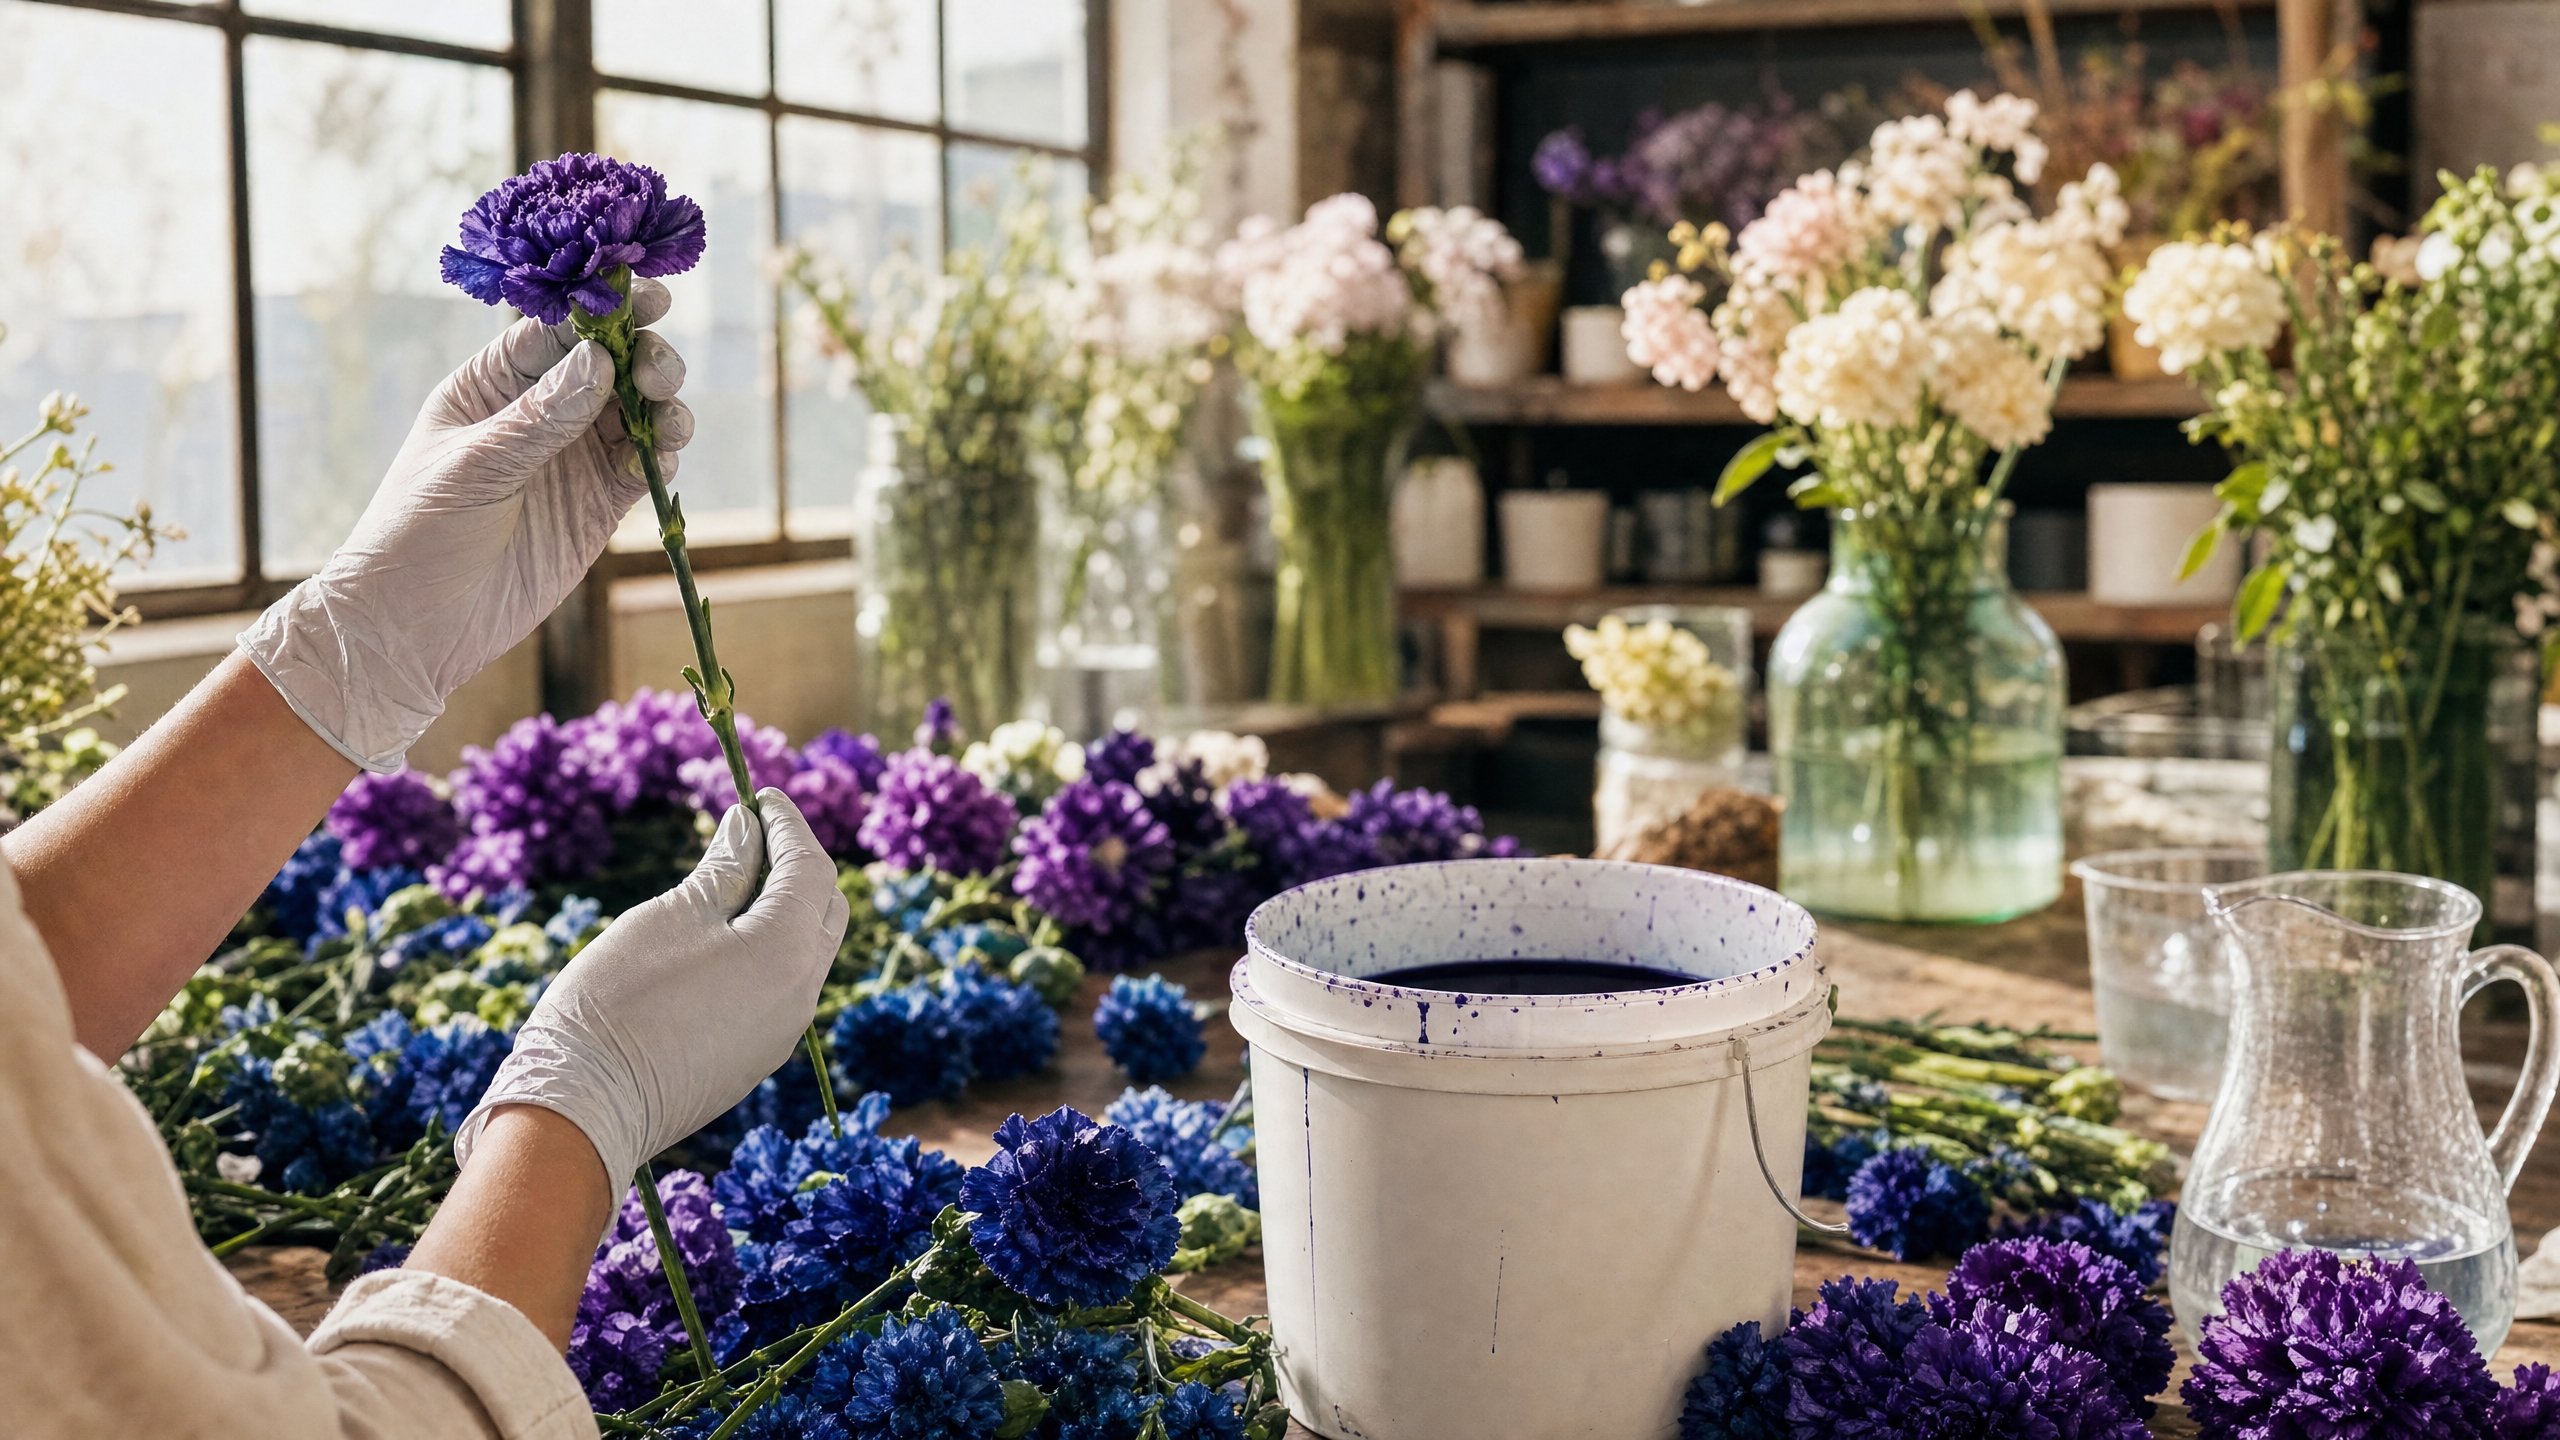
Dip-and-Rinse Method: Fast, Even, and Satisfying
This is my go-to for small-to-medium batches and for flowers that are fully or nearly open. Dip-dyeing gives you even color across the whole bloom in seconds - literally a few seconds per flower. It’s fast, clean (well, relatively clean), and easy to control.
Here’s a heads-up: Design Master’s Dipit line has been discontinued and is no longer being manufactured. You may still find remaining stock floating around on Amazon, eBay, or floral supply sites - some sellers still have bottles - but once that inventory is gone, it’s gone. Dipit was really the only professional floral dip dye on the market, so this is a genuine gap. For now, if you need this technique, stock up while you still can.
The dip-and-rinse process itself is straightforward:
- Fill one bucket with the dye solution, another with clean water.
- Swish the flower heads in the dye - about two seconds is enough.
- Lightly shake off excess dye, then dip quickly into the clean rinse water.
- Repeat the rinse if the color reads too dark - rinsing lightens it.
- Shake off water gently, then place stems in a fresh bucket of water with flower food.
- Allow to dry completely before refrigerating or using in designs.
Carnations, roses, hydrangeas, and baby’s breath all respond beautifully to this method. One tip: funnel any unused dye back into the bottle. A quart of Dipit can last for years when stored properly.
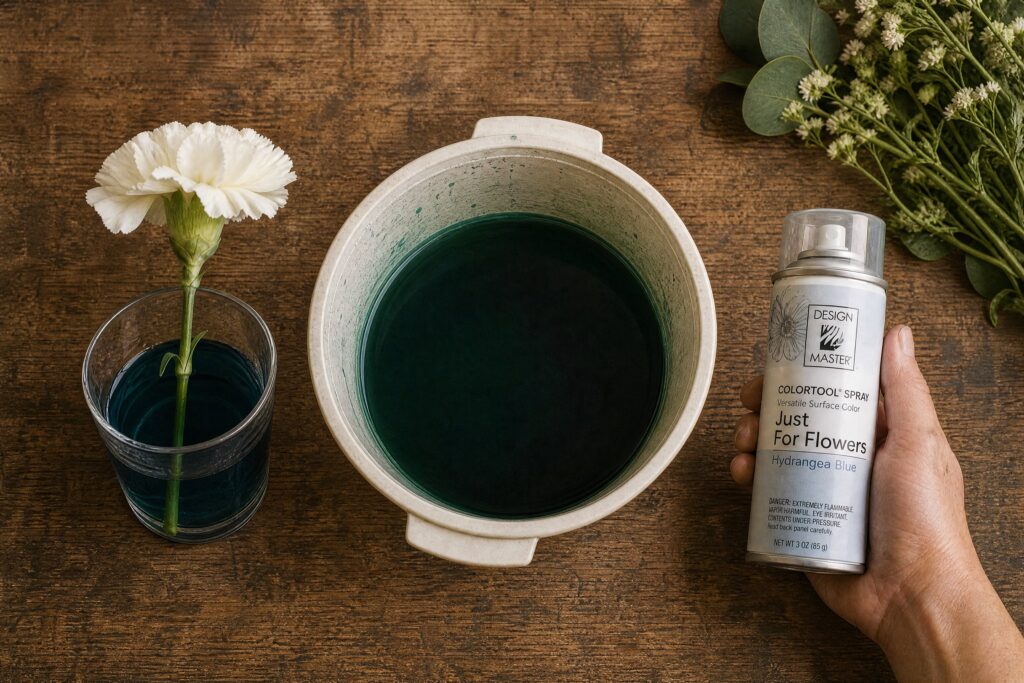
Spray Tinting: The Everyday Color Tool
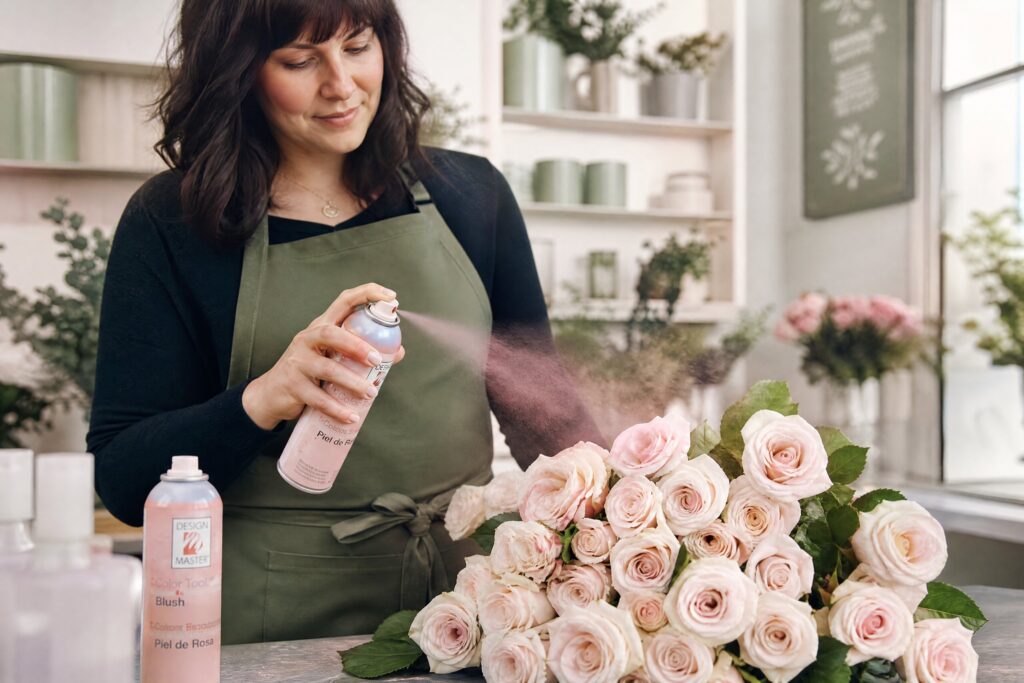
Spray tinting - sometimes called color shifting - is different from the other two methods. You’re not changing a flower’s base color. You’re enhancing it, brightening it, or nudging it in a new direction with a translucent spray.
This has become our primary color tool in the shop. A lot of flowers today arrive pre-tinted at the grower level, but the color isn’t always exactly what I ordered or what the client approved. Spray tinting bridges that gap in minutes.
Design Master’s “Just for Flowers” line is the professional standard here - translucent, water-based, formulated for fresh flowers. And as a bonus, they’re also anti-transpirants, which means they help seal moisture in the petals. That’s not nothing when you’re working on an event installation.
What I use in the shop: Design Master Just for Flowers spray dye - we go through these regularly. The color accuracy is excellent, and they’re forgiving enough that even newer staff can use them without wrecking a batch of flowers.
This video clip gives a solid overview of the color-shifting process - worth a watch before you dive in.
Where to Find Professional Floral Dyes
Design Master commercial dyes are primarily distributed through wholesale floral suppliers - that’s who gets priority from the manufacturer. If you have a wholesale account, start there. They’ll have current inventory and can tell you what’s available.
For retail buyers, you can find several Design Master products on Amazon - including Just for Flowers spray dye and Absorbit powdered dye. As noted above, Dipit is no longer in production - any bottles you find are remaining stock from existing supply chains.
One thing worth clarifying: Design Master also makes a line called Color Tools. Those are regular spray paints, not floral dyes. They’re used on dried or artificial materials, not fresh flowers. Make sure you’re grabbing the right product.
Don’t Skip the Test Run
I say this to everyone new to flower dyeing: test before you commit. Try your method on a handful of flowers first. Color uptake varies with the flower variety, the hydration stage, ambient temperature, and the dye concentration. A quick test saves you from ruining fifty stems an hour before a delivery.
Also - and this should go without saying, but apparently it doesn’t - fabric dye is not floral dye. Fabric dyes work great on silk flowers. When used on fresh flowers, they can damage the petals. Use products formulated for the material you’re working with.
Protect Yourself (and Your Workspace)
Floral dyes stain. They stain your hands, your clothes, your tables, and pretty much anything else they touch. Wear gloves. Cover your work surface. That advice sounds basic, but I’ve learned it the hard way more than once.
When using spray dyes, work in a well-ventilated space. The dye ingredients aren’t toxic, but the propellants in aerosol cans can be irritants when inhaled in an enclosed space. Open a window. Turn on a fan. Your lungs will thank you.
Dispose of Dye the Right Way
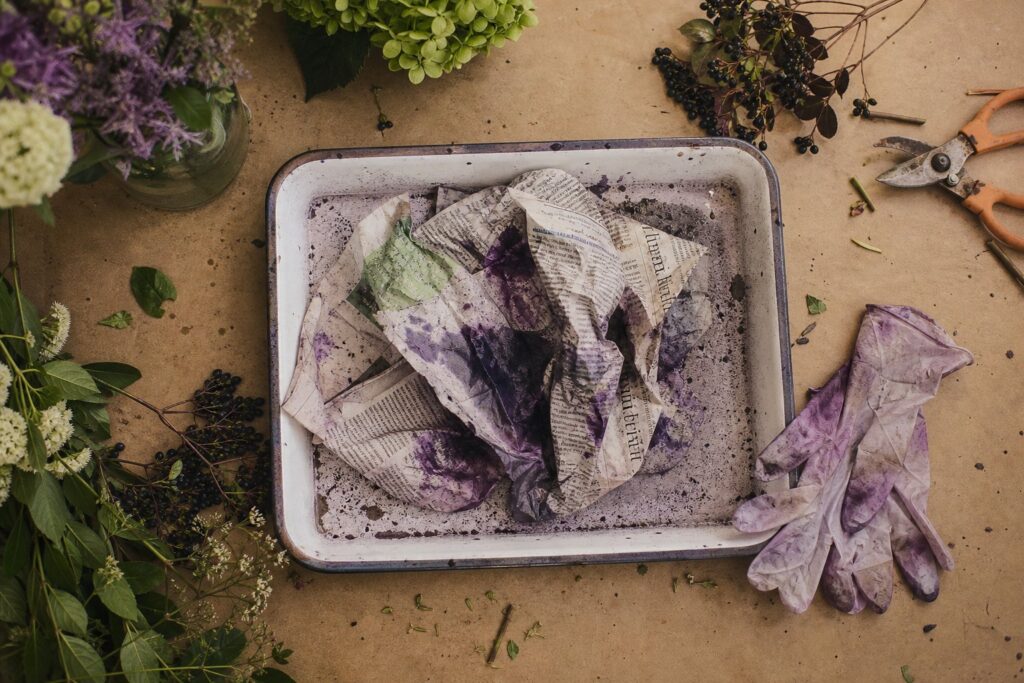
Here’s something most tutorials skip right over: don’t pour leftover dye down the drain. Floral dyes are non-toxic, but they carry strong pigment that can cause problems further down the water treatment system. We learned this lesson locally - several of our wholesale partners stopped in-house dyeing operations after receiving a warning from the Wisconsin DNR.
What to do instead: absorb the remaining dye into newspaper, sawdust, or wood chips, then toss it in the regular trash. That’s what we do in the shop. It’s simple, it’s responsible, and it keeps you on the right side of your local environmental regulations.
Frequently Asked Questions About Dyeing Flowers
How Long Does It Take for Flowers to Dry After Being Dyed?
It varies by method and flower type, but expect anywhere from a few minutes to several hours for dip-dyed or spray-dyed flowers. To speed things up, move them to a cool, low-humidity space after dyeing. Don’t refrigerate until they’re fully dry - condensation in the cooler will cause the dye to run.
Can You Dye Flowers Without a Commercial Dye?
Sure - but I wouldn’t recommend it for anything client-facing. Food coloring works in a pinch through the absorption method; just add a few drops to warm water and let the stems drink it up. The results are subtle and inconsistent compared to professional dyes, but it’ll do for a personal project.
Natural options like beet juice or turmeric will give you soft, earthy tones and they’re obviously chemical-free - which some people appreciate. Just don’t expect vibrant, saturated results. These are great for home experiments, not for a bride who has a very specific Pantone color in mind.
Which Flowers Take Dye the Best?
Carnations are the gold standard - they absorb dye beautifully and hold the color well. White roses, hydrangeas, and baby’s breath also respond very well. Flowers with thick, waxy petals or very dense heads (like some dahlias) can be trickier to get even color on. Start with carnations if you’re new to this.
Is Design Master Dipit Still Available?
Design Master has discontinued the Dipit line - it’s no longer in production. You may still find remaining stock from online sellers on Amazon or eBay while supplies last, but new inventory won’t be coming. Stock up if you find it.
Closing Thoughts
Flower dyeing is one of those skills that sounds more intimidating than it actually is. Once you understand which method fits the situation - absorption for batches, spray for color corrections, dip-and-rinse for quick, even coverage - it becomes second nature. The loss of Dipit is a real inconvenience for florists who relied on it, and I won’t pretend otherwise. But Absorbit and the Just for Flowers spray line are still going strong, and they’ll carry you a long way.
If you’ve used any of these methods in your shop or at home, drop a comment below - I’d love to hear how it went for you. Now go make something beautiful. Begin planting those seeds of creativity today, and I have no doubt your designs will bloom.
Til next time,