Disclosure: This post may contain affiliate links. If you click and buy, we may earn a commission at no extra cost to you. As an Amazon Associate, we earn from qualifying purchases.
I got a call a while back from a bride-to-be who was in full panic mode. She’d picked up beautiful hydrangeas for her centerpieces the morning before the wedding, left them sitting out on her kitchen counter, and by that evening they were drooping like they’d given up on life entirely. She wanted to know if there was anything she could do to save them.
There was - but it reminded me that a lot of people, even experienced DIYers, don’t know the basics of how to handle cut hydrangeas. These blooms are a little more demanding than your average flower. Treat them right and they’ll last well over a week. Skip a step and they’ll wilt before your guests arrive.
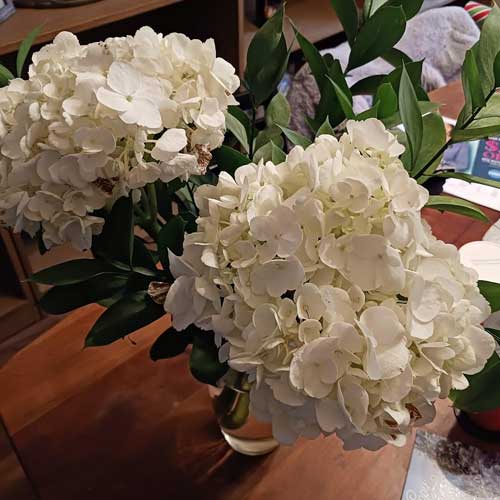
Fresh-cut hydrangeas are one of my favorite flowers for large-scale arrangements - especially weddings and events - because of their big, showy blooms. But that beauty comes with a catch: they are notoriously thirsty, and any interruption in their water supply shows up fast.
In this guide, I’ll walk you through exactly how to process, hydrate, and revive cut hydrangeas so you can get the most out of every stem.
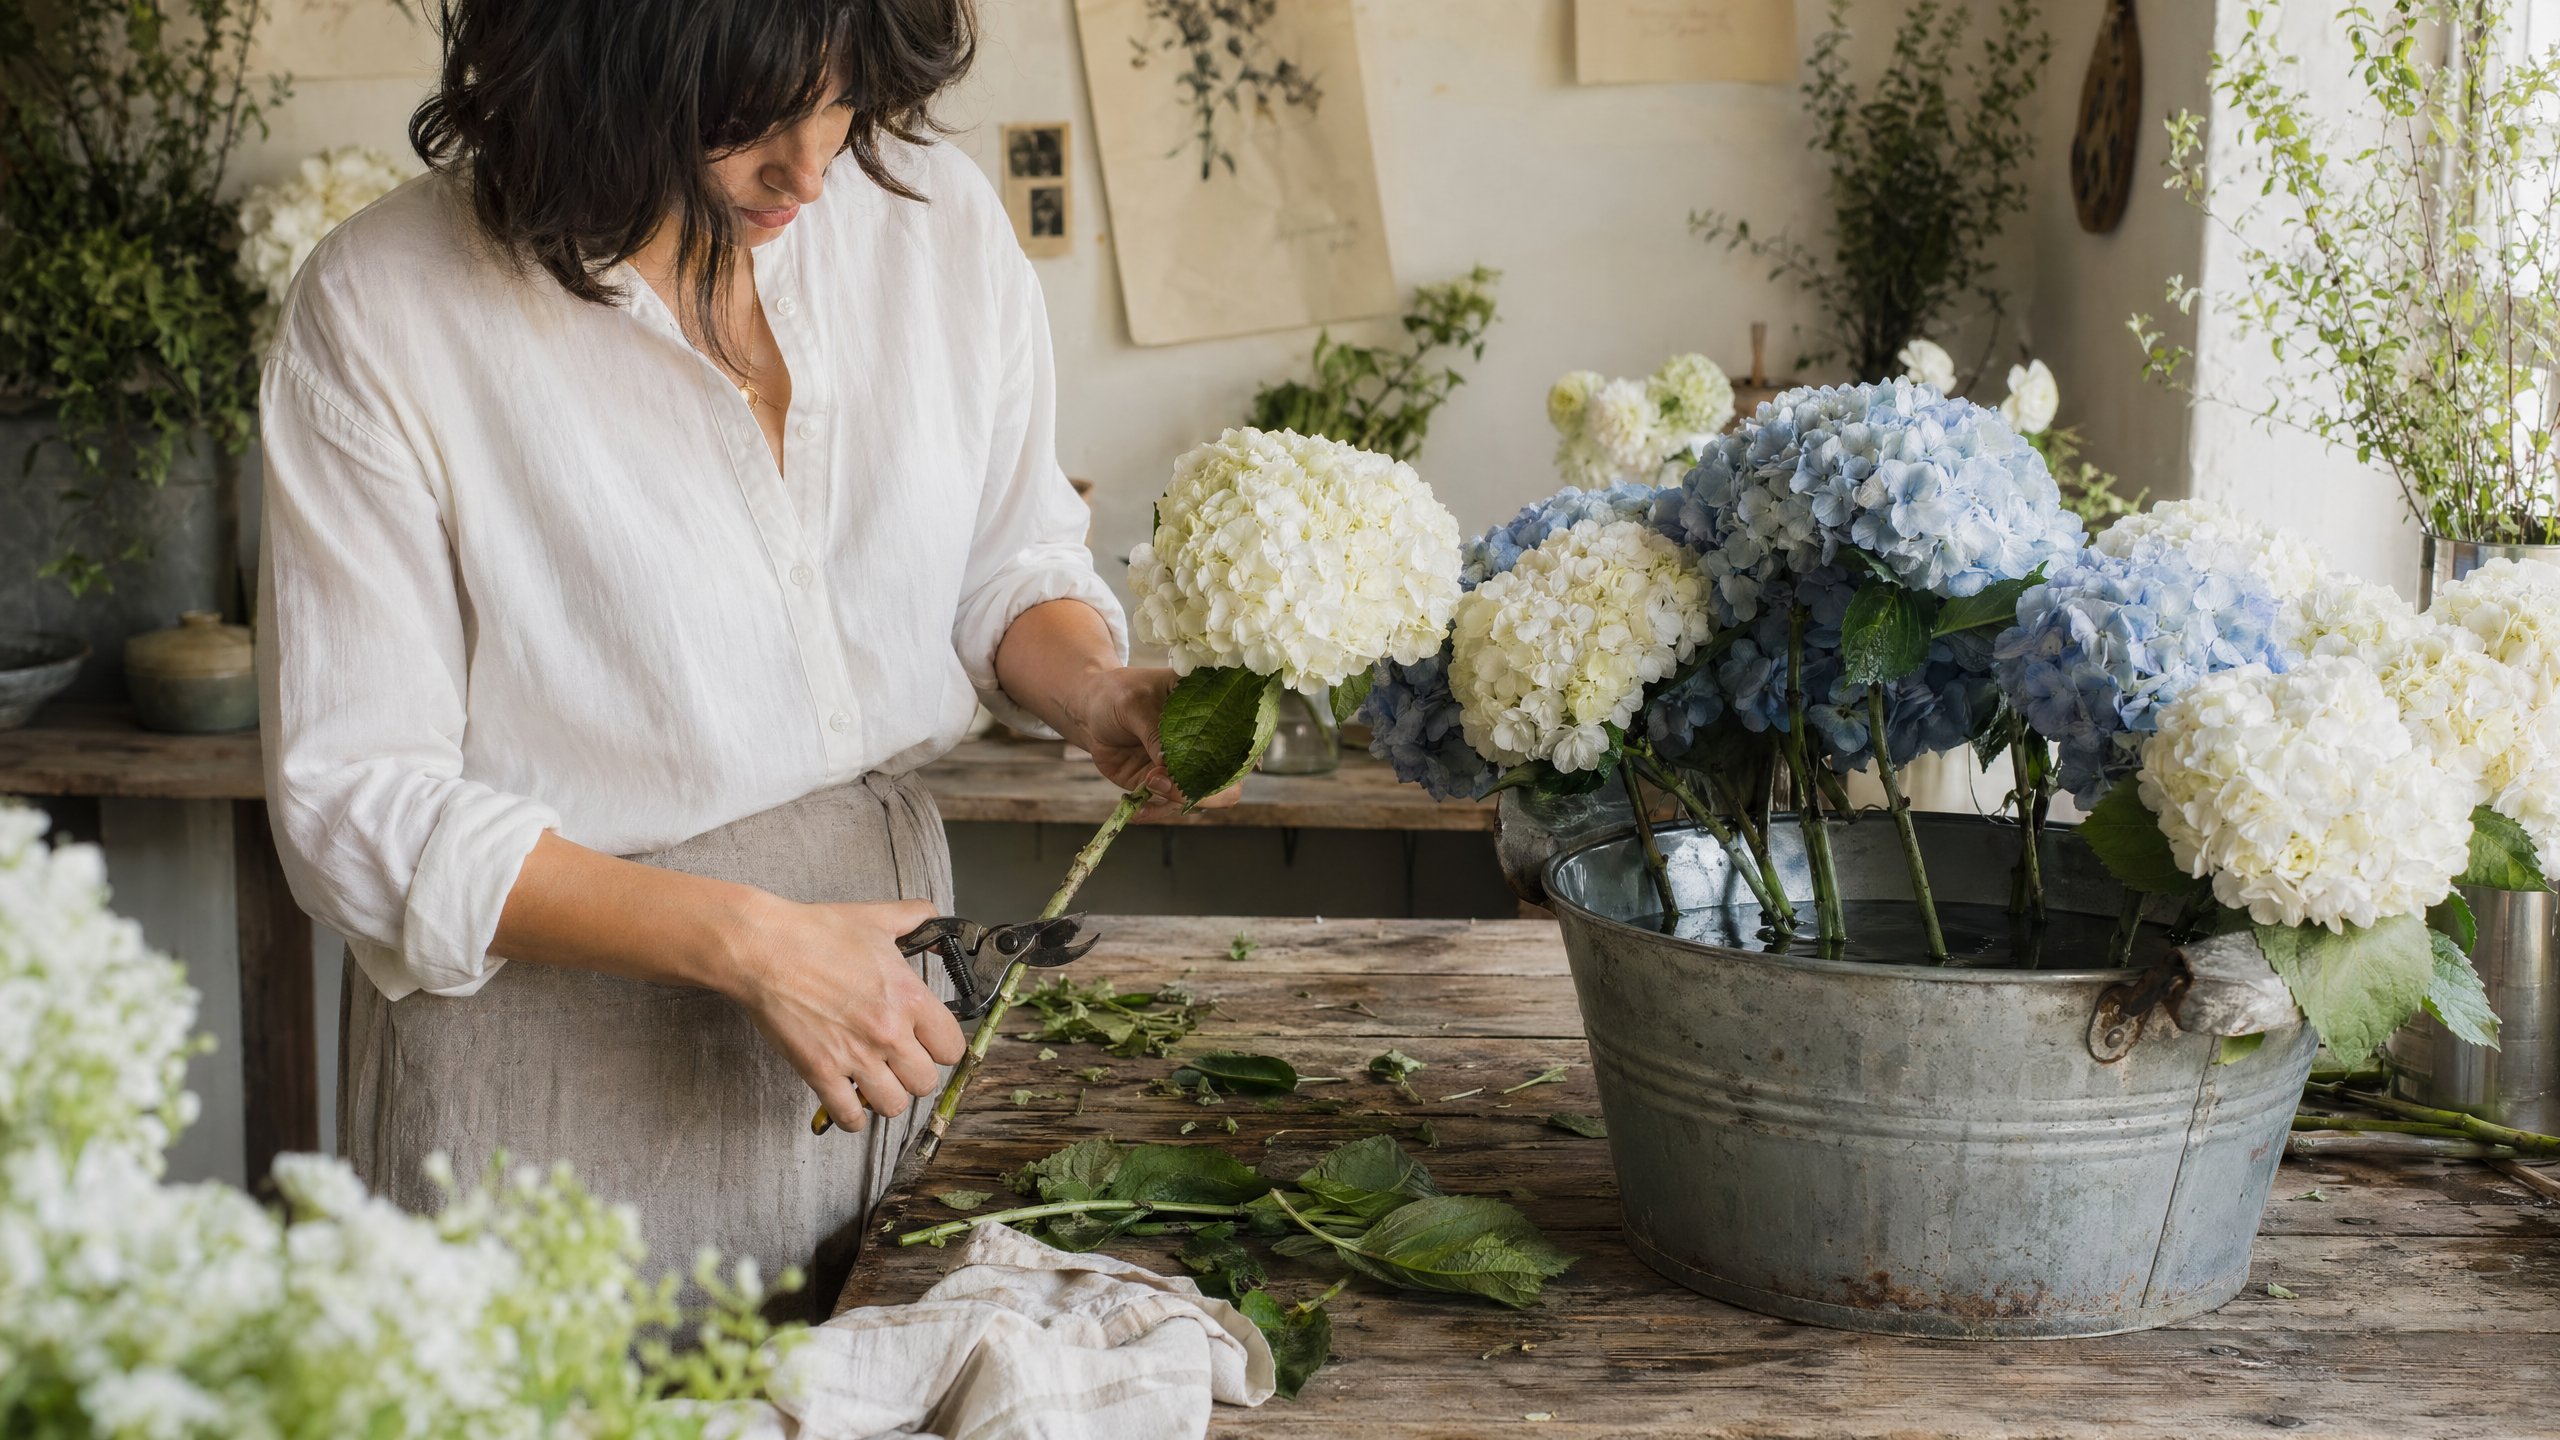
Process Them Right the Minute They Arrive
This is the most important step. If you nail the processing, everything else is easy. Rush through it - or skip it - and you’re setting yourself up for disappointment.
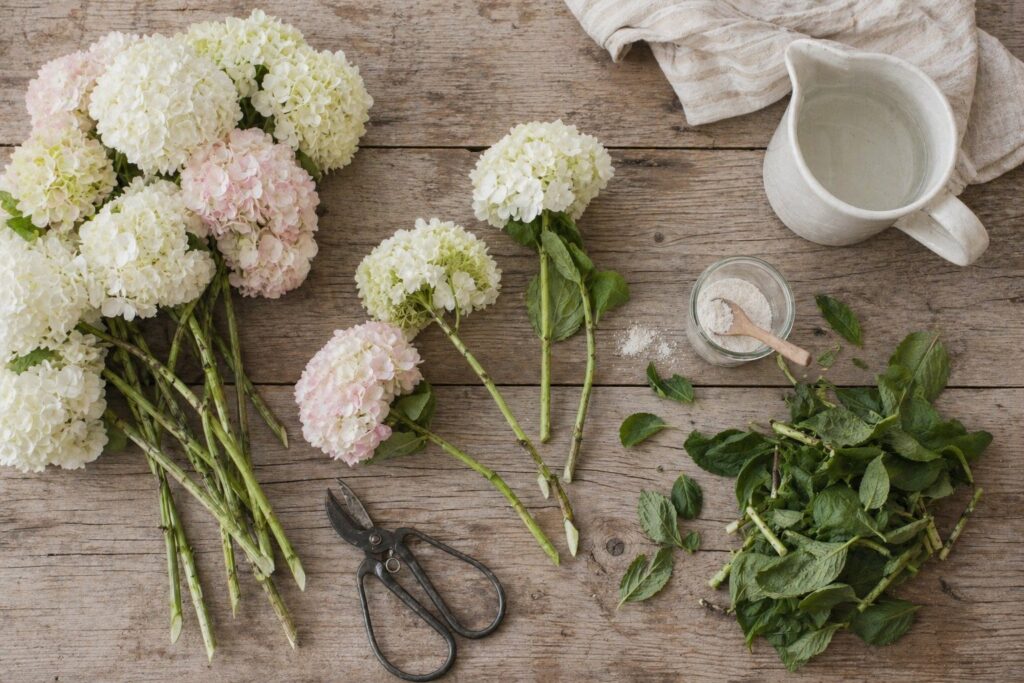
Cut the stems at an angle. Use a sharp pair of clippers or a floral knife and cut at a 45-degree angle. The angled cut gives the stem a larger surface area to pull up water, which matters a lot with hydrangeas. Do this while the stem is submerged in water, if you can - it prevents air from entering the cut end before it reaches the vase.
Strip the leaves. Any foliage sitting below the waterline will rot and breed bacteria, which quickly shortens vase life. I go a step further in my shop. I pull off most of the leaves above the waterline, too, because those leaves are competing with the flower head for water. The bloom wins whenever you remove the foliage.
Use flower food. Add lukewarm water to your container and mix in flower food as directed. It provides the nutrients hydrangeas need and helps keep bacteria in check. Don’t skip this - it genuinely makes a difference.
What I’d do in my shop: I don’t rush hydrangeas into the cooler right away. We leave them out at room temperature for several hours, sometimes overnight. This lets the blooms develop fully and open up before they go into cold storage. Once they’re where I want them, then they go into the cooler.
Recut and top up every few days. Change the water every 2–3 days and make a fresh angled cut on the stems each time. This keeps the uptake channel clean and open. It only takes a couple of minutes, and it’s absolutely worth it.
For a visual walkthrough of the whole process, this video is worth a few minutes of your time:
One thing the video mentions near the end: dipping the freshly cut stem end into alum powder. Alum is a food-grade additive you’ll find in the spice section of any grocery store. Florists have been using it for decades because it helps woody-stemmed flowers like hydrangeas absorb water more efficiently. It works. If you’ve got some on hand, use it.
What I use in the shop: Floralife Quick Dip 100 - a professional-grade stem dip that works the same way as alum but is formulated specifically for cut flowers. If you’re processing a lot of hydrangeas for an event, it’s a smart tool to have on hand. At home I’ve used plain alum powder and it does the job just fine.
If you want a deeper look at how professional processing works for all your cut flowers, check out my post on how to process fresh flowers like a pro. The same principles apply - hydrangeas just need a little extra attention.
Don’t Panic - Here’s How to Revive Wilted Hydrangeas
Even when you do everything right, hydrangeas can droop on you. It happens. The good news is that a wilted hydrangea isn’t always a dead one. I’ve brought back some pretty sorry-looking stems with these two techniques.
The key is acting quickly. The longer you wait after a hydrangea starts to wilt, the lower your odds of saving it. If you catch it early, you’ve got a real shot.
Submerge the Entire Flower
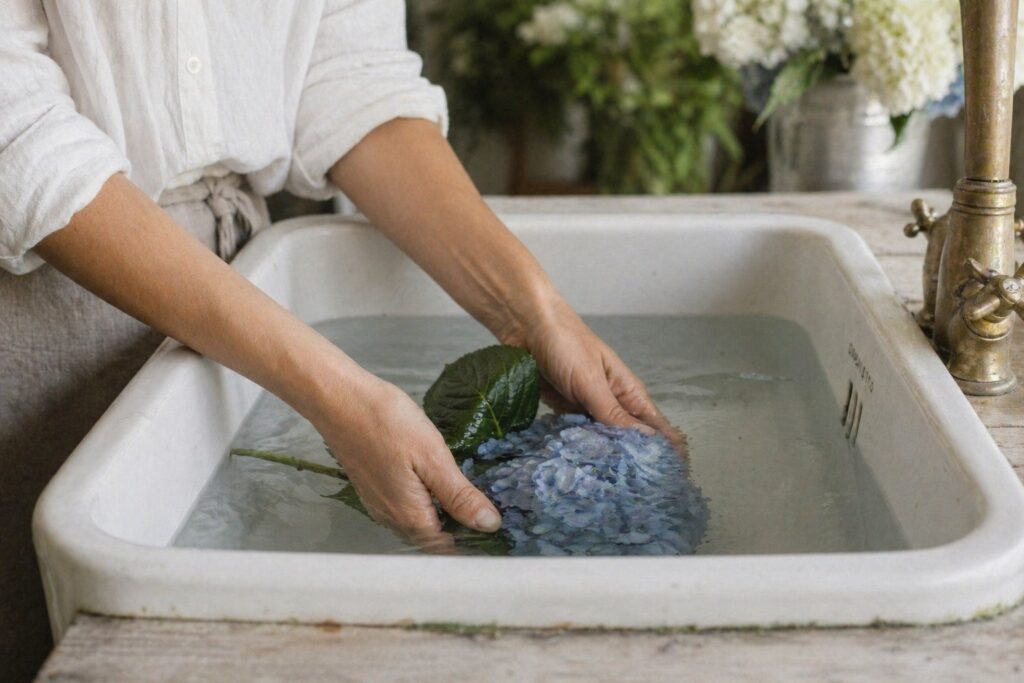
This is my go-to method, and it’s the one I reach for first in the shop. It sounds a little dramatic - dunking the whole bloom underwater - but it works remarkably well.
Recut the stem at an angle, then submerge the entire flower - bloom and all - in cold water (around 50°F) in your sink, laundry tub, or bathtub. Let it soak for 2 to 3 hours. When you pull it out, gently shake the excess water off the flower head, make a fresh cut on the stem, dip the end into Floralife Quick Dip 100 (or alum powder), and return it to a vase with fresh room-temperature water. You’ll often see it start to perk up within an hour.
Hydrangeas can absorb water through their petals, which is why full submersion works. It’s one of those florist tricks that sounds wrong until you try it.
Try the Boiling Water Technique
This one surprises people, but there’s solid logic behind it. Hydrangea stems can develop an airlock or a sap buildup that physically blocks water from traveling up to the bloom. Boiling water breaks that blockage down.
Dip just the cut end of the stem - about an inch - into boiling water for 30 seconds to a minute. Then recut the stem at least an inch from the bottom and place it immediately into fresh, room-temperature water. The flower should start to recover within an hour or so.
Wrap the stems and blooms in newspaper before you do this to protect them from the steam - a little extra care goes a long way here.
Keep These Facts Straight
There’s a lot of conflicting advice out there about hydrangeas, so let me give you the straight version from someone who works with them regularly.
There is no miracle cure for wilted hydrangeas. Both revival techniques I described above work - when you catch the wilt early. If the flower is already far gone, no method will bring it back. Prevention is key.
Correctly processing the stems when you first receive the flowers is your best defense. Change the water every 2 to 3 days, recut the stems each time, and keep an eye out for early signs of stress. That routine will take you further than any revival trick.
Room temperature water vs. cold water matters depending on what you’re doing. For initial processing and reviving, room-temperature water works well for the vase. For submersion revival, go cold. The difference in temperature affects how the stem and petals respond.
And if you’re working on arrangements that involve floral foam, keep in mind that hydrangeas in foam need even more attention to hydration. Take a look at my guide on floral foam basics if you’re going that route - there are a few things worth knowing before you commit those stems.
Frequently Asked Questions
How long do cut hydrangeas last in a vase?
With proper processing, cut hydrangeas typically last 7 to 12 days in a vase. I’ve kept them looking great past 12 days when the processing was right from day one. The main factors are: how fresh the flowers were when you got them, how well you processed them initially, and whether you’re maintaining the water and recutting regularly.
Why do hydrangeas wilt so quickly?
Hydrangeas wilt fast for a couple of reasons. Their large blooms demand a lot of water, and their stems are prone to developing blockages - either from sap, bacteria, or air - that prevent water from reaching the flower head. That’s why recutting stems regularly and keeping water fresh makes such a big difference.
Should hydrangeas be refrigerated?
Yes, once they’re processed and the blooms have opened up, cooler storage extends their life. In my shop, I leave them at room temperature for several hours after processing to let them develop, then move them into the cooler. For home use, a cool room works fine. Avoid direct sun and drafts from heating/cooling vents.
Can you use sugar water instead of flower food?
You can, in a pinch. A DIY mix of water, a small amount of sugar, and a drop of bleach (to inhibit bacteria) will give you some of the same benefits as commercial flower food. That said, commercial flower food like Floralife is formulated to get the balance right, so I’d use it whenever possible. The DIY version is better than nothing - it’s just not quite as precise.
What does alum powder do for hydrangeas?
Alum is a food-grade powder that helps increase water uptake in woody-stemmed flowers. When you dip a freshly cut hydrangea stem into alum, it opens up the uptake channel and makes it easier for water to travel up to the bloom. You can find it in the spice section at most grocery stores. It’s an old florist trick that genuinely works.
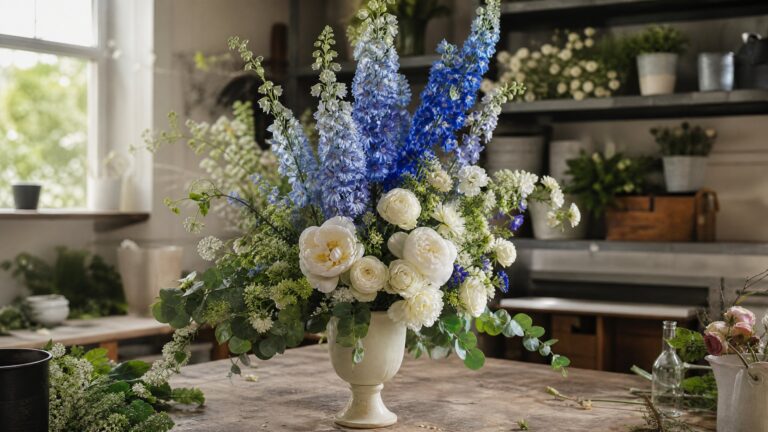
Do hydrangeas do well in floral arrangements with other flowers?
They do, but they tend to dominate - in the best way. Because of their large bloom heads, hydrangeas work best as a focal flower or filler in large arrangements. They pair beautifully with roses, ranunculus, lisianthus, and greenery. If you’re pairing them with flowers that prefer different water temperatures or additives, just be mindful of the whole vase environment.
Closing Thoughts
Hydrangeas are one of those flowers that reward a little extra attention. Get the processing right, and these blooms keep giving. There’s something satisfying about watching a big, beautiful mophead stay gorgeous for nearly two weeks because you took five extra minutes on day one. Consider it planting the seeds of a longer-lasting arrangement.
Have you tried the full-submersion trick for wilted hydrangeas? I’d love to hear how it worked for you - or if you’ve got your own revival technique I should try. Drop a comment below and let’s talk hydrangeas!
Til next time,