
Disclosure: This post may contain affiliate links. If you click and buy, we may earn a commission at no extra cost to you. As an Amazon Associate, we earn from qualifying purchases.
Last Updated: August 2026
Every November I get at least one phone call about a cornucopia. Somebody’s hosting Thanksgiving for the first time, or taking it over from a parent, and they want the horn-of-plenty centerpiece on the table without the sad, half-empty look you get from just piling produce into a basket.
It’s not a complicated build. It just has a specific order of operations, and skipping a step is how you end up with a pumpkin rolling off the table during dinner.
Wire the Foam In Before You Touch Anything Else
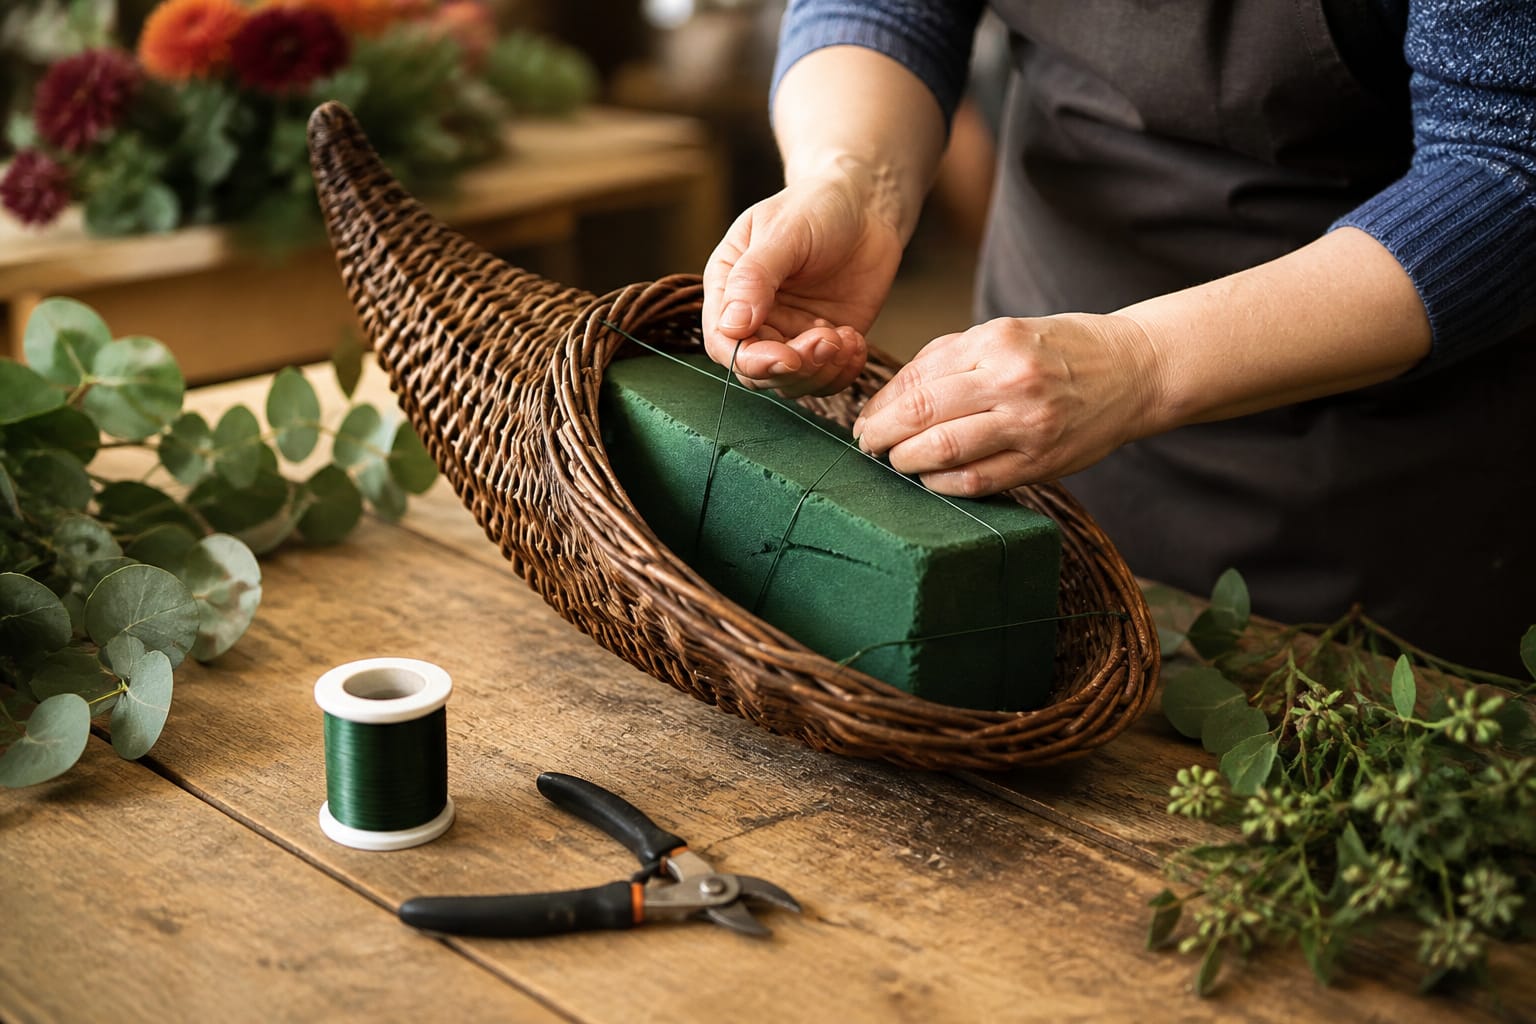
Start with a cornucopia basket and a block of pre-soaked floral foam. Wire the foam into the basket so it can’t shift once the weight of the produce goes on top.
In my shop, I run the wire in a cross pattern and anchor it to the basket rim or handle on both sides. Skip that step and you’ll be gluing pumpkins back onto your dining room table by dessert.
If you’re building one of these for the first time, event and floral designer Eddie Zaratsian walks through the whole process in under five minutes. Watch it, and see if you agree the hypericum berries are the part that ties it all together.
Build Your Greenery Base First
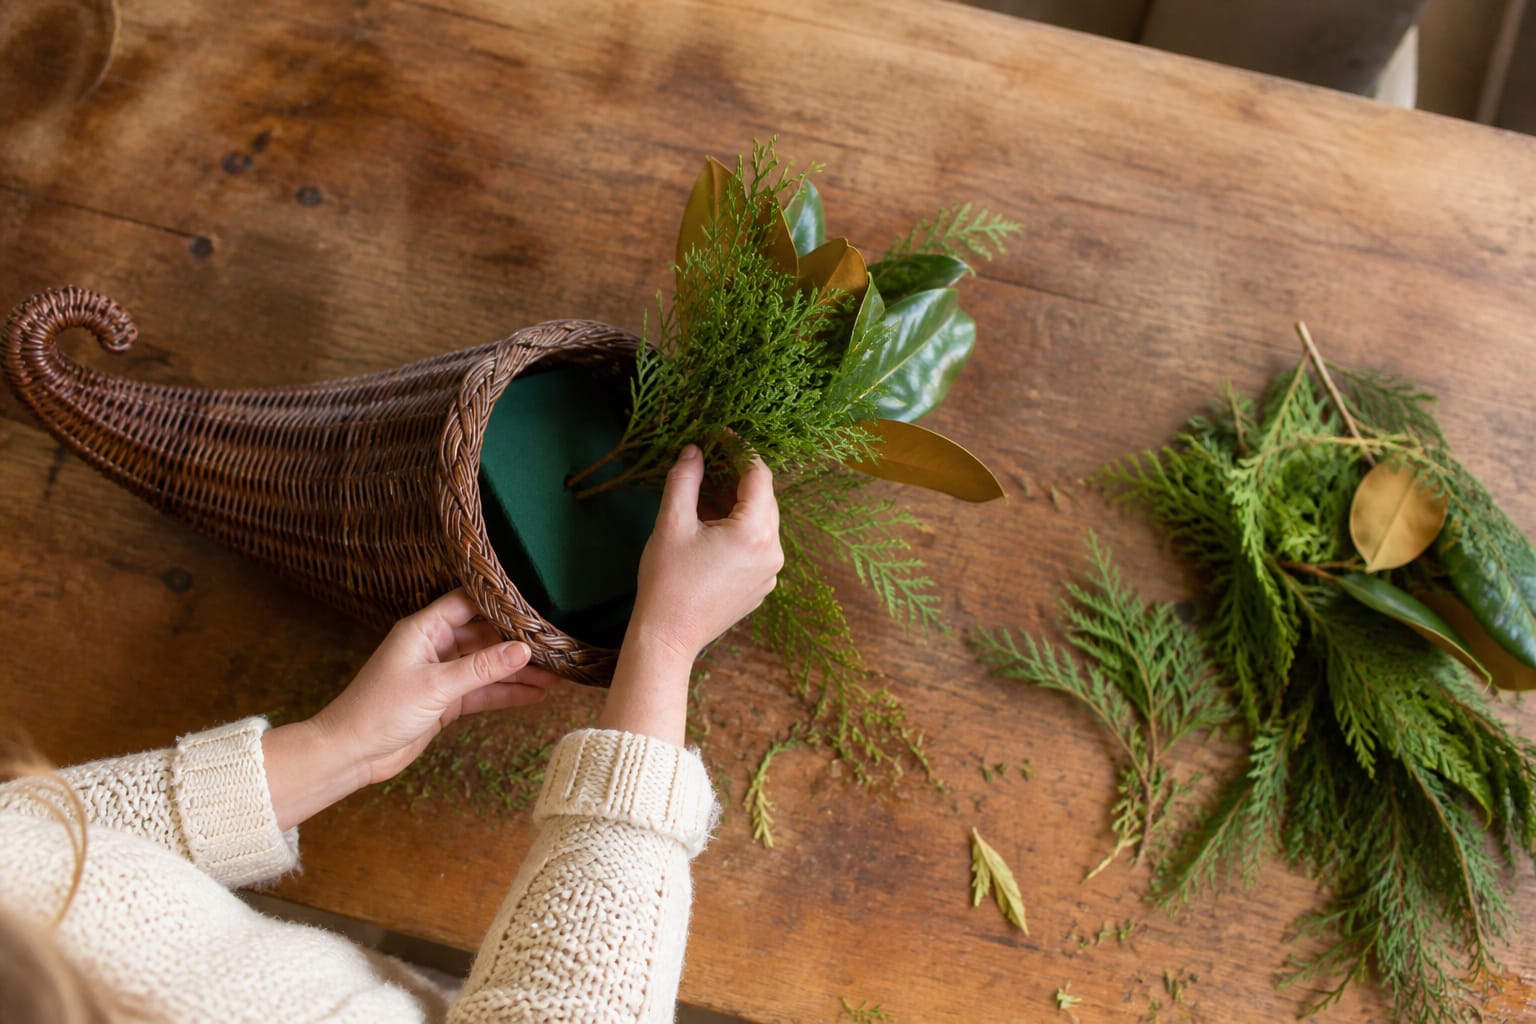
Cut your greenery into smaller pieces before you insert it. Long, uncut stems look messy and make it harder to see where the foam actually ends.
Work the greenery in around the foam first, all the way around, so you’ve got a full green base to build on. This is the foundation everything else leans on, literally.
Let the Pumpkins and Gourds Cascade Out
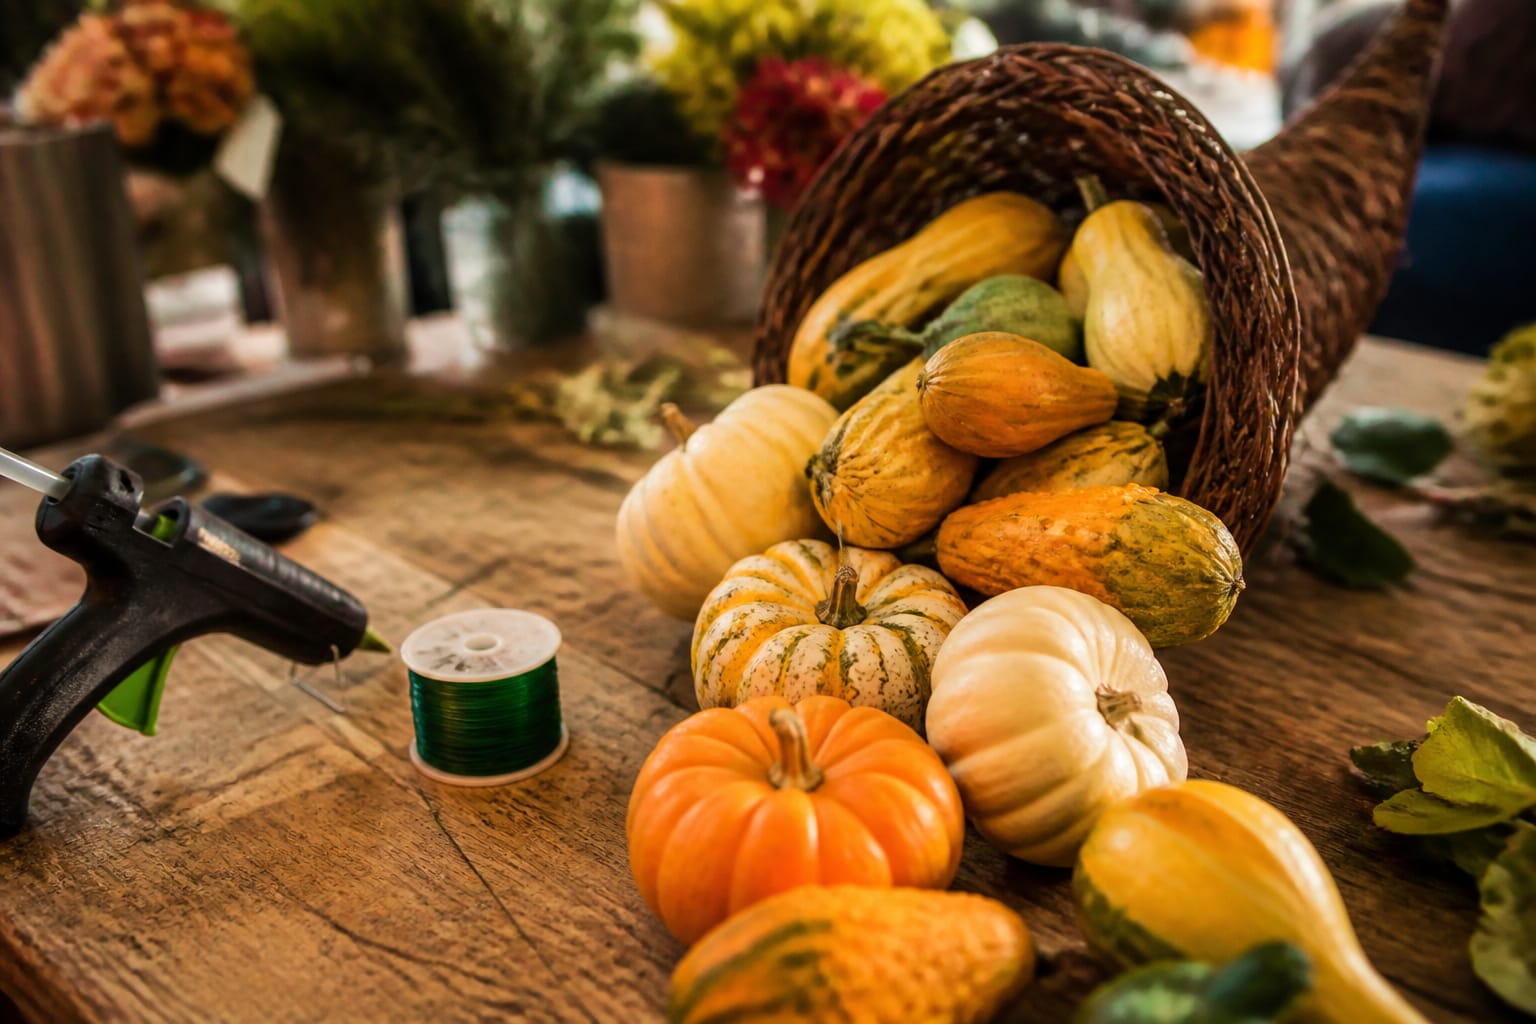
Attach styrofoam pumpkins and gourds using wire and hot glue. Position them so they spill out and down from the mouth of the horn, not stacked flat on top.
That cascading line is what makes a cornucopia read as a cornucopia instead of a fruit bowl with a fancy basket underneath.
Hosting for the first time? A cornucopia basket, foam, and wire are easy to order ahead of Thanksgiving week. Prime gets eligible orders to your door fast, and eligible new members can start a free Prime trial. As an affiliate, we earn on qualifying purchases.
What I use in the shop: a low-temp floral hot glue gun. Full-temp glue guns run hot enough to melt styrofoam pieces right where you’re trying to attach them.
Use Hypericum Berries to Bridge the Color

Work in some hypericum berries, ideally in the coral range, to fill gaps between the gourds. They pull the orange and brown tones together in a way loose greenery can’t.
Hypericum berries are frequently used in floral arrangements. Florists never met a filler they wouldn’t use.
Finish With Mums
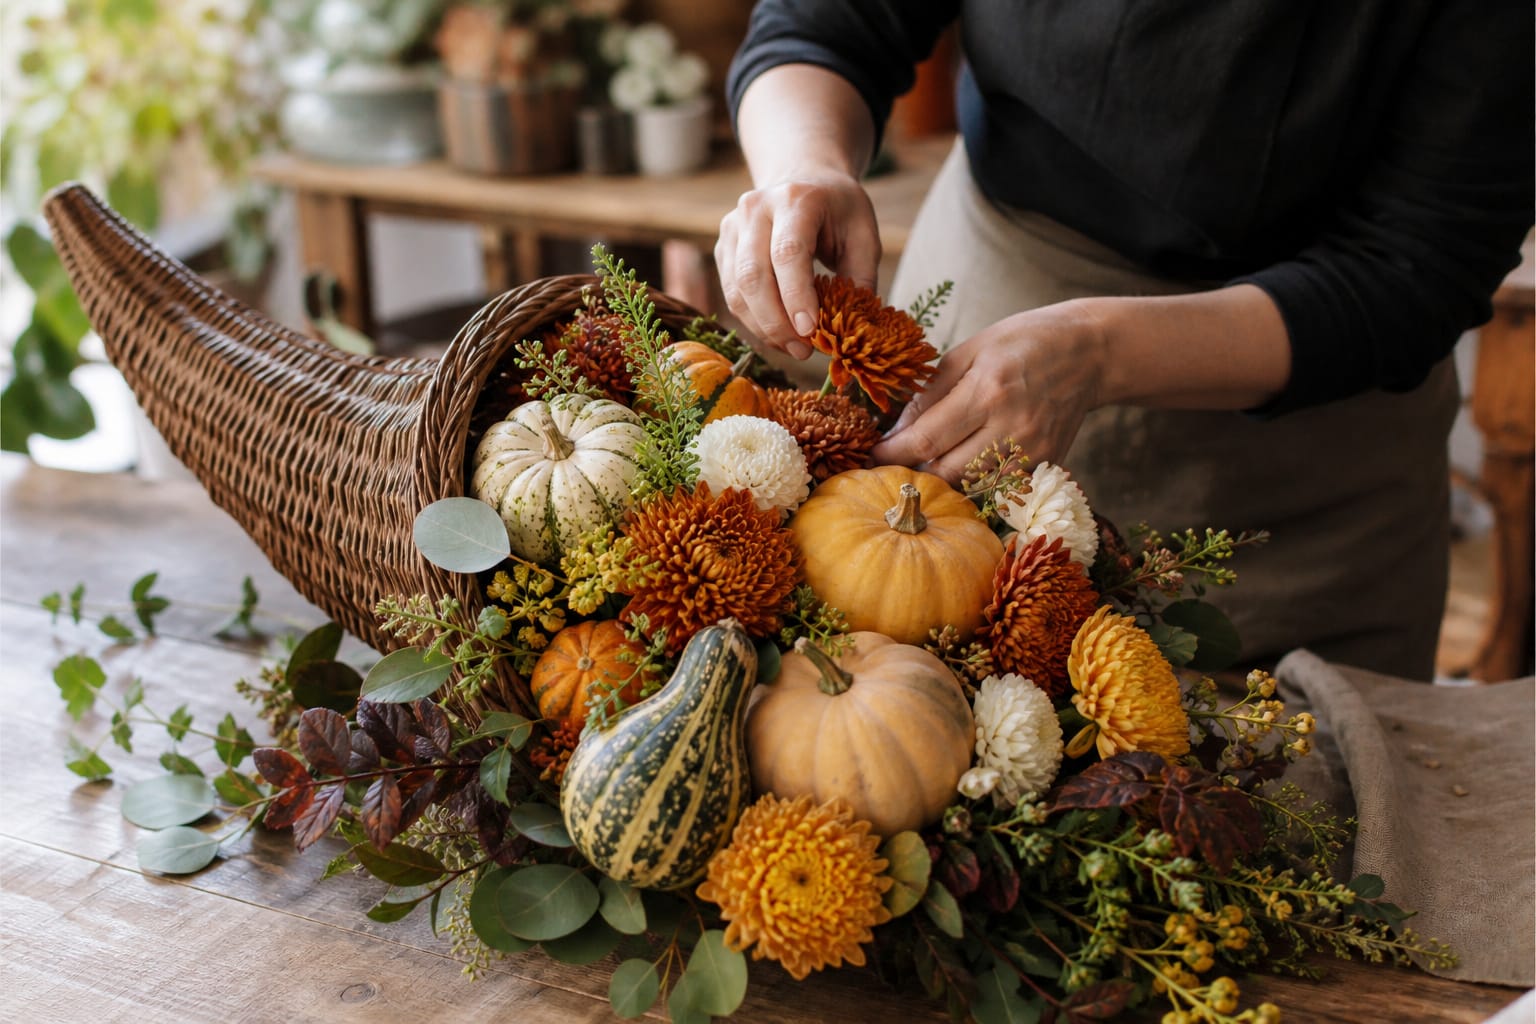
Insert mums last, once the pumpkins, gourds, and hypericum are already placed. They’re your softening element. Tuck them into whatever gaps are left rather than planning around them from the start.
From here, you can dress it up further with ribbon, fall leaves, or candles if you want more on the tablescape. The base build stands on its own without any of that.
Choose Produce and Flowers That Will Hold
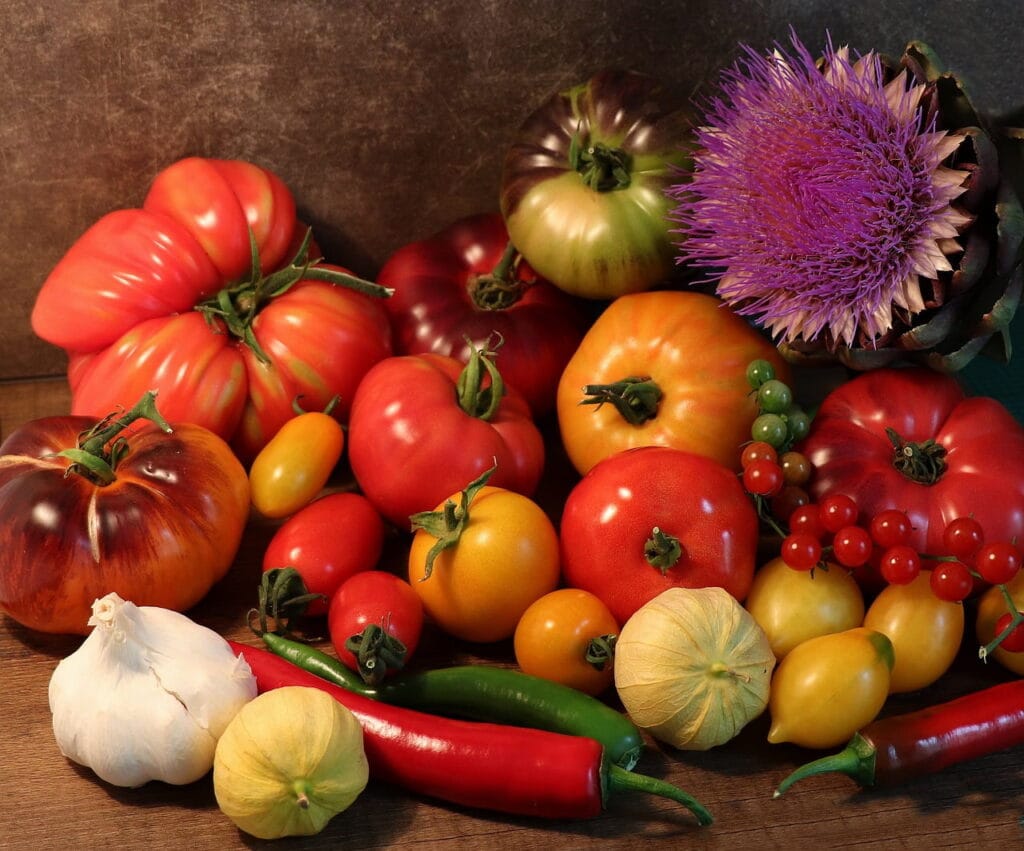
Mix real fruits and vegetables with the styrofoam pieces if you want. Apples, pears, gourds, small pumpkins, and squash all work. Pomegranates, corn, and persimmons add color without much extra effort.
For flowers and foliage, chrysanthemums, sunflowers, and marigolds carry the warm palette well. Wheat stalks, dried leaves, and pinecones add texture; cranberries or hypericum berries add small pops of color.
If you’re worried real produce will rot before the big day, don’t be. Pick pieces that are firm and slightly underripe, keep the arrangement somewhere cool, and it’ll hold through the whole weekend.
Shop Local for the Best Material
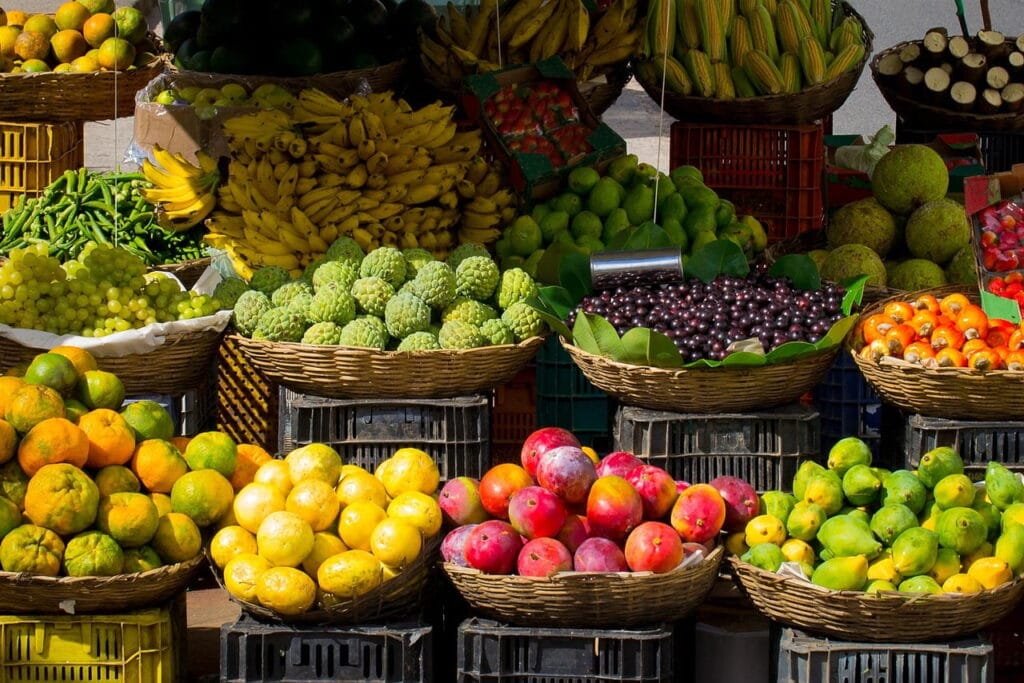
A farmers’ market beats a grocery store for this build. You’ll find mini pumpkins, multicolored squash, and apple varieties you won’t see on a supermarket shelf.
Fresh herbs and edible flowers are worth grabbing too if the market has them. They add fragrance, and they fill small gaps the bigger pieces leave behind.
Take It Beyond Thanksgiving
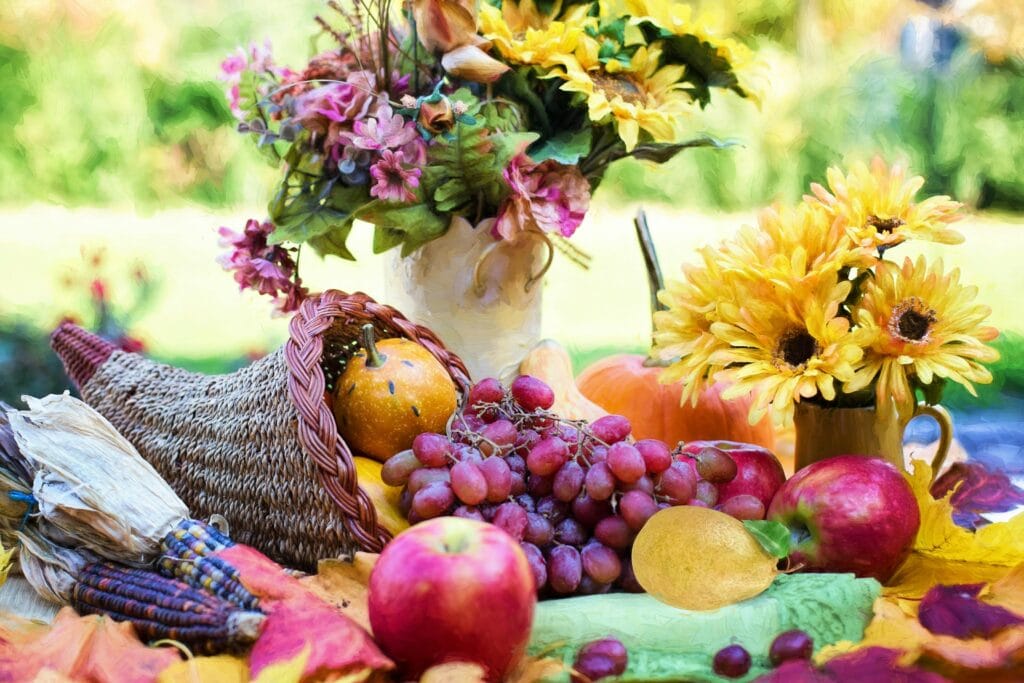
A cornucopia doesn’t have to go back in the closet after Thanksgiving. Pick a neutral basket and swap the contents by season instead of packing the whole thing away.
Pastel eggs and budding branches work for spring. Seashells and tropical fruit work for summer. Pinecones and holly berries carry it into winter once the gourds come out.
I’ve seen customers keep one on a mantel or entry table year-round for exactly this reason. It’s one basket doing the work of four seasonal centerpieces.
Frequently Asked Questions
Do I need floral foam, or can I skip it? You can skip it if you’re only using heavier produce like whole pumpkins and gourds stacked by weight. Once you’re adding flowers or greenery, foam is what holds the water and keeps stems from sliding.
How long will a cornucopia arrangement last? With fresh flowers and firm, slightly underripe produce, expect it to hold through a long weekend in a cool room. Fresh flowers alone in soaked foam will go 5 to 7 days.
Can I use fake pumpkins and gourds instead of real ones? Yes, and it’s actually the more common approach for the cascading pieces. Styrofoam pumpkins hold their shape under wire and glue better than real ones do.
What’s the easiest greenery to start with? Cedar, magnolia leaf, or a basic mixed fall greenery bunch from a grocery store floral section all work. Anything with sturdy stems that hold up to being wired in.
Can I reuse the basket after Thanksgiving? Yes. Pull the foam and spent material, let the basket dry out fully, and it’s ready for the next season’s version.
Do I need floral wire, or will hot glue alone hold everything? Use both. Glue alone tends to let go once a heavier gourd shifts; wire is what actually anchors the weight to the foam and basket.
Closing Thoughts
A cornucopia is one of the few arrangements where you’re actually supposed to overfill it. Try that with a bridal bouquet and see how that conversation goes.
Wire the foam, build your greenery base, then layer the rest in the order above. That sequence is the whole trick.
Have you built one of these before? I’d like to hear what you used for the cascade if you skipped the foam and wire route entirely. Drop it in the comments below.
Til next time,