Disclosure: This post may contain affiliate links. If you click and buy, we may earn a commission at no extra cost to you. As an Amazon Associate, we earn from qualifying purchases.
Last Updated: July 12, 2026
A bride handed me a plain chalkboard easel a few years back and asked if I could “just add some flowers to it” for her ceremony entrance. Simple enough, until I found out she wanted it to survive a full outdoor reception, then get carried inside for photos, then sit propped against a table for four more hours.
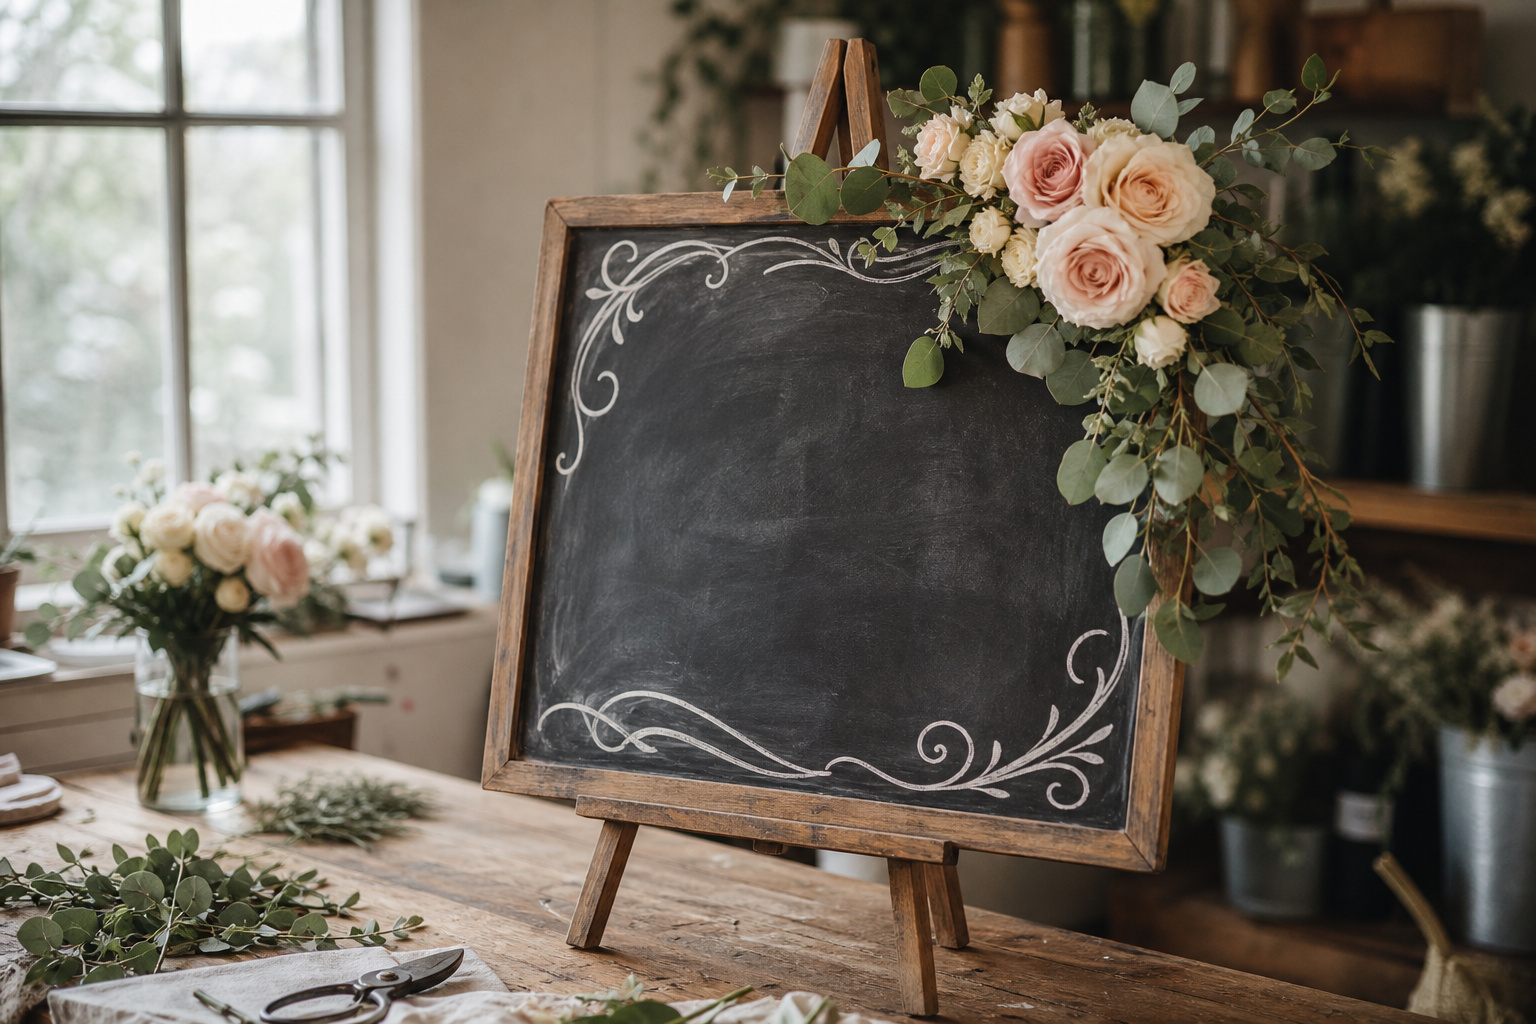
A chalkboard sign is one of the easiest DIY wedding projects to start and one of the easiest to get wrong once flowers get involved. Here’s how to do it so it survives the whole day.
Pick a Sign That Can Take the Weight
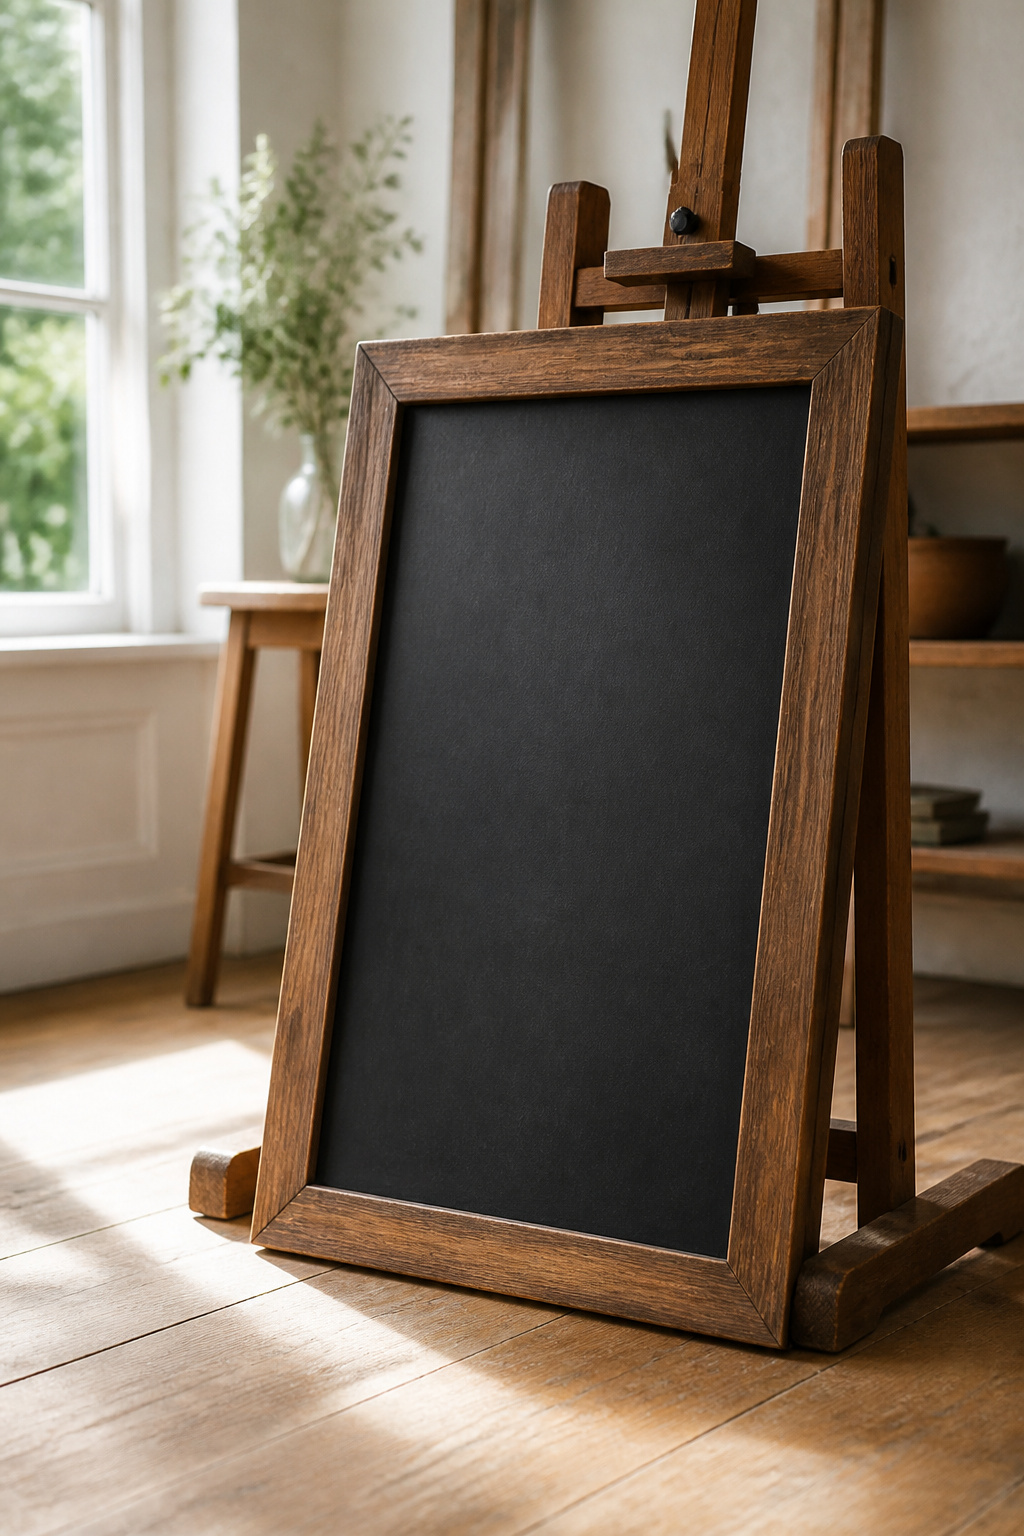
Before a single flower goes on, make sure the sign itself can handle what you’re about to attach. A flimsy dollar-store chalkboard will bow or crack under the weight of a corner swag of flowers and greenery. Look for a solid wood frame, and if it’s going to sit on an easel outdoors, check that the easel itself is sturdy enough not to tip in a breeze.
Standard chalk works fine for most designs, but if you want lettering that won’t smudge if a guest brushes against it, a chalkboard paint pen gives you a cleaner, more permanent line. Just know it doesn’t erase the same way, so sketch your layout in regular chalk first if you’re not confident in the lettering.
Write Your Lettering Before You Add Flowers
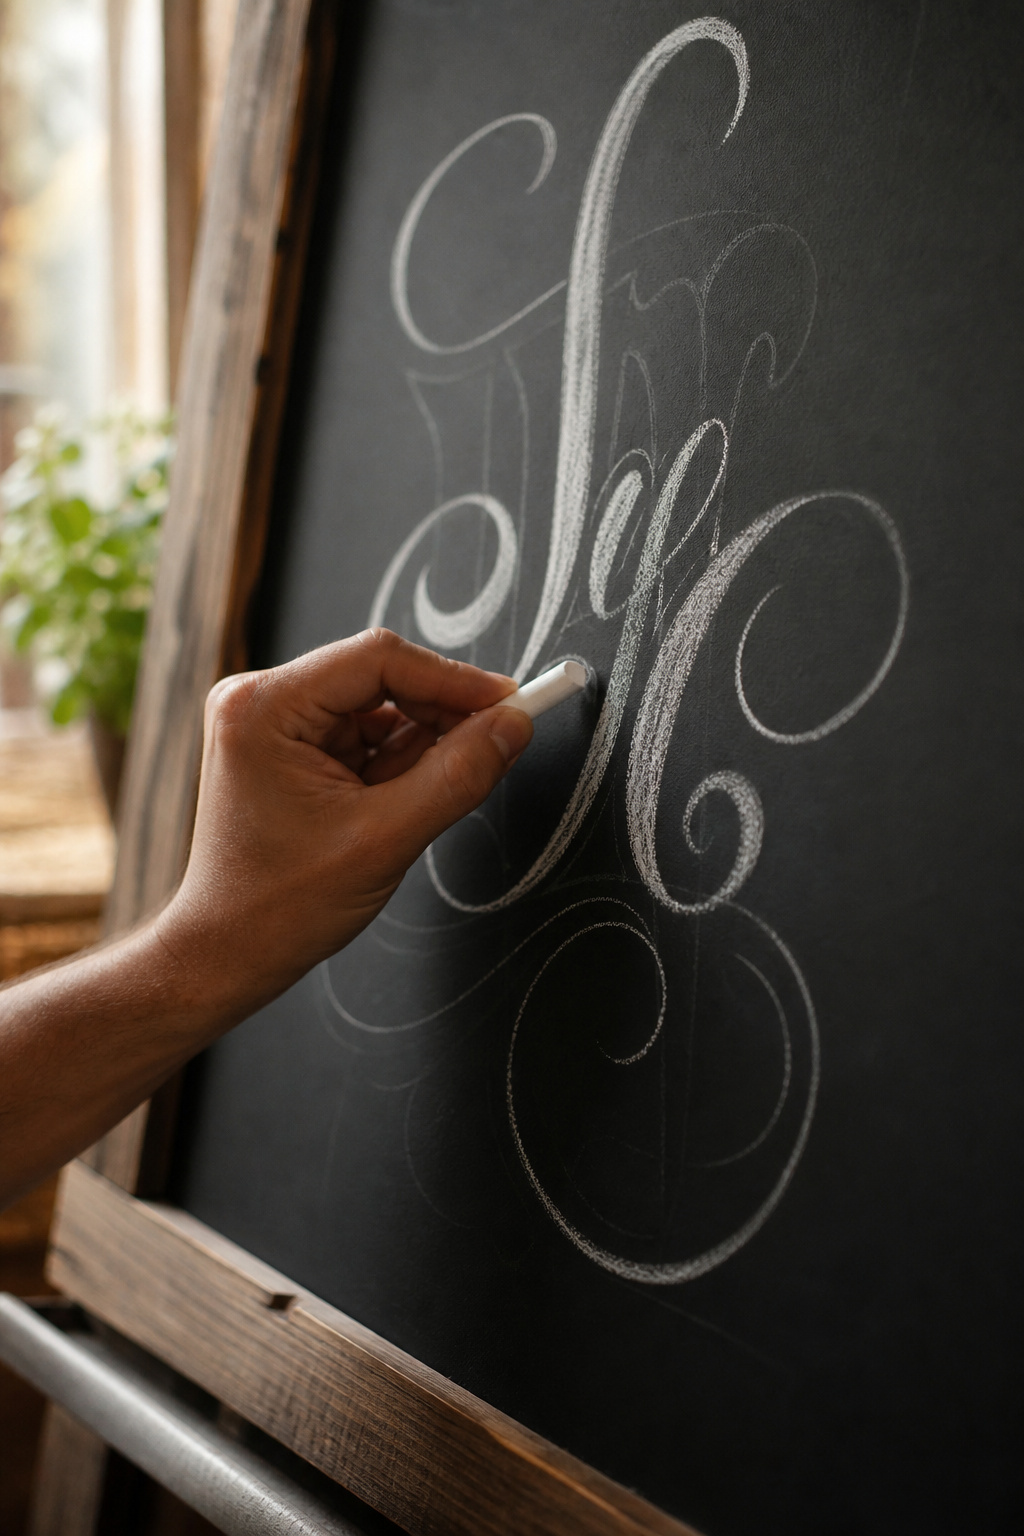
Get the words done first. It’s much easier to plan your floral corner around finished lettering than to try to letter around flowers that are already attached.
Sketch your layout lightly in pencil or chalk before committing to your final lettering. Centered text with generous margins reads better from a distance than text crammed edge to edge, and a wedding sign usually needs to be legible from ten or fifteen feet away, not read up close like a place card.
Attach Flowers So They’ll Actually Stay Put
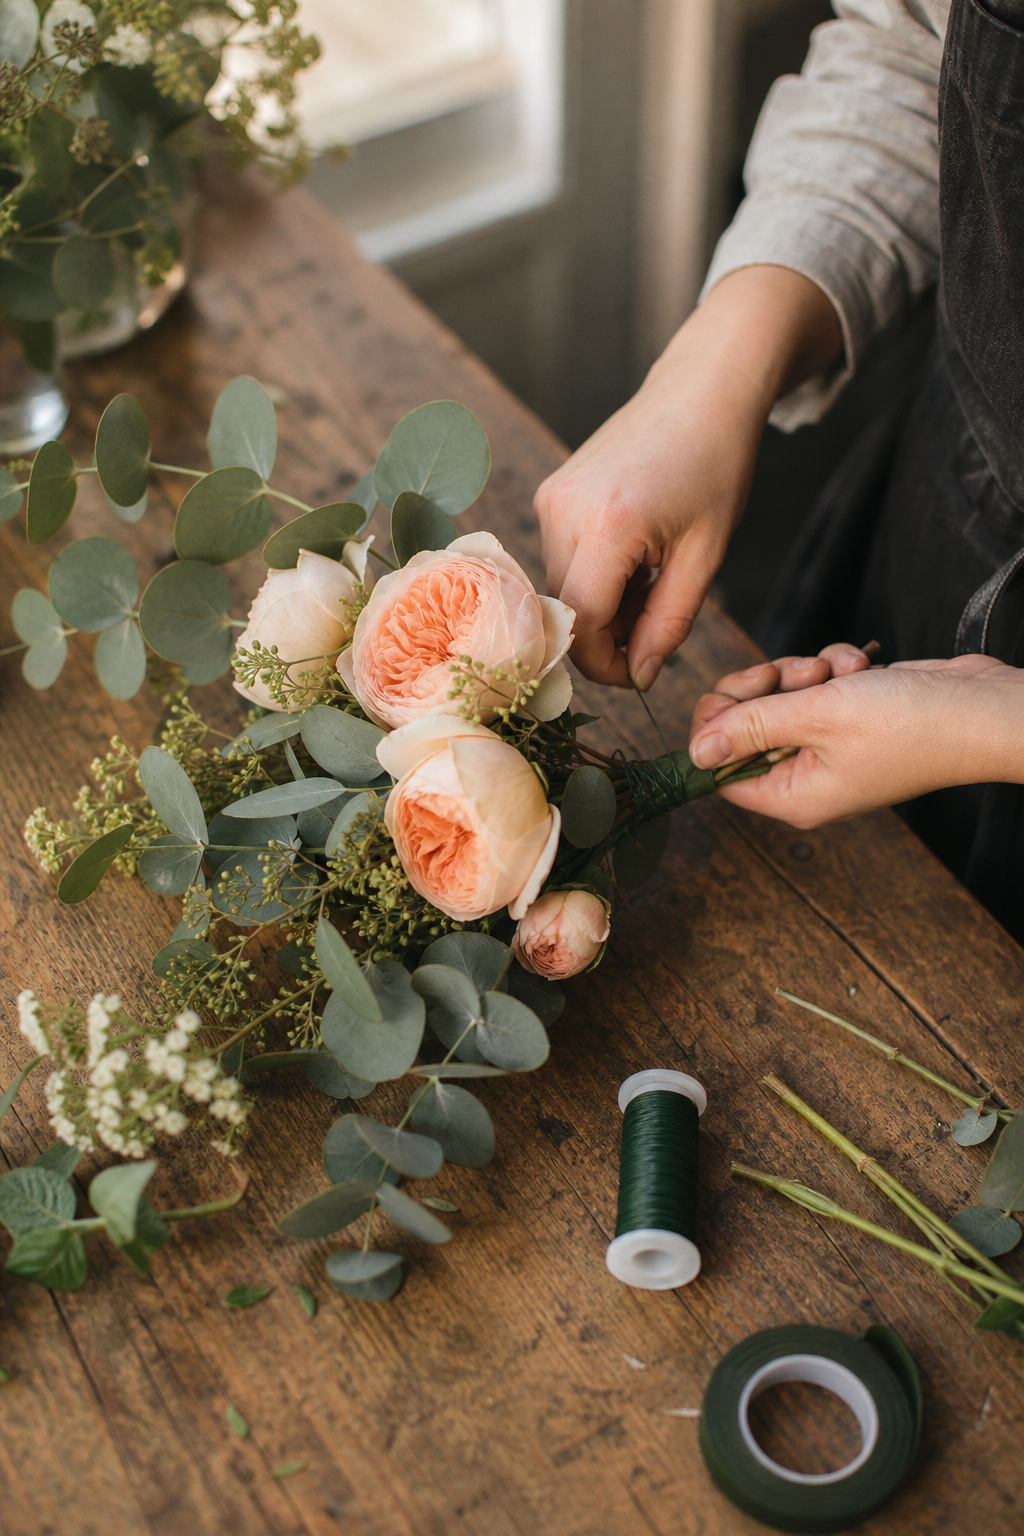
This is where most DIY chalkboard signs fail. People hot-glue fresh flowers directly to the wood; the stems dry out within an hour, and come ceremony time, the corner swag is drooping or has fallen off entirely.
Instead, wire your flowers the same way you would for a corsage or boutonniere, then attach the wired stems to the sign with floral tape or thin wire wrapped around the frame. Wiring gives each stem a rigid, controllable base, so you’re securing wire to wood instead of trying to make hot glue hold a wet, top-heavy flower stem. If you haven’t wired flowers before, our guide to wiring flowers for corsages covers the technique needed for this project.
Build your corner swag as a small standalone piece first, off the sign, then attach the whole thing at once. It’s easier to get the proportions right on a flat surface than while working around lettering, and it means one failed attachment point doesn’t take down half your design.
Plan for the Flowers to Wilt Before the Day Ends
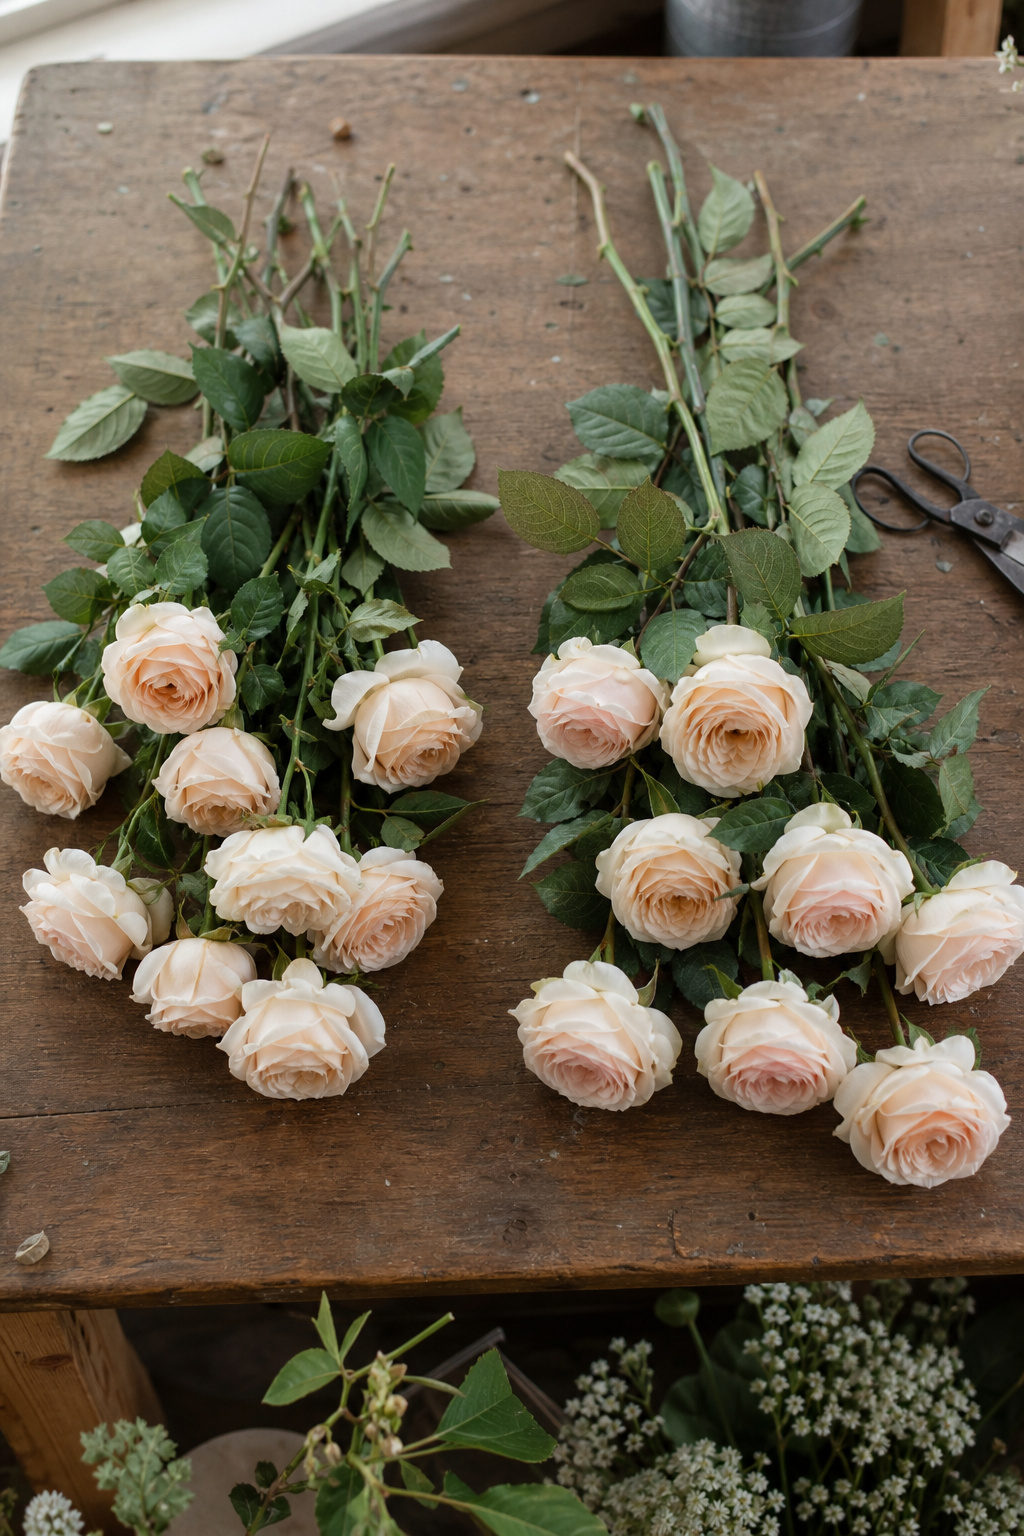
Fresh flowers wired to a dry surface with no water source are on borrowed time from the moment you attach them. Plan around that instead of fighting it.
If the sign only needs to look good for the ceremony and early photos, condition your flowers well the day before and assemble the sign as close to the ceremony time as you reasonably can. Spray the flowers with an anti-transpirant finishing spray to help prevent moisture evaporation.
If you need it to hold up all day, silk flowers mixed with a few fresh accent stems are a more realistic plan than an all-fresh design. If you’re worried silk will look obviously fake next to the real greenery elsewhere at your wedding, don’t be. Good silk stems mixed into a design with real foliage are hard to pick out from a few feet away, especially in photos.
If the same sign is going to travel from the ceremony to the reception, plan the swag to survive being carried. Anything delicate or loosely attached won’t make that trip intact.
Frequently Asked Questions
How do I attach fresh flowers to a chalkboard sign so they don’t fall off?
Wire the stems first, the same way you’d wire flowers for a corsage or boutonniere, then attach the wired stems to the sign with floral tape or thin wire wrapped around the frame. Hot-gluing fresh stems directly to wood usually fails within an hour or two as the stems dry out.
Should I use fresh or silk flowers on a chalkboard wedding sign?
It depends on how long the sign needs to look fresh. For a ceremony-only display, fresh flowers conditioned the day before and attached close to ceremony time will hold up fine. For a sign that needs to last all day, silk flowers mixed with a few fresh accents are more realistic and hard to distinguish from real ones in photos.
What kind of chalk or pen should I use for a wedding sign?
Standard chalk works well and is easy to correct if you make a mistake while planning your layout. A chalkboard paint pen gives a cleaner, smudge-resistant line for the final lettering, but it’s harder to erase, so sketch your design in regular chalk first before committing to the pen.
How far in advance can I make a chalkboard wedding sign?
The lettering can be done days ahead. If you’re using fresh flowers, wait until as close to the wedding day as possible to attach them, since wired stems with no water source will start wilting within hours. Silk flowers can be attached well in advance with no timing concerns.
Do I need special chalkboard paint or can I buy one pre-made?
A pre-made chalkboard sign works fine for most DIY brides and skips a step. If you already have a wood frame you want to use, chalkboard paint is inexpensive and easy to apply, but give it the full cure time on the label before writing on it, or the chalk won’t erase cleanly later.
Closing Thoughts
A chalkboard sign is one of the more forgiving DIY wedding projects, right up until flowers get involved. Wire your stems, plan for how long the sign actually needs to look fresh, and it’ll hold up through everything you need it for.
Get the mechanics right, and nobody at your wedding will ever know it wasn’t professionally made.
Are you leaning toward fresh, silk, or a mix of both for your sign? Tell me in the comments. I read every one.
Til next time,