Disclosure: This post may contain affiliate links. If you click and buy, we may earn a commission at no extra cost to you. As an Amazon Associate, we earn from qualifying purchases.
Last Updated: June 2026
A customer came into the shop a couple of Decembers back holding a store-bought wreath that had already gone brown and brittle by the second week of the season. She wanted to know what she’d done wrong. Nothing, really.
Most retail wreaths are built fast, on flimsy forms, with greenery cut and shipped weeks before they ever reach the shelf. I told her if she wanted something that would actually hold through New Year’s, she should make her own. She looked at me like I’d suggested she build her own car.
She was back two days later with a wire form and a question: where do I even start? So we built one together at the bench. It’s not complicated. It’s a wiring technique, repeated, with decent materials. That’s it.
Pick Greenery That Won’t Quit on You
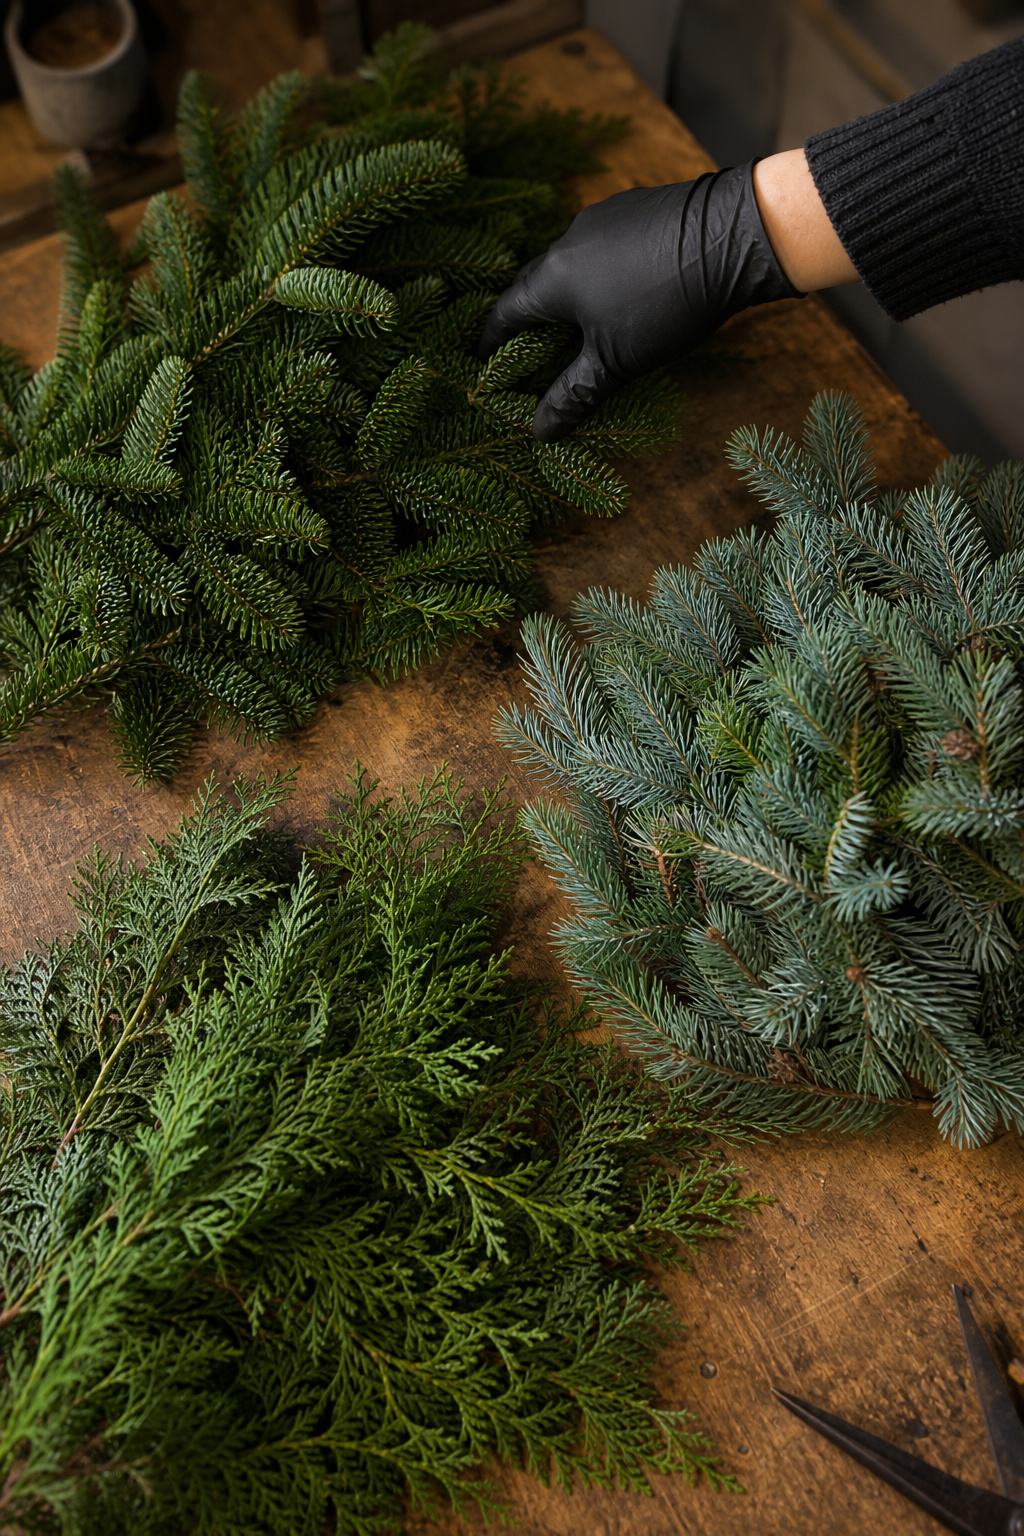
In my experience, most wreaths fail early because of the choice of greenery, not the technique. Some of the prettiest options dry out fast and start dropping needles within a week or two indoors.
Noble fir and Fraser fir hold their needles longer than anything I use in the shop. Spruce looks great when it’s fresh, but sheds quickly indoors or in direct sun. If you want a wreath for an outdoor door or porch, that’s not a concern. Cold temperatures slow the drying process considerably. Indoors, near a heat vent, is the worst environment for a wreath.
Mix two or three types for texture: a base of fir or spruce, then add accents like cedar, eucalyptus, or boxwood. Throughout my time at the design bench, the wreaths that get compliments are ones with variations in needle texture and color, not a single solid green mass.
Products Worth Considering

ARTIFICIAL CYPRESS BRANCHES: These artificial cypress branches bring you the feeling of fresh and elegant, they are beautiful and realistic. Brighten your home with this...
Gather What You Need
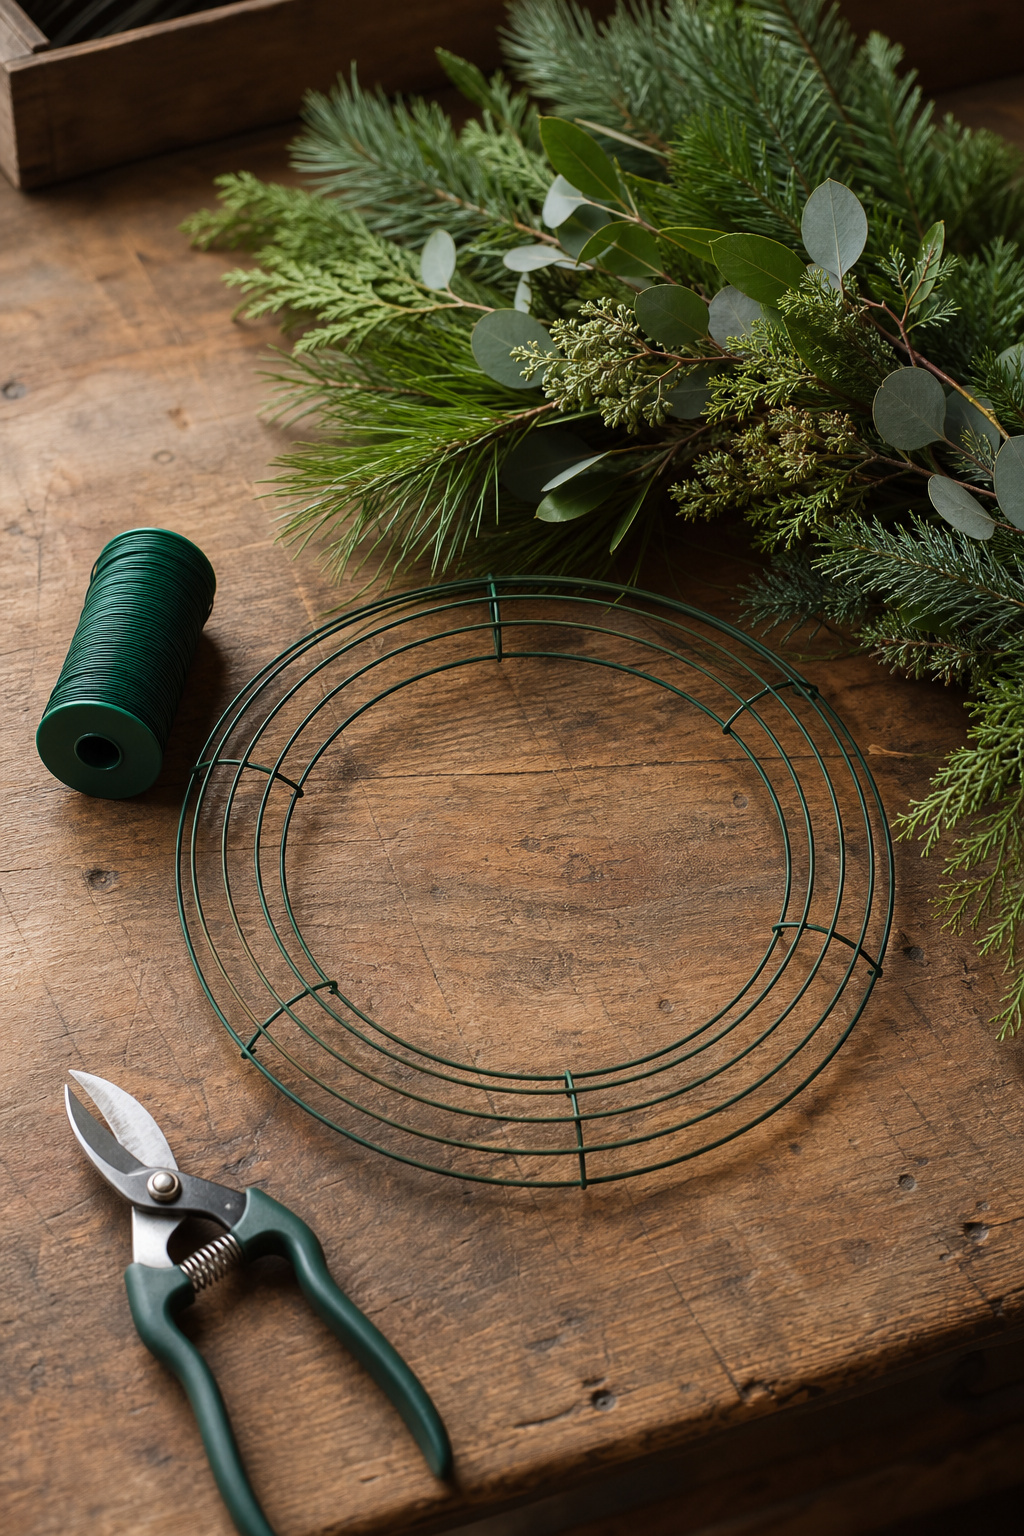
You don’t need much. Here’s what’s actually on my bench when I build one of these.
Starting early? The wire form, paddle wire, and ribbon are easy to order ahead, so you’re not waiting on them when the greenery arrives. Prime gets eligible orders to your door fast, and eligible new members can start a free Prime trial. As an affiliate, we earn on qualifying purchases.
What I use in the shop: an 18-inch wire wreath form — wire holds up to repeated use far better than the straw or foam forms you’ll find in most craft stores.
- 18-inch wire wreath form
- 22-gauge paddle wire
- Sharp garden clippers or floral shears
- Mixed greenery — fir, spruce, cedar, or boxwood
- Ribbon, pinecones, or dried fruit for finishing
Paddle wire is a must-have. I’ve written before about when zip ties earn a place in floral work, but a wreath isn’t one of those times. You need wire you can wrap tightly, adjust, and hide completely inside the greenery.
Products Worth Considering

PACKAGE CONTENTS: Set of 2 green wire wreath frames, 18 inches in diameter, perfect for holiday decorating and crafting projects

Stylish Green Wreath Rings: Add a touch of green to your decor with these 2 wreath rings, each 18 inches in diameter

Great Starter Kit for Wreaths: The package comes with 6 pack wire wreath frames, 6 pcs adhesive hooks, and 38 yards 22 gauge paddle wire. Great combo for your wreath handcrafts.
Build Small Bundles First
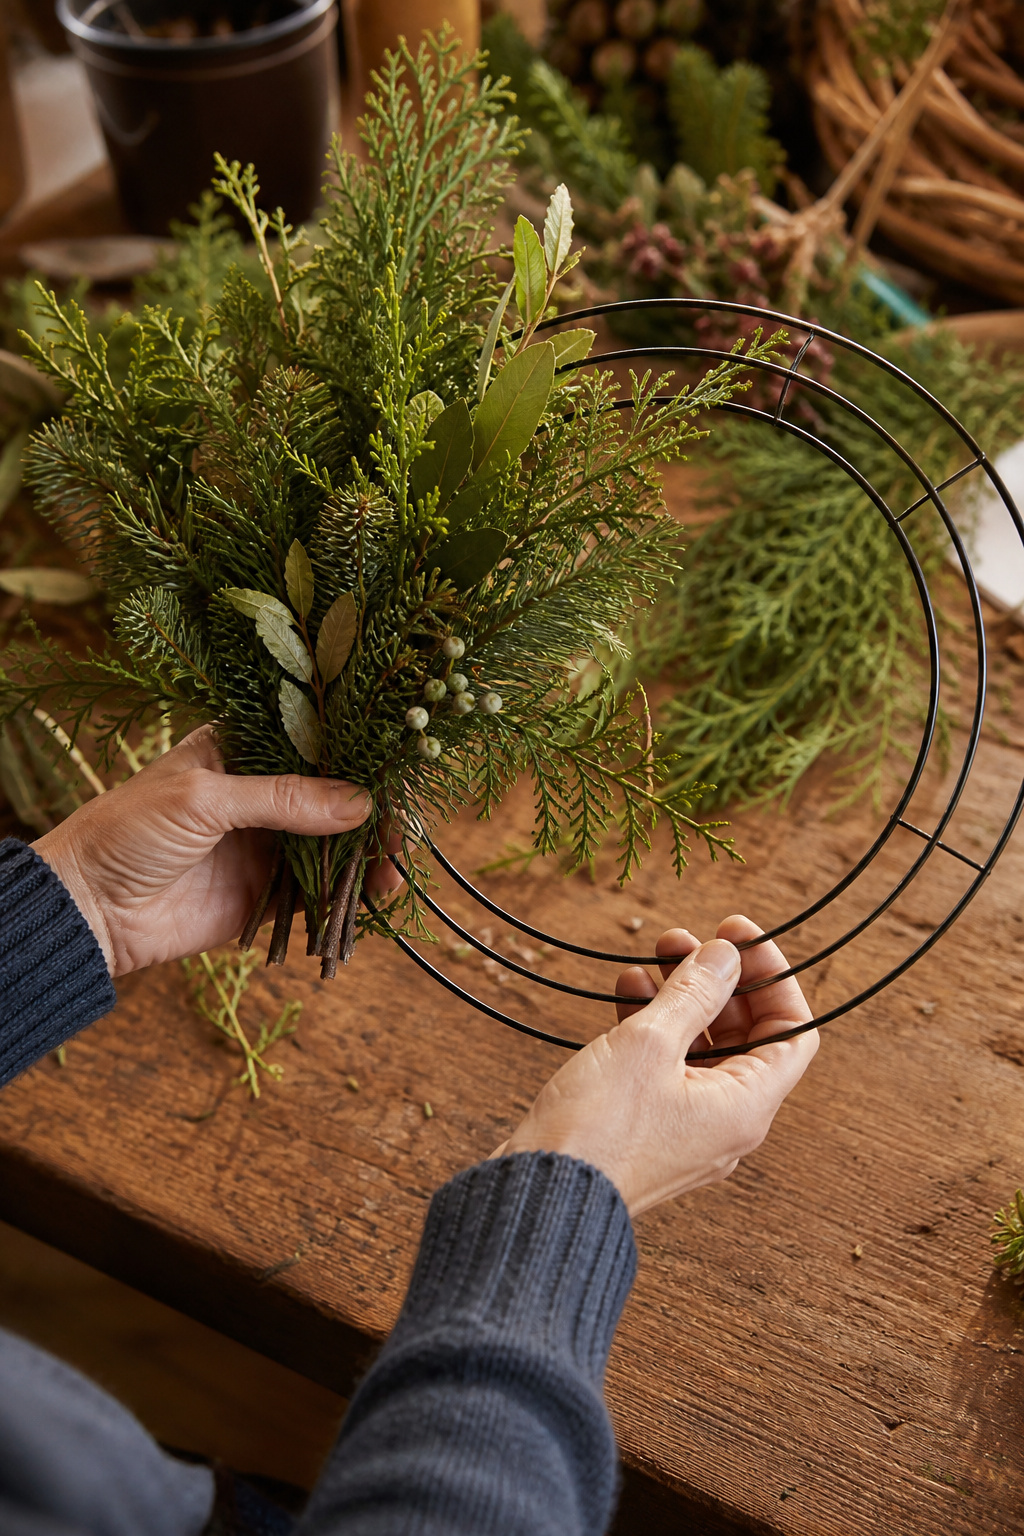
Don’t wire branches to the form one at a time. Cut your greenery into pieces roughly eight to ten inches long, then group three or four pieces, mixing your varieties, into a small bundle you can hold in one hand. A consistent bundle size is what makes a wreath look professional rather than lumpy.
If you’re worried about getting the proportions right, don’t be. Build one bundle, hold it against the form, and adjust before you commit. Once you’ve got a size that looks full but not overstuffed, stick to it for the rest of the wreath.
Wire Each Bundle in One Direction
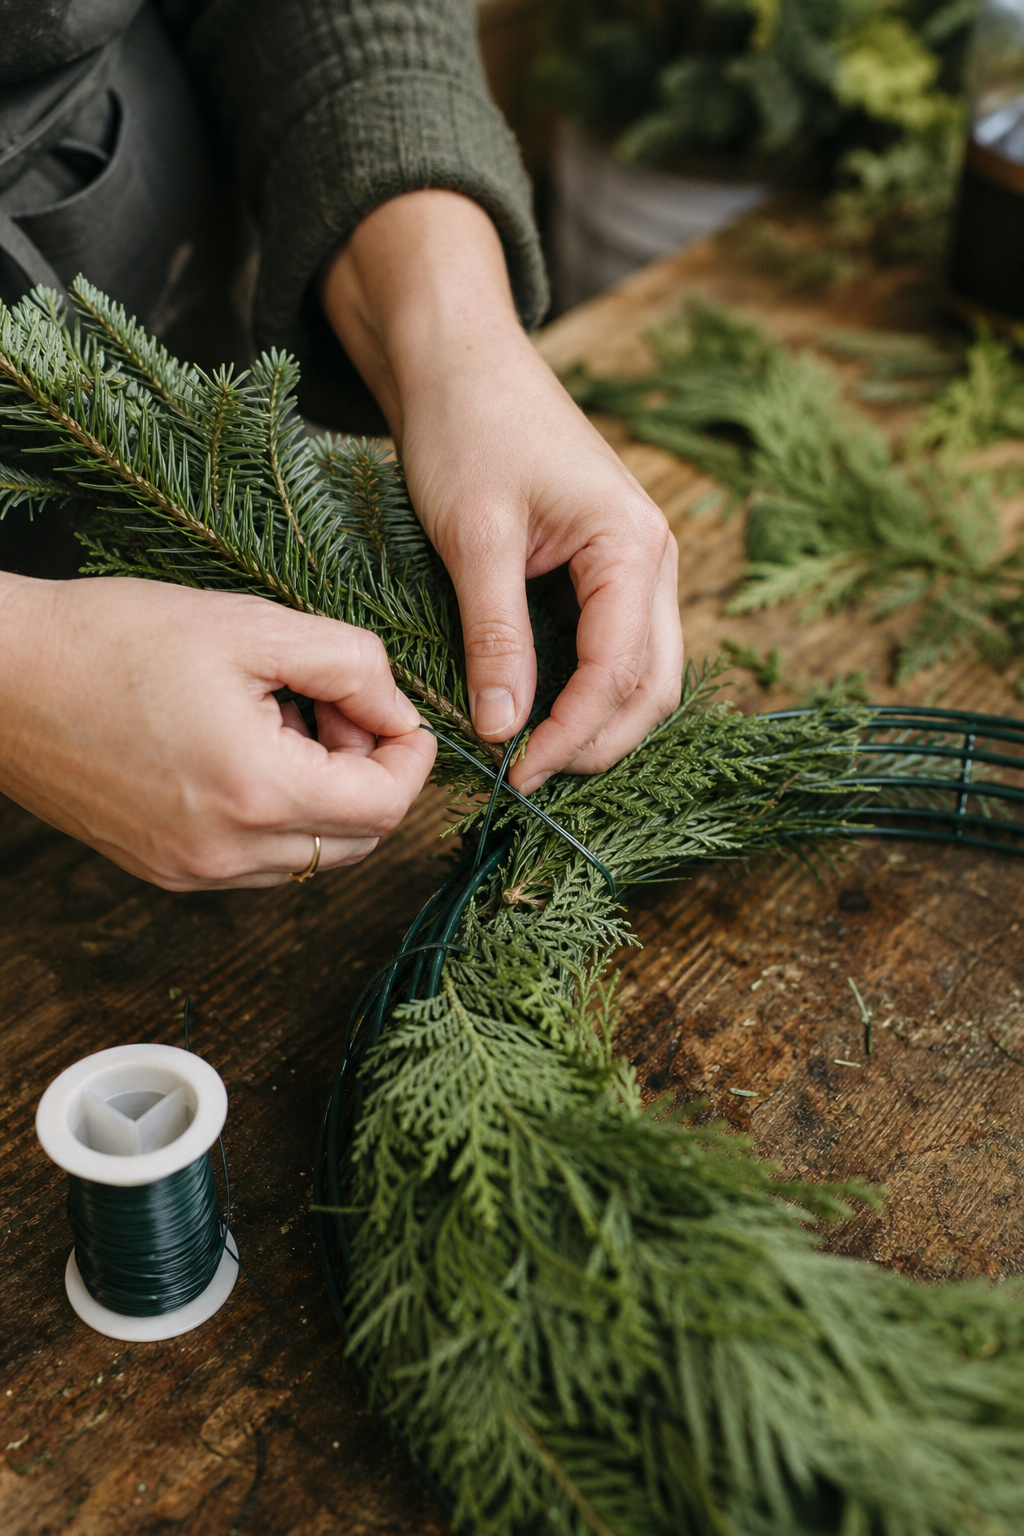
Secure your first bundle to the form with two or three tight wraps of paddle wire. Don’t cut the wire. Keep it attached to the spool and work continuously around the form. This is the single biggest thing that separates a tight, professional wreath from a wobbly one.
Lay your next bundle so it overlaps the stems, not the foliage, of the one before it, hiding the bare wired end. Wrap it down, and keep going around the form in the same direction. Working in one consistent direction creates the layered, shingled look instead of a patchy one.
Check for gaps as you go, not at the end. It’s much easier to add a small bundle into a thin spot mid-build than to try to patch one after the whole wreath is wired.
Finish the Last Stretch Without Pinching the Ring
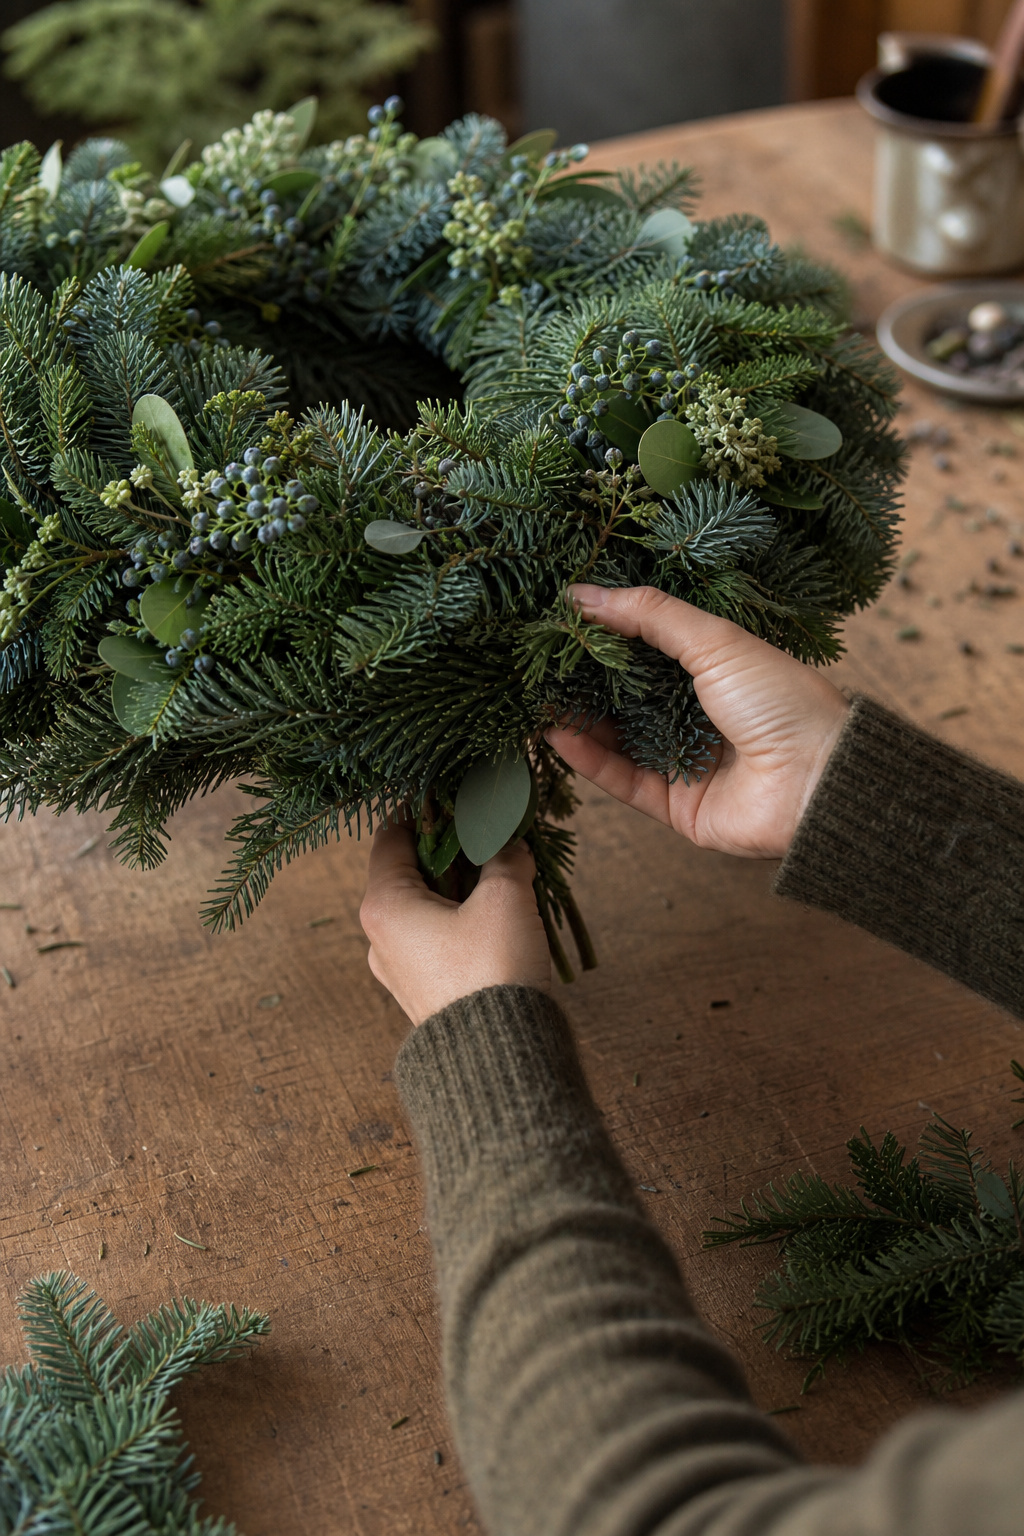
The last few inches are where people get stuck. Make your final bundle slightly smaller than the rest. Lift the very first bundle you wired, slide the last one underneath it, and wire it down. Tuck loose stems under neighboring greenery rather than cutting them off — bare wire ends are the easiest way to ruin an otherwise clean finish.
Step back and look at the whole wreath before you call it done. Rotate it, check both sides for thin spots, and tuck in anything that’s sitting at an odd angle.
This Video Walks Through the Whole Process
If you’d rather watch the wiring technique in motion before trying it yourself, this short video covers it well. Watch it, and see if you agree.
Add Your Finishing Touches

Once the greenery base is built, this is where the wreath becomes yours. A wired bow sits cleaner than a tied one. Wire-edged ribbon holds its shape and won’t go limp by week two.
What I use in the shop: wire-edged ribbon — it holds a bow shape through the whole season instead of drooping after a few days as craft-store ribbon does.
Pinecones, dried orange slices, cinnamon sticks, and small ornaments all wire on the same way the greenery did. If you’re adding anything heavier, like a monogram letter, wire it to the form itself rather than into the greenery. The greenery alone won’t support much weight once it starts to dry.
Products Worth Considering
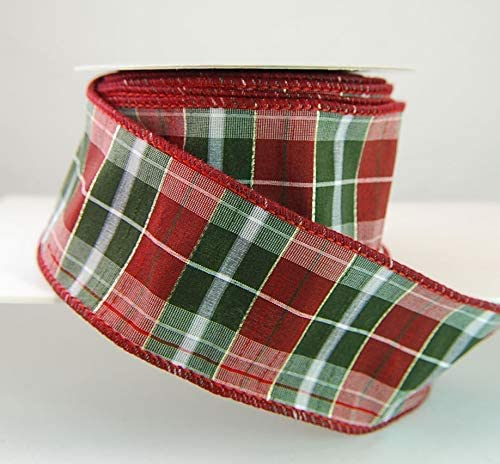
Wired Dark Green and Burgundy Dupioni Ribbon
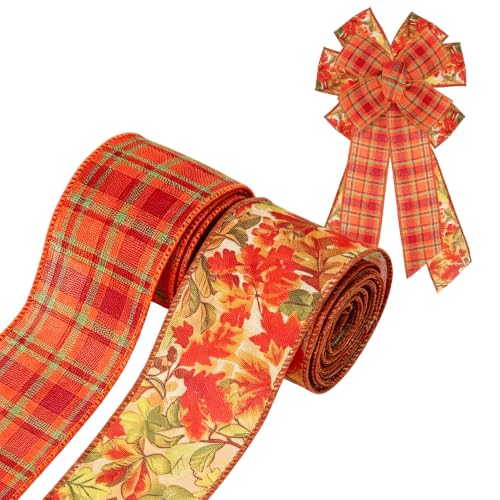
Fall Ribbon Size: Two 5-yard rolls give you 10 yards of 2.5-inch fall wired ribbons—plenty for a full wreath, matching bows, and gift wrapping. You can cut it to any length and shape you like.

Make It Last Through the Season
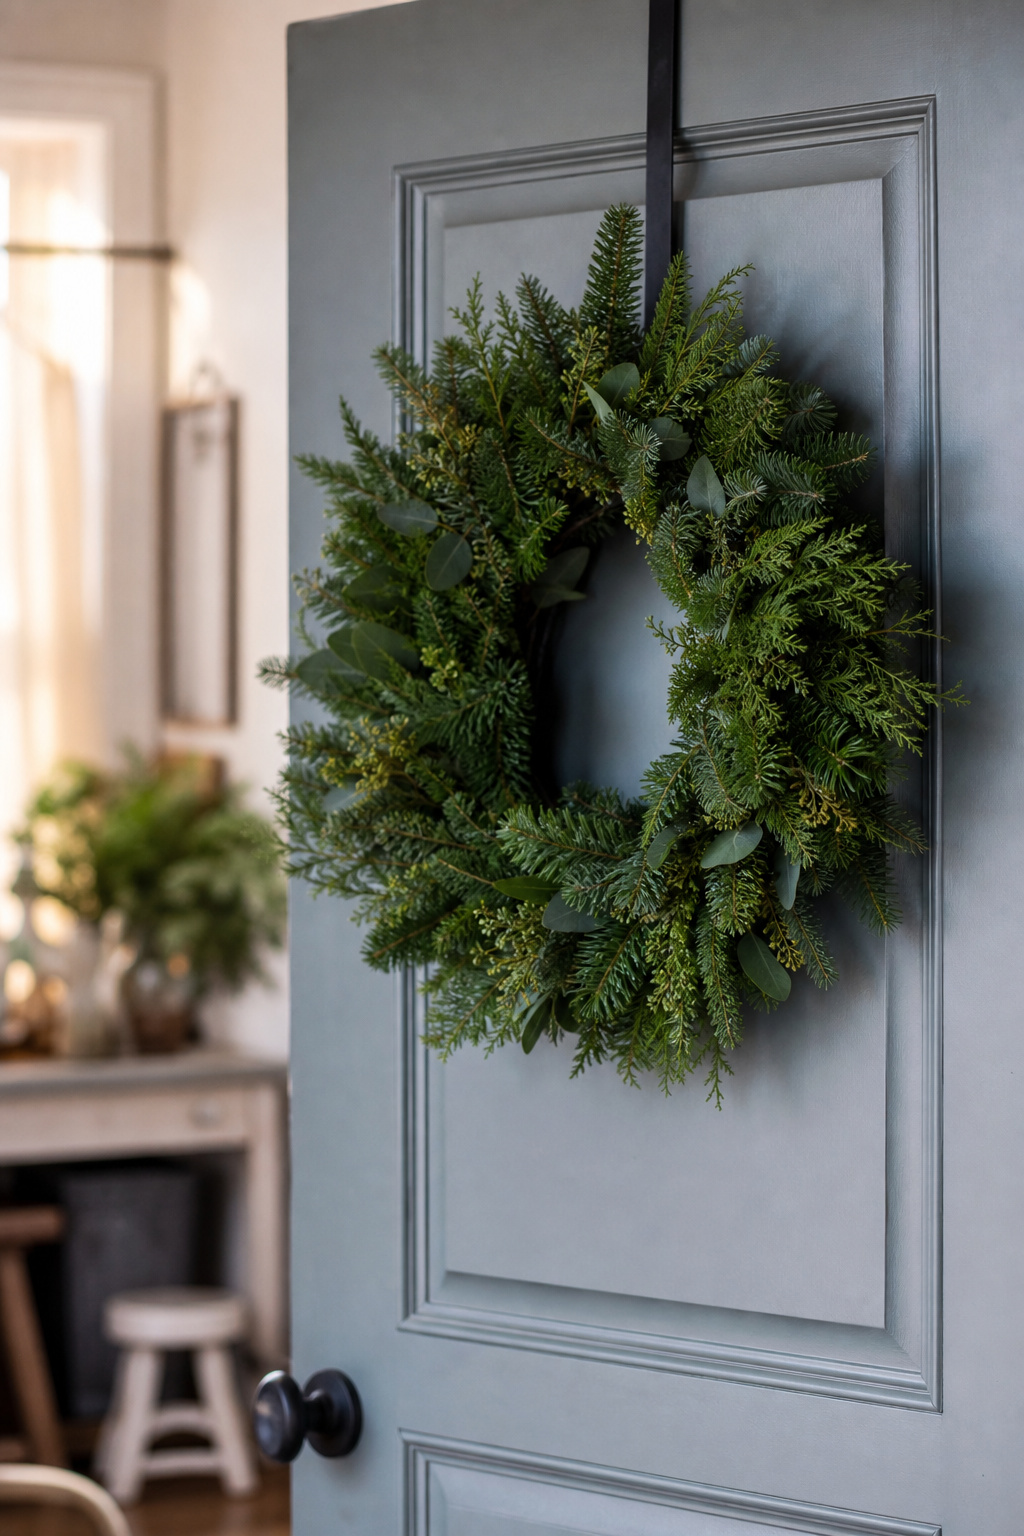
If you’re worried fresh greenery won’t survive past Christmas, don’t be. Properly conditioned fresh greenery, hung somewhere cool and out of direct heat, can hold up well into January. The two-step rule I give people for cut flowers applies here too: start fresh, then keep it cool and away from heat sources. Everything else is secondary.
A light misting with water every few days helps outdoor wreaths in dry climates, though it’s rarely needed for ones displayed outside in typical Midwest winter conditions. Indoor wreaths near a heat vent or fireplace will dry out fastest no matter what you do. If you’ve got the option, hang it somewhere cooler.
Don’t be discouraged if your first one isn’t perfect. Mine wasn’t either. The wiring technique gets faster and more even with practice, and a slightly imperfect handmade wreath still beats most of what you’ll find at a big box store in November.
Frequently Asked Questions
How long will a fresh greenery wreath last?
With good materials and a cool location away from direct heat, three to five weeks is typical. Outdoor wreaths in cold climates often last even longer.
Can I make a wreath without a wire form?
You can use a grapevine or straw form, but wire holds wired bundles more securely over time and won’t loosen the way straw forms sometimes do.
What greenery holds up the longest indoors?
Noble fir and Fraser fir are the most needle-retentive options I use in the shop. Spruce looks lovely but drops needles faster once it’s warm and dry.
How much greenery do I need for an 18-inch wreath?
Plan on roughly 25 to 30 small bundles to fully cover an 18-inch form without gaps.
Can I reuse the wire form next year?
Yes. Strip off the old greenery and ribbon after the season, and the wire form is ready to use again.
Is fresh or artificial greenery better for a DIY wreath?
Fresh greenery smells better and looks fuller, but if you want something that lasts for years rather than weeks, a quality artificial wreath is worth considering for repeated use.
What size wreath fits a standard front door?
24 to 30 inches is the sweet spot for most front doors. On a standard 36-inch door, that leaves a few inches of breathing room on each side without overwhelming the space. If your door is narrower or you want something more subtle, a 20- to 22-inch wreath still makes a statement.
How do I store a wreath between seasons?
If it’s artificial, a sturdy storage container or bag in a climate-controlled space, away from direct sunlight, will keep it looking good year after year. For a fresh wreath you want to dry out and save for decorating rather than compost, hang it upside down somewhere dark and dry. Either way, give it room. A wreath crammed into a tight space comes out crushed.
Should I treat an indoor wreath with fire-retardant spray?
It’s not strictly necessary, but in my opinion it’s a smart precaution if the wreath is going anywhere near candles or a fireplace mantel. Look for a UL-listed spray made for decorative greenery and apply it in a well-ventilated spot. If you’re working with an artificial wreath, check the packaging first. A lot of them are already treated during manufacturing.
Closing Thoughts
A wreath you build yourself, with greenery you picked and wired by hand, holds up better than most of what you’ll find on a store shelf, and it costs less, too. Once you’ve got the wiring technique down, it transfers to garlands, kissing balls, and just about anything else built on a frame.
I’d love to know how yours turns out. Drop a comment below with your greenery mix or a photo if you’ve got one. I read every one.
Til next time,