Disclosure: This post may contain affiliate links. If you click and buy, we may earn a commission at no extra cost to you. As an Amazon Associate, we earn from qualifying purchases.
Last Updated: June 2026
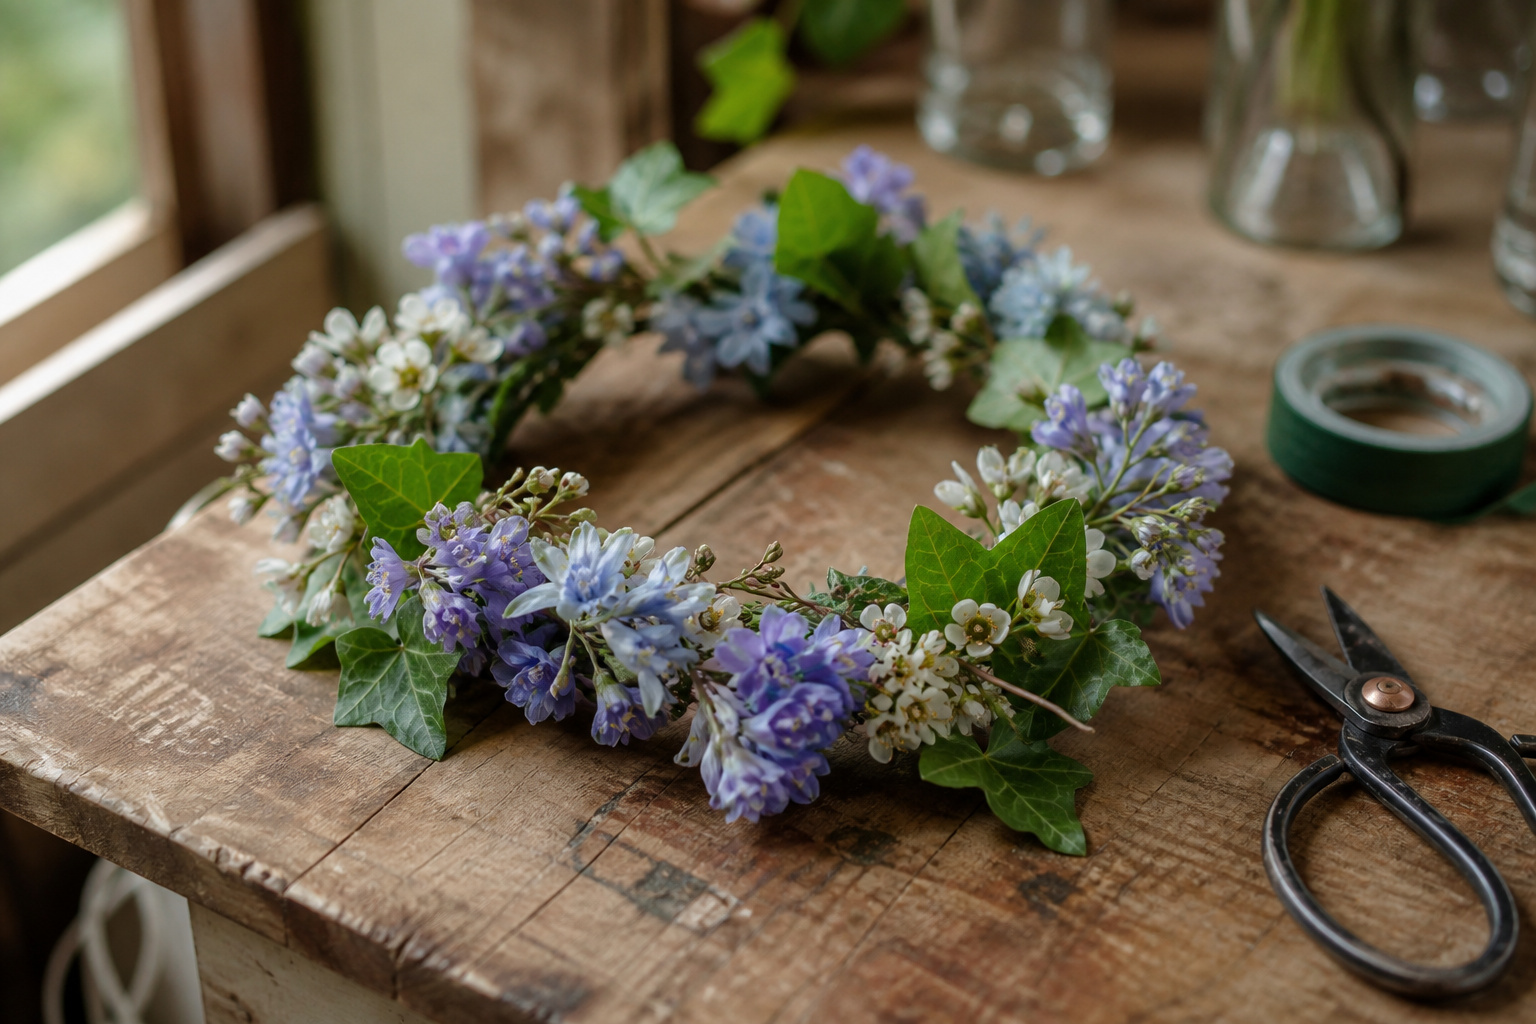
A customer came into the shop a few years back asking if we could make her daughter a flower crown for prom. Simple enough request. Except she also said the flowers needed to last twelve hours, through dinner, dancing, and a post-prom bonfire.
That’s when I had to start asking the right questions, because the flowers you choose and the way you build a floral headpiece make all the difference between something that looks great in photos and something that’s wilting by 9 p.m.
This post walks through what actually goes into making a floral headpiece that holds up, from choosing the right flowers to wiring technique to keeping everything fresh as long as possible.
I’ve also included a tutorial video from Hitomi Gilliam, one of the best floral designers and teachers I’ve come across. Watch it, and see if you agree.
Watch the Video First
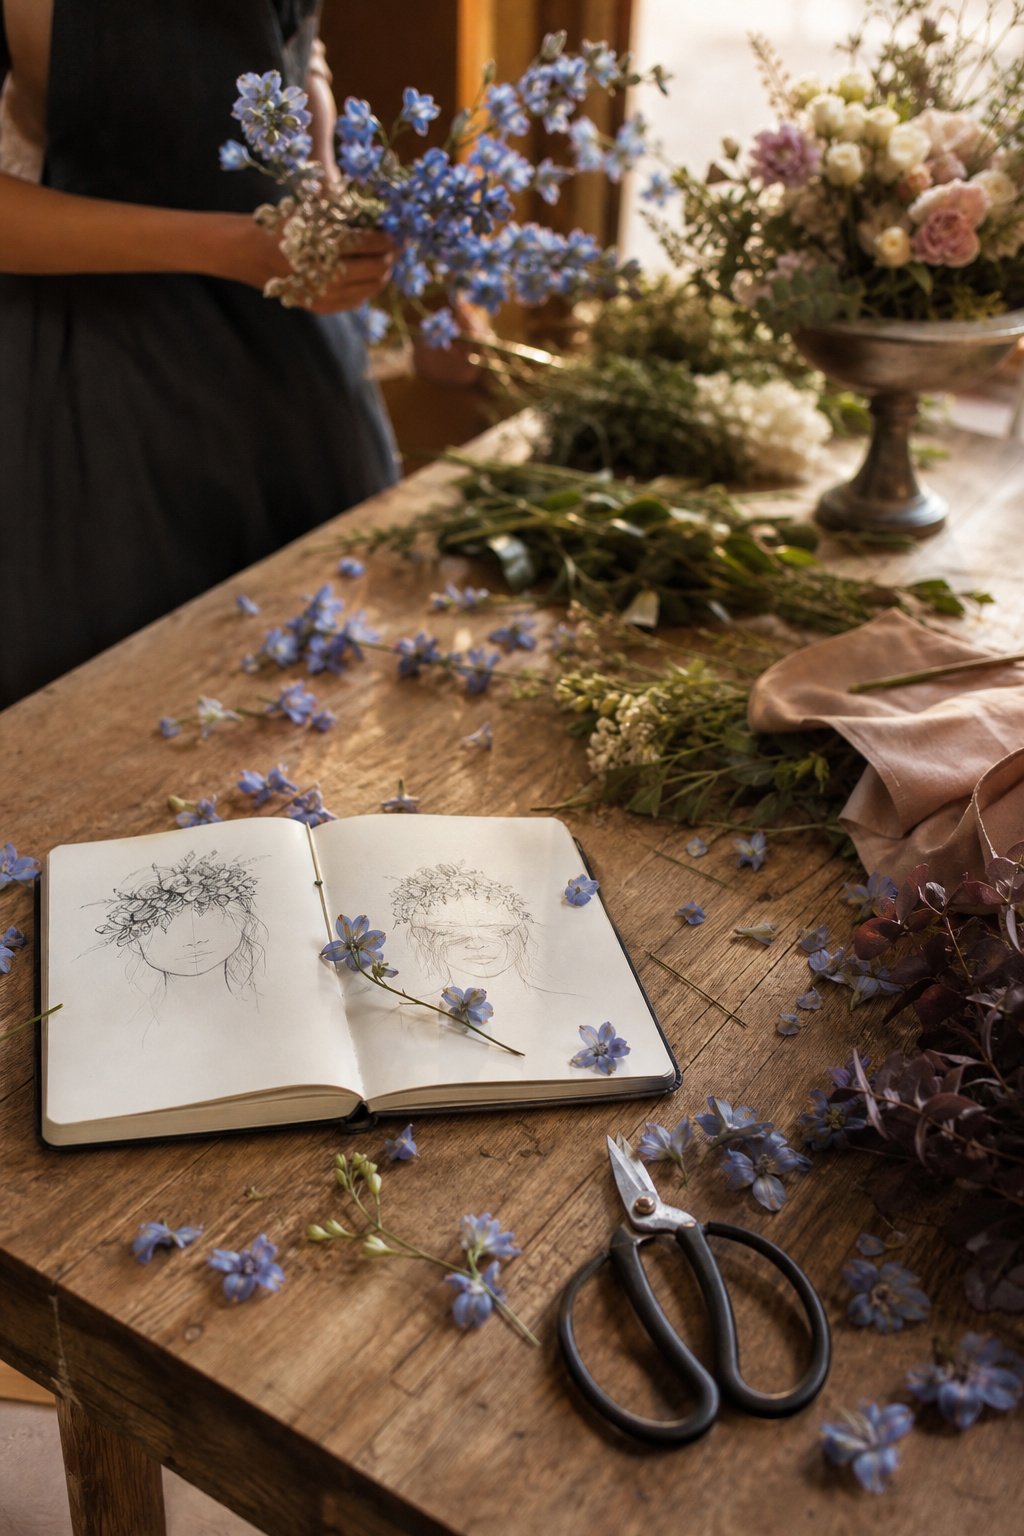
Hitomi walks through the full process, step by step, and she has a way of making it look straightforward without skipping techniques. Even if you’ve never made a headpiece before, this video gives you a solid foundation. A few of her tricks were new to me, and I’ve been doing this a long time.
Choose Flowers That Can Take the Heat
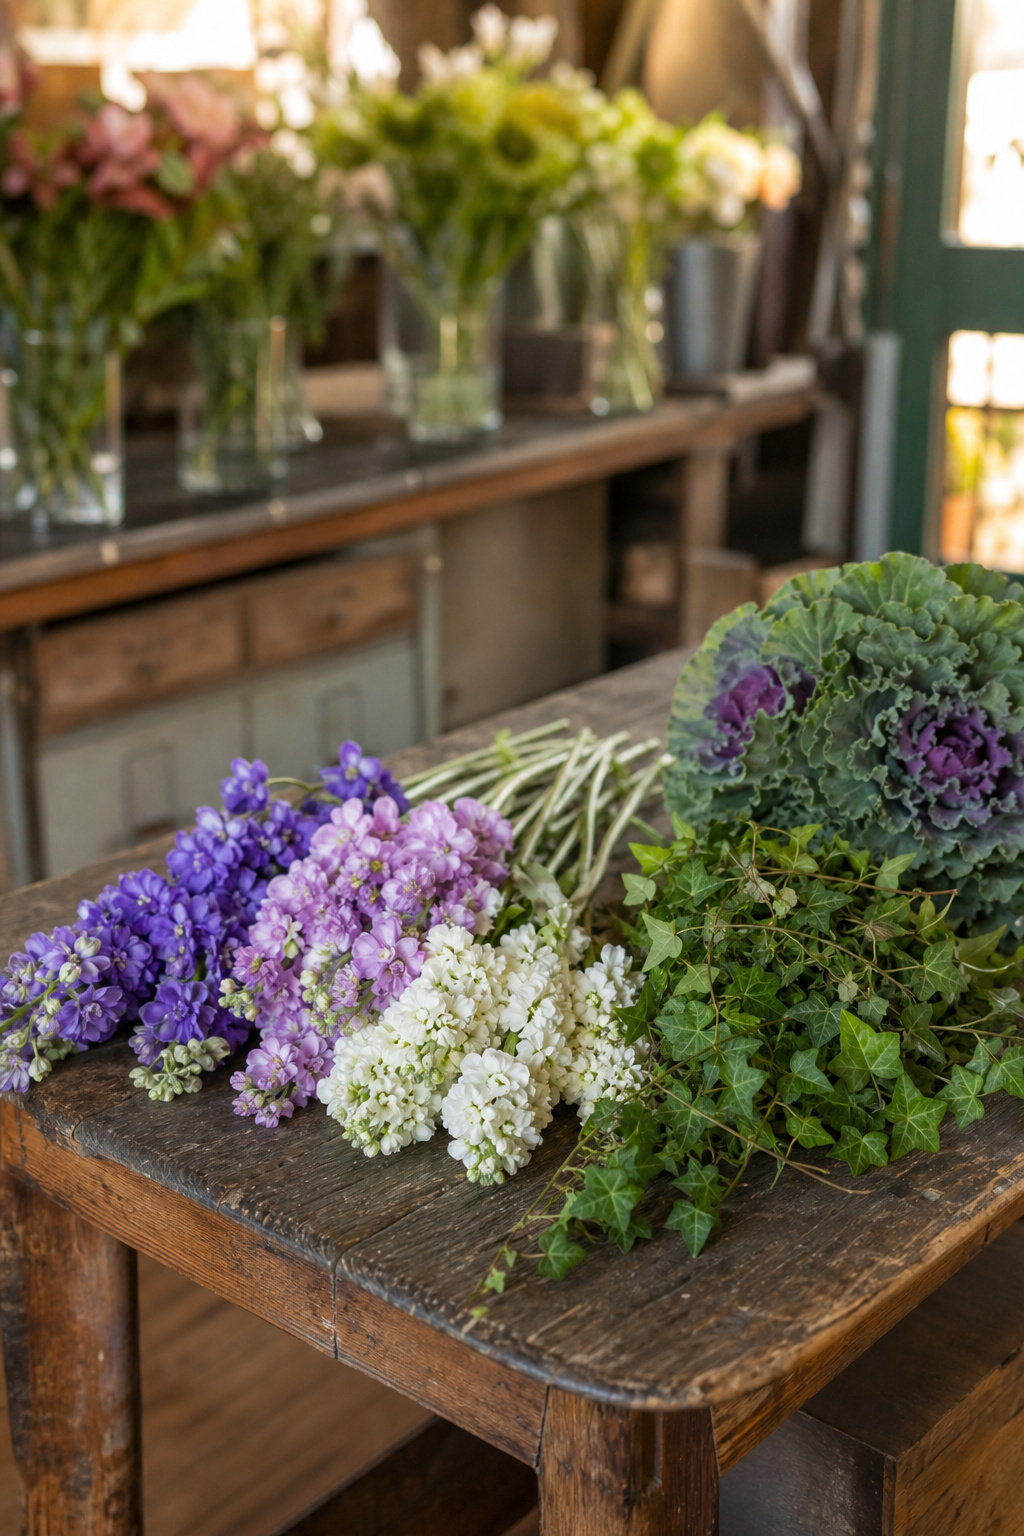
Not all flowers are cut out for headpiece work. You want varieties that are compact, sturdy, and don’t drink a ton of water. Because once they’re wired into a headpiece, keeping them hydrated becomes an issue.
In the video, Hitomi uses larkspur, stock, ivy, and ornamental kale. Those are solid choices. Here’s how I think about it from a florist’s standpoint:
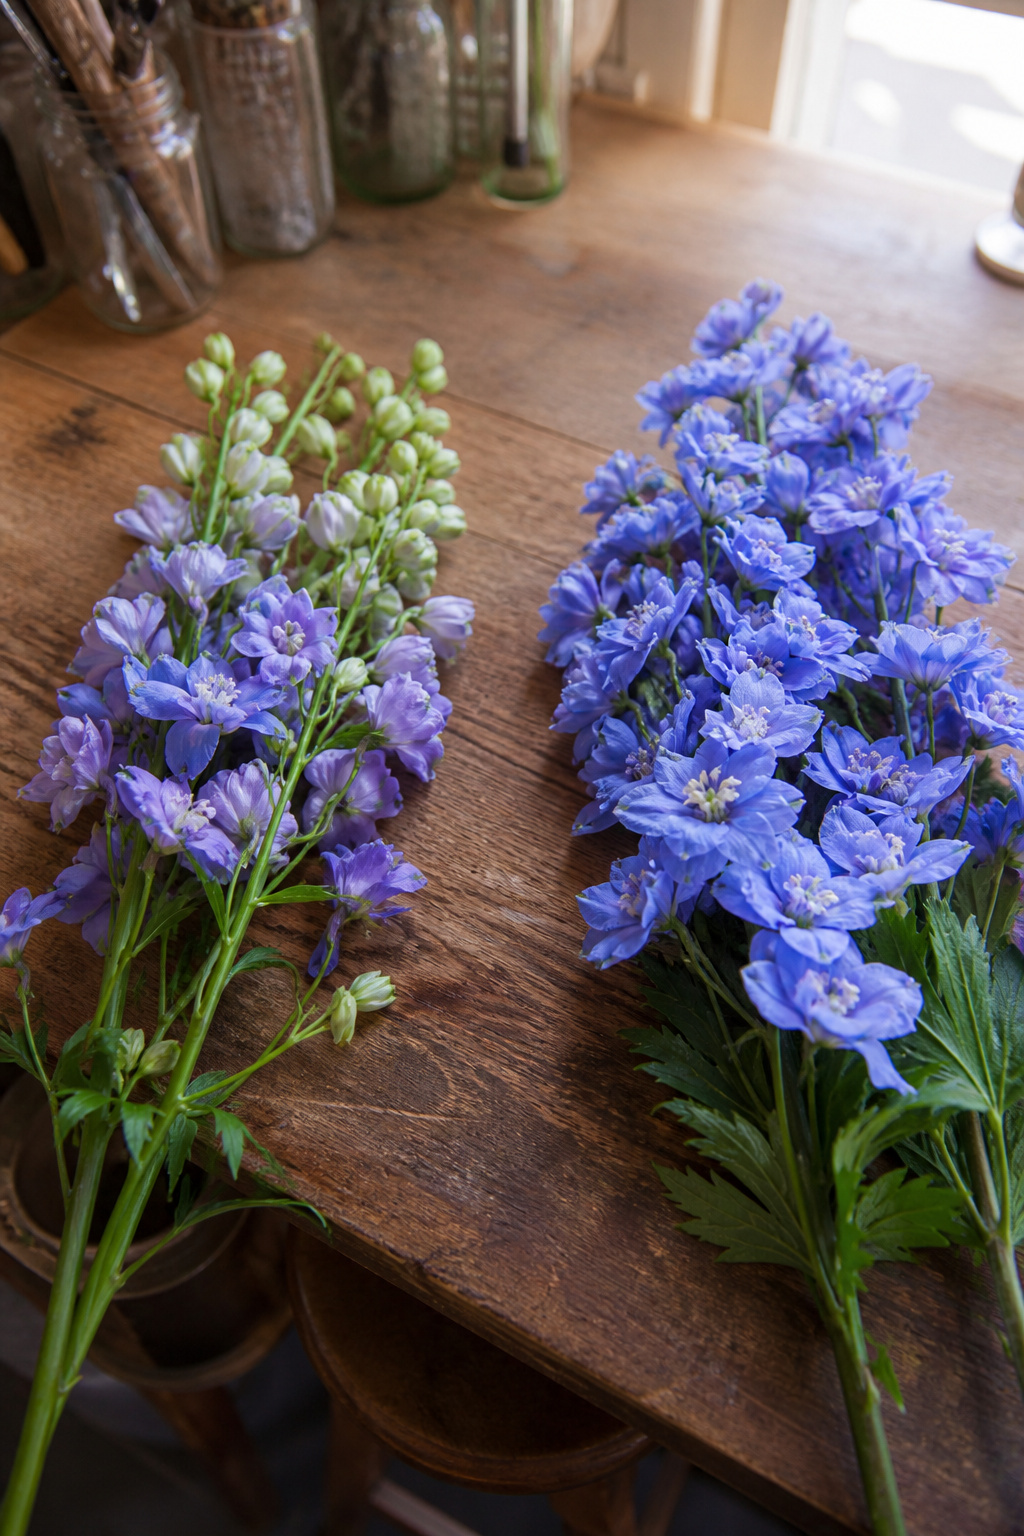
Larkspur — Delicate-looking but surprisingly tough when wired correctly. Individual florets hold up well once they’re off the stem.
Stock — A little more fragile, but the clustered florets give you good coverage and a nice variety of colors. Condition these overnight before you work with them.
Ivy — My go-to for trailing greenery. It lasts well, it’s flexible, and it gives the piece movement without adding weight.
Ornamental kale — Underrated in headpiece work. The textured leaf adds visual interest, and it holds without wilting.
Other flowers I’ve used successfully: spray roses, wax flower, chamomile, and veronica. Stay away from large open blooms like garden roses or peonies. They’re too heavy and too thirsty for a wired piece.
Where to Source Your Flowers
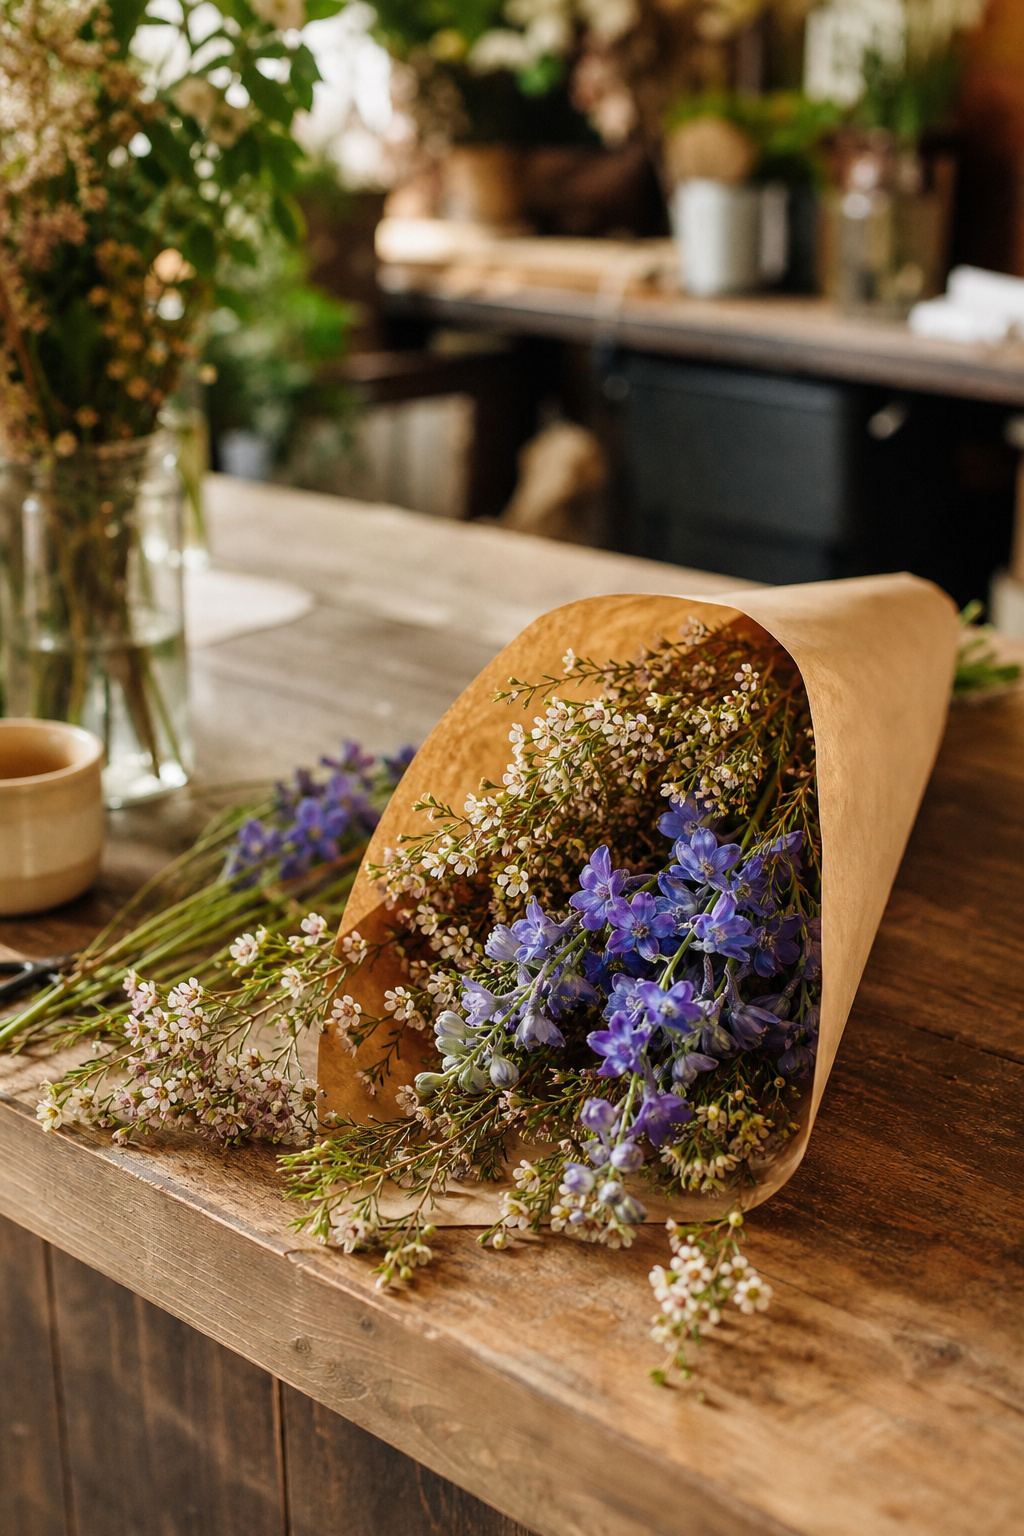
For a headpiece, you don’t need a lot of flowers. We’re talking a handful of stems, not a full centerpiece order. That changes your buying strategy.
My recommendation: go to your local florist. You can buy small quantities; the flowers are already conditioned, and you can see what you’re getting. Most florists are happy to sell a few stems over the counter. Call ahead so they can pull what you need.
If your florist doesn’t carry what you’re looking for, or you want silk flowers instead of fresh, craft stores like Hobby Lobby and Michaels are a reasonable backup. The silk options have gotten better over the years. For a one-day event, a well-made silk bloom can pass.
Get the Right Supplies Before You Start
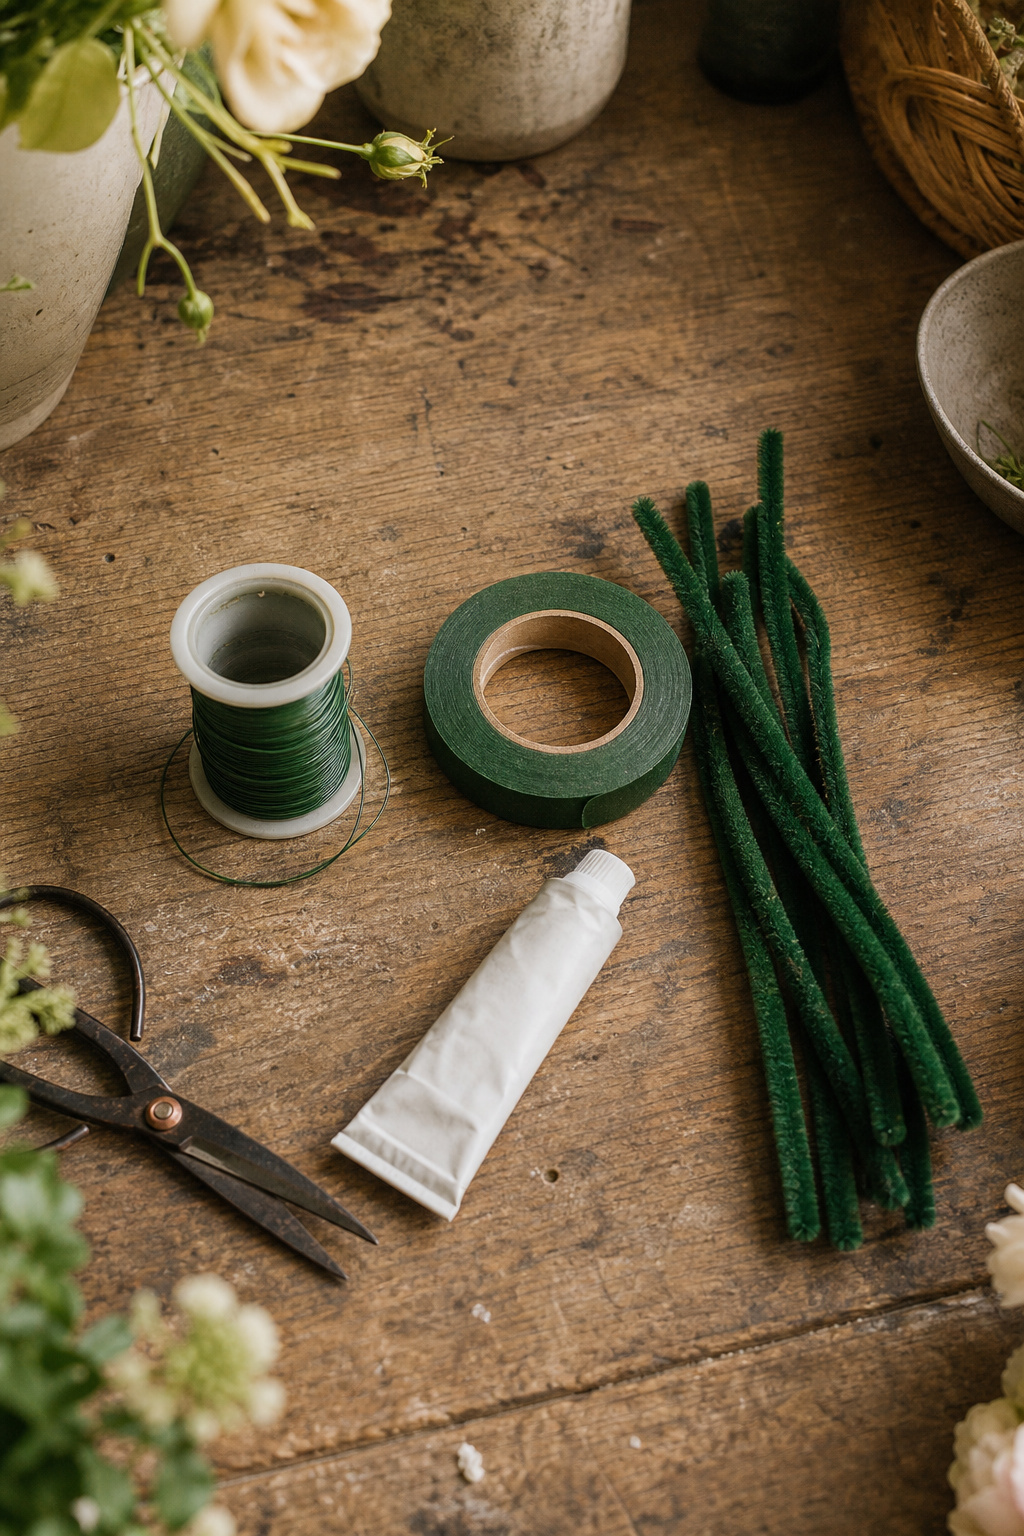
The flowers are only part of it. The hardware matters just as much. Here’s what you need on the bench before you pick up a single bloom.
Floral wire — 26-gauge works for most small flowers and foliage. Go to 28-gauge for very delicate florets. You’ll use more of this than you think.
Floral tape — Green or brown, self-sealing. This wraps the wired stems and holds everything together. Stretch it as you wrap — that’s what activates the adhesive.
Chenille stems (pipe cleaners) — These form the base of the headpiece. You can pick them up at Hobby Lobby or any craft store. They’re flexible and hold their shape, which is exactly what you want.
Cold glue — Not hot glue. Cold glue won’t damage fresh flowers the way a hot glue gun will. It’s a staple in our shop for any fresh floral design work that requires adhesive.
What I use in the shop: Floracraft Cold Glue — holds well on fresh flowers and foliage without the heat damage risk.
Ribbon — Optional, but a few inches of ribbon tied at the back gives you an adjustable fit and a finished look. Satin or velvet both work well.
The Wiring Technique Is Everything
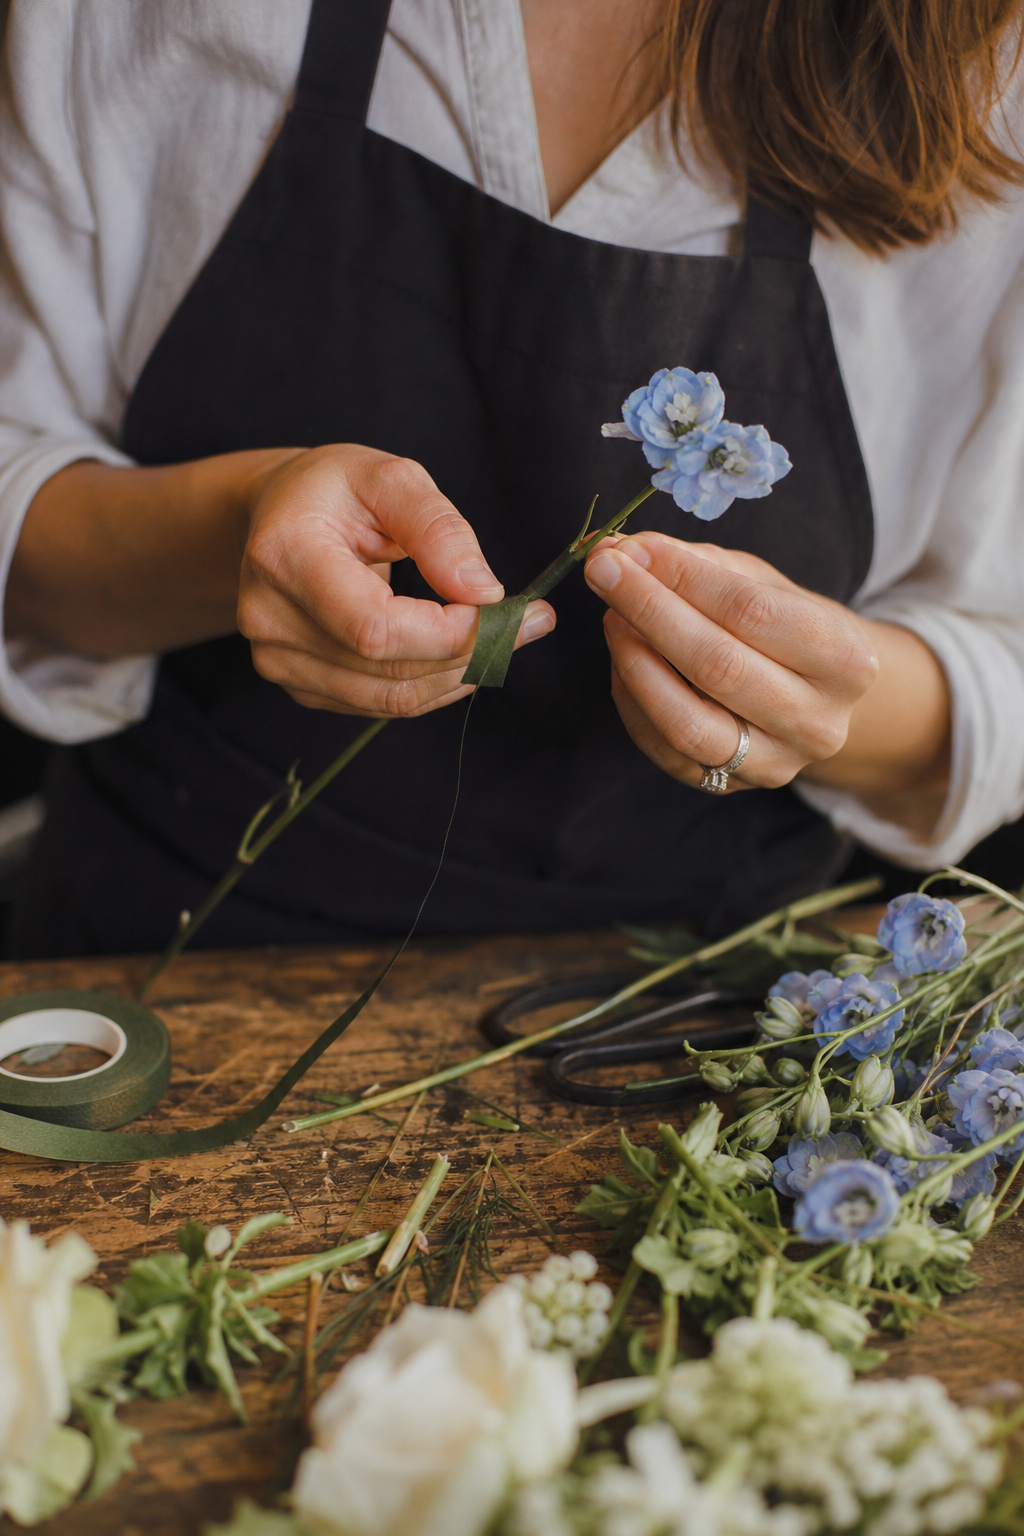
This is where most first-timers run into trouble. The flowers aren’t the hard part — the wiring is. Hitomi covers this well in the video, but let me add a few things I’ve picked up over the years.
Wire each flower unit separately before you start assembling. Take your stem, cut it to about an inch below the bloom, push a wire through the base of the flower head, bend both wire ends down, and wrap the whole thing with floral tape. Do all of this before you touch the base. Assembly goes much faster when you’re not wiring and placing simultaneously.
Keep your wired units short and tight. A long wire tail doesn’t add strength; it adds bulk and weight. You’re building something that sits on someone’s head, so the lighter the better.
When attaching to the chenille stem base, work from one end to the other in the same direction. Overlap each unit slightly as you go so there are no gaps. Tape as you add, don’t wait until the end.
Keep It Fresh as Long as Possible
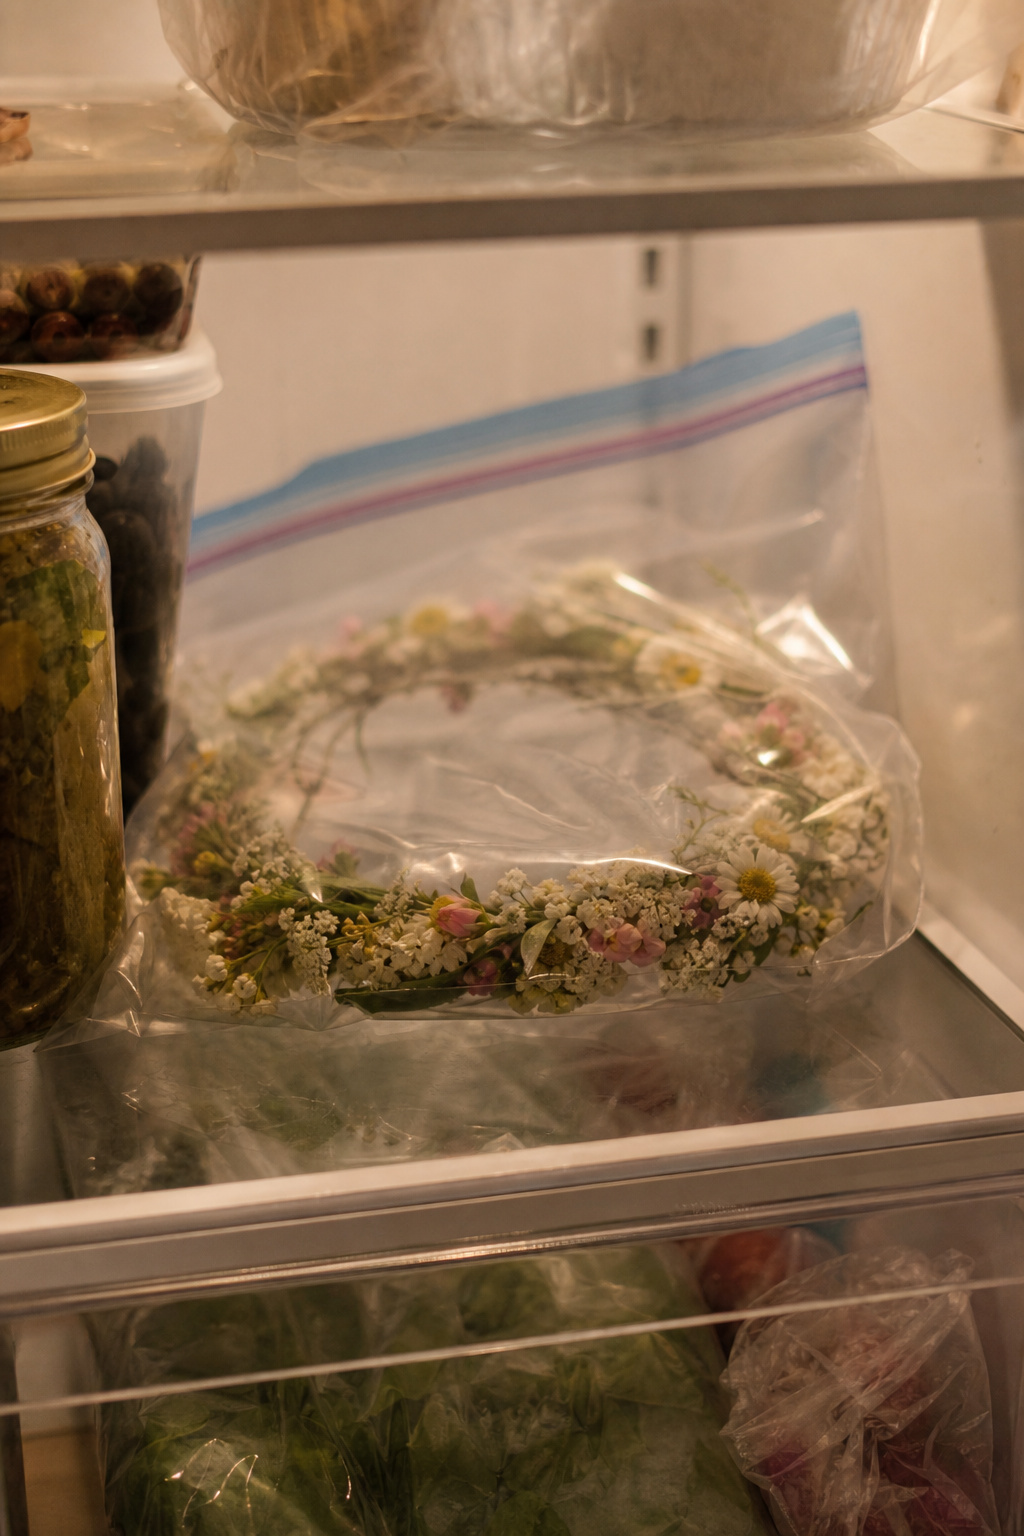
Once you wire a flower, the clock starts. Here’s how to slow that clock down.
Build the headpiece as close to the event as you can. For a morning event, I’d build it the evening before and store it overnight. For an evening event, build it the morning of. Avoid building it two or three days out. You’ll lose too much bloom life.
Store the finished piece in a zip-lock bag in the refrigerator overnight. The bag traps humidity, and the cold slows everything down. Don’t put it in the freezer. Don’t store it near produce. Ethylene gas from fruits and vegetables accelerates wilting.
A light misting of water on the back of the piece (not the blooms themselves) right before the event helps extend freshness. And keep it out of direct sunlight and away from heat sources. including car dashboards on a warm day.
If you want a little extra insurance, a floral finishing spray like Crowning Glory applied after you’re done building can help seal in moisture. I wouldn’t skip it for a multi-hour outdoor event.
What About Silk Flowers?
I get asked this a lot. My honest take: silk flowers are a perfectly reasonable choice for headpieces, especially for kids or for events where the piece might get handled roughly. The logistics are simpler — no refrigeration, no wilting, no timing pressure. You can build it a week ahead.
The tradeoff is that silk doesn’t look or feel the same as fresh up close. For a prom photo from ten feet away, most people won’t notice. For a bride who wants that real-flower look and feel in her wedding portraits, fresh is the right call.
If you go silk, the wiring technique is the same. The main difference is that you don’t need to rush, and you don’t need cold storage.
Frequently Asked Questions
How long does a fresh flower headpiece last?
Expect 6 to 10 hours under normal conditions. less in heat or direct sun. Proper storage the night before and a light misting before the event help maximize that window.
Can I make a floral headpiece without any prior experience?
Yes. The wiring technique takes a little practice, but there’s no real shortcut around it. Just work through a few test units before you start the real thing. The video tutorial above is a good starting point.
What flowers last longest in a headpiece?
Wax flower, spray roses, veronica, and chamomile are among the most durable. Avoid large open blooms and anything with a high water requirement.
Do I need a professional floral cooler to store the finished piece?
No. A regular refrigerator works fine. Store the piece in a sealed plastic bag, away from produce, and take it out shortly before the event.
Can I use hot glue instead of cold glue on fresh flowers?
I’d steer clear. Hot glue can burn the base of a fresh flower and accelerate wilting at the attachment point. Cold glue is the standard for fresh flower work for a reason.
Where’s the best place to buy flowers for a headpiece?
Your local florist is the first call. Small quantities, already conditioned, and you can see the quality before you buy. If fresh isn’t available in the varieties you want, craft stores carry decent silk options.
Closing Thoughts
A floral headpiece is one of those projects that looks complicated from the outside and turns out to be very manageable once you understand the mechanics. Get your wiring right, pick flowers with some staying power, and time your build close to the event. That’s really most of it.
If you’ve made a headpiece before, fresh or silk. I’d be curious what flowers worked best for you. Drop a comment below and let me know what you used and how it held up.
Til next time,