
Disclosure: This post may contain affiliate links. If you click and buy, we may earn a commission at no extra cost to you. As an Amazon Associate, we earn from qualifying purchases.
Last Updated: August 2026
A customer walked into the shop a few Octobers back and asked me, half joking, if I could make a bouquet that would actually scare her mother-in-law. I laughed, but she wasn’t kidding. That’s how I ended up building my first skull-and-bones arrangement, and it’s stuck around as one of my favorite Halloween projects every year since.
If you want to try one yourself, event florist Eddie Zaratsian put together a video that walks through the whole build. It’s a good one. Even if you’ve never touched floral foam before, you can follow along.
Watch the Build Before You Start
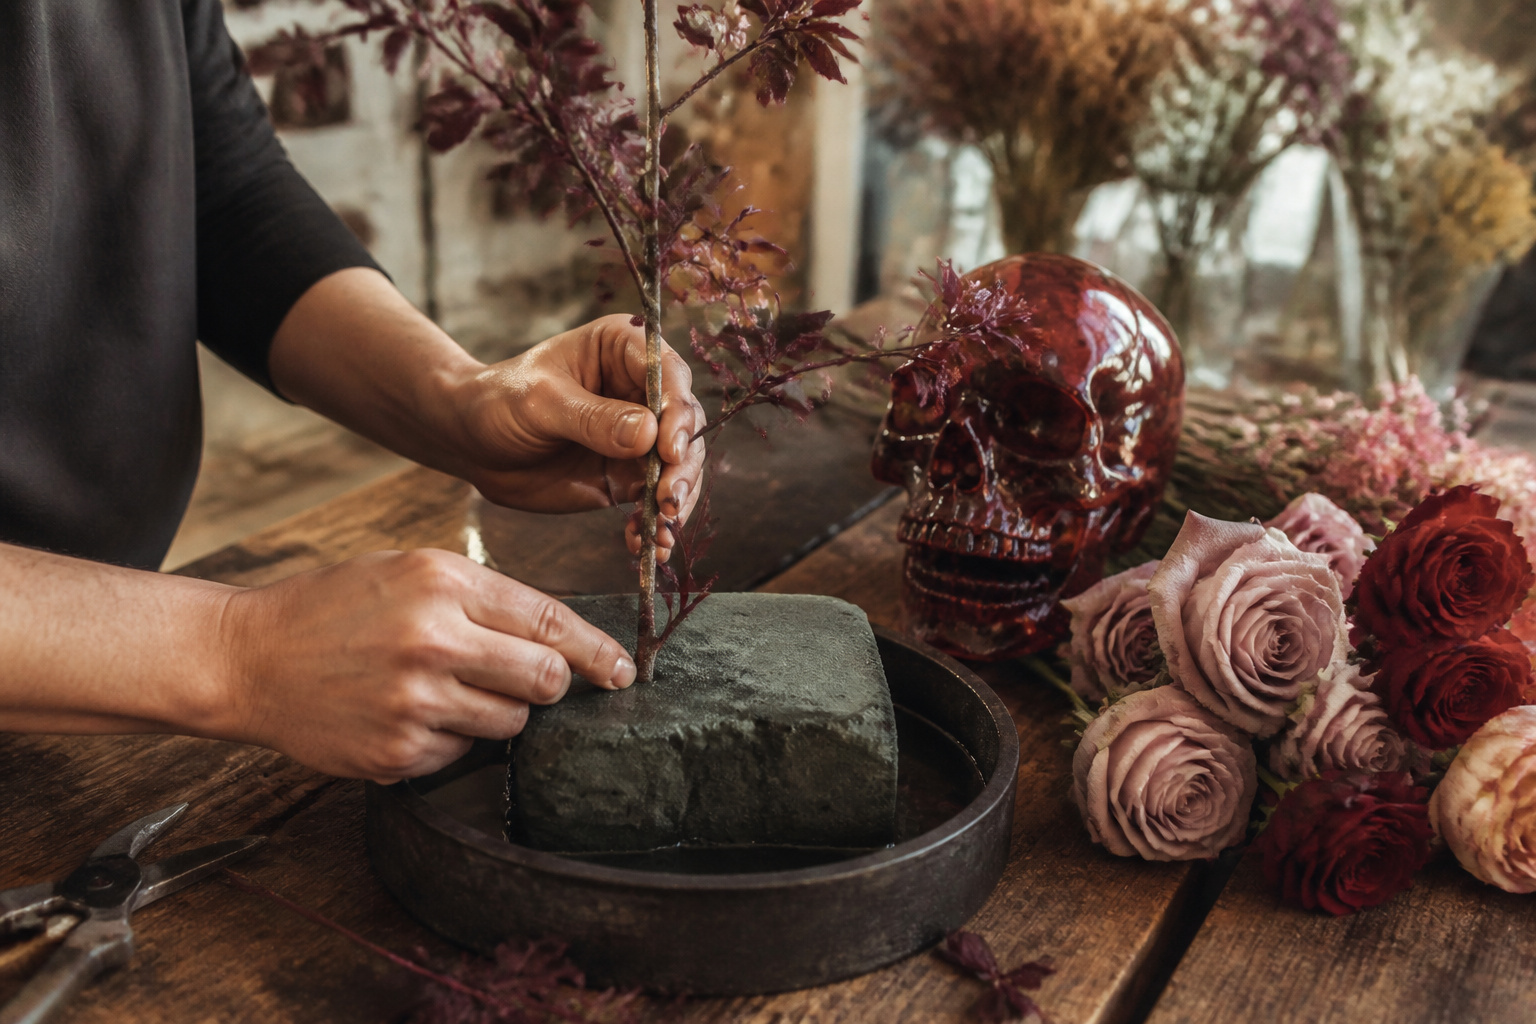
Whether you’re a seasoned designer or you’ve never arranged a stem in your life, this short tutorial lays the mechanics out in a way that’s easy to follow. It’s a video I think you’ll enjoy, especially if you love decorating for Halloween as much as I do. Watch it and see if you agree.
Cool, right? I thought you’d like it. And I’d bet you’re already itching to give it a shot yourself.
Here’s the part worth sitting with for a second: the framework behind this arrangement isn’t a Halloween-only trick. Once you understand how the foam, the branches, and the focal flowers work together, you can build arrangements like this for pretty much any occasion.
Source Your Materials Without the Runaround
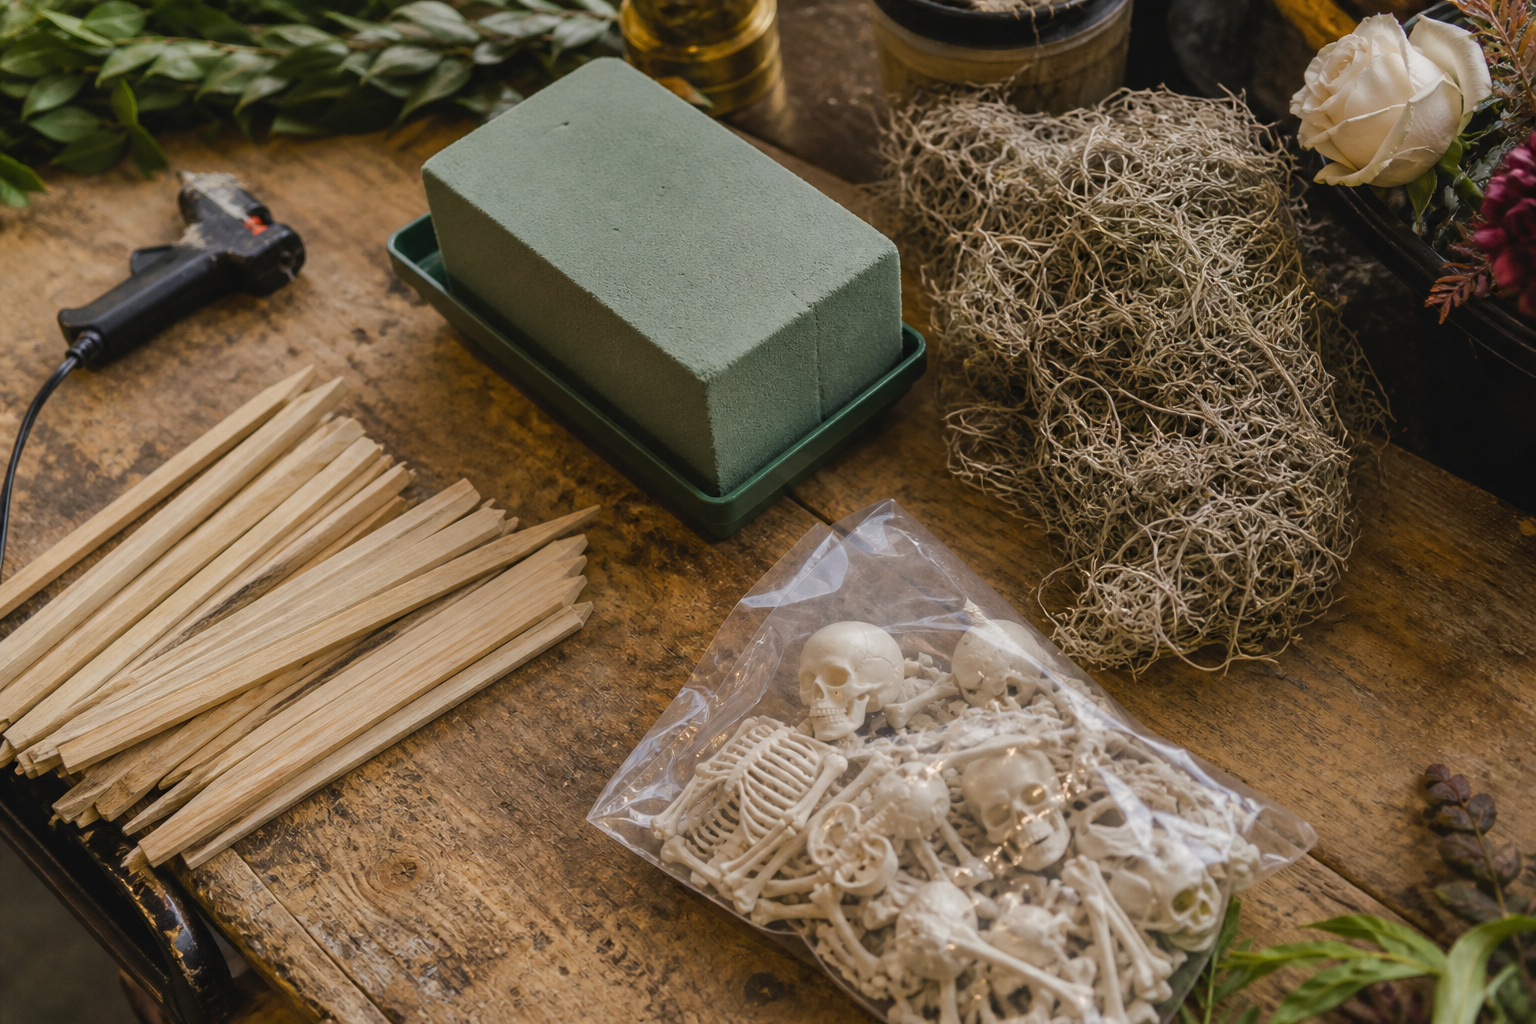
Finding everything you need for this build is easier than it looks. Here’s what I use in the shop, and where I point people when they ask.
What I use in the shop: floral foam to anchor the whole design, plus Spanish moss to cover the mechanics once everything’s in place.
What I use in the shop: cellophane to keep the foam from leaking onto whatever surface it’s sitting on, and wood stakes to secure heavier branches into the foam so they don’t shift.
What I use in the shop: a glue gun and glue sticks for attaching any decorative pieces that won’t hold on their own, and the bag of skull and bones you saw in the video, which is the same one I keep on hand every fall.
Beyond that, other creepy decorations turn up on Amazon, eBay, and Walmart at prices that won’t wreck your budget. Don’t skip Dollar Tree, either. It’s one of my go-to stops for small Halloween accents to tuck into arrangements like this one.
Keep the Flower List Short
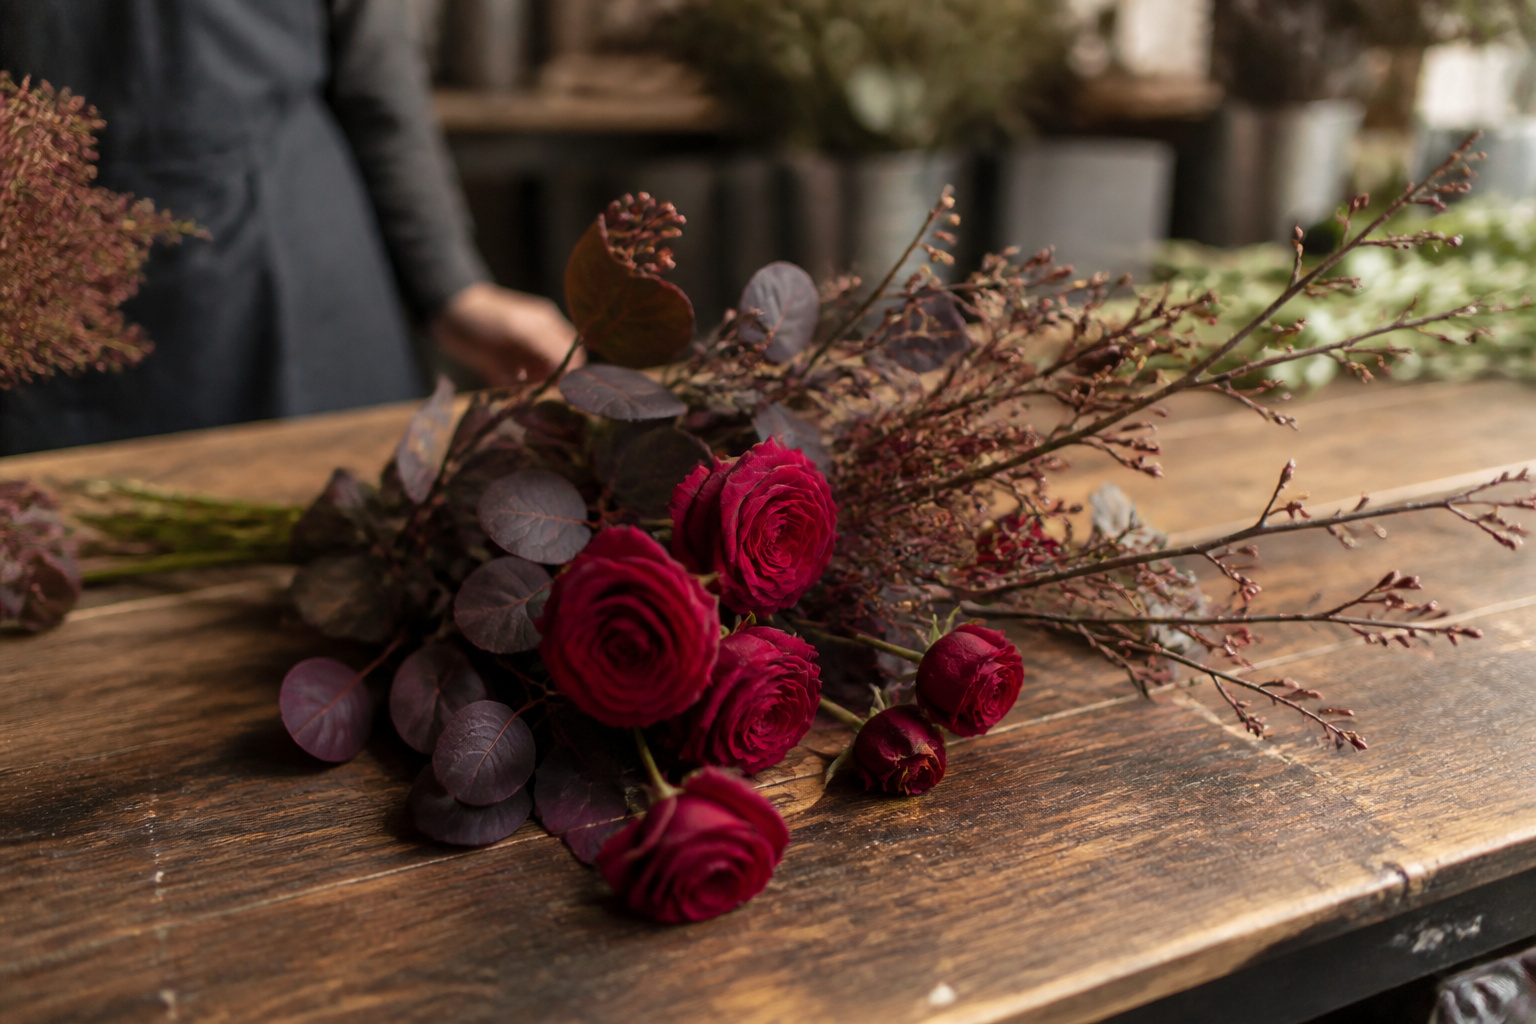
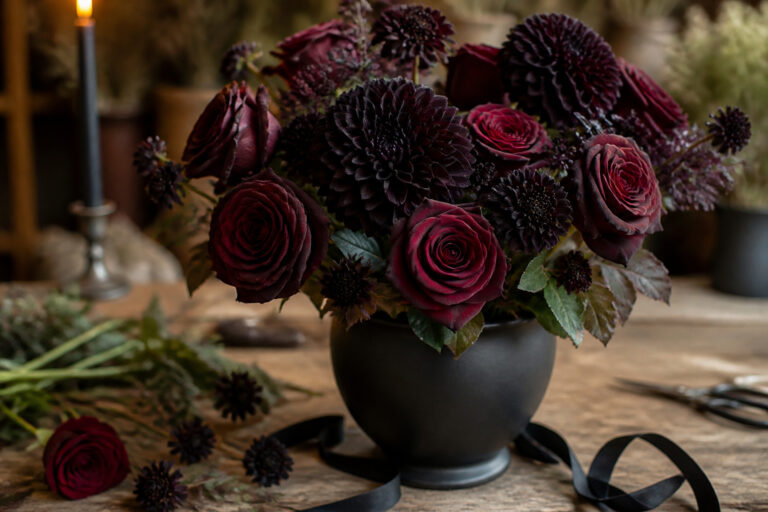
You don’t need a full cooler of stock to pull this off. A handful of roses, some branches, and a bit of foliage will get you there. The video uses plum branches, but cotinus, sometimes called smoke bush, works just as well if that’s what you’ve got growing nearby.
Check with your local florist first. They can usually get you a bunch of branches, and I’d pick up the roses from them while you’re there.
A short walk around your neighborhood will often turn up all the branches you need for free. And if you want something you can pack away and reuse next year instead of tossing it after one season, faux flowers and foliage sub in just fine for fresh blooms.
If you’d rather see more finished examples before you commit to a design, I’ve rounded up ten Halloween arrangement ideas and a set of black and white Halloween arrangements that take a different approach than the skull-and-bones look here.
Reuse This Framework Beyond Halloween
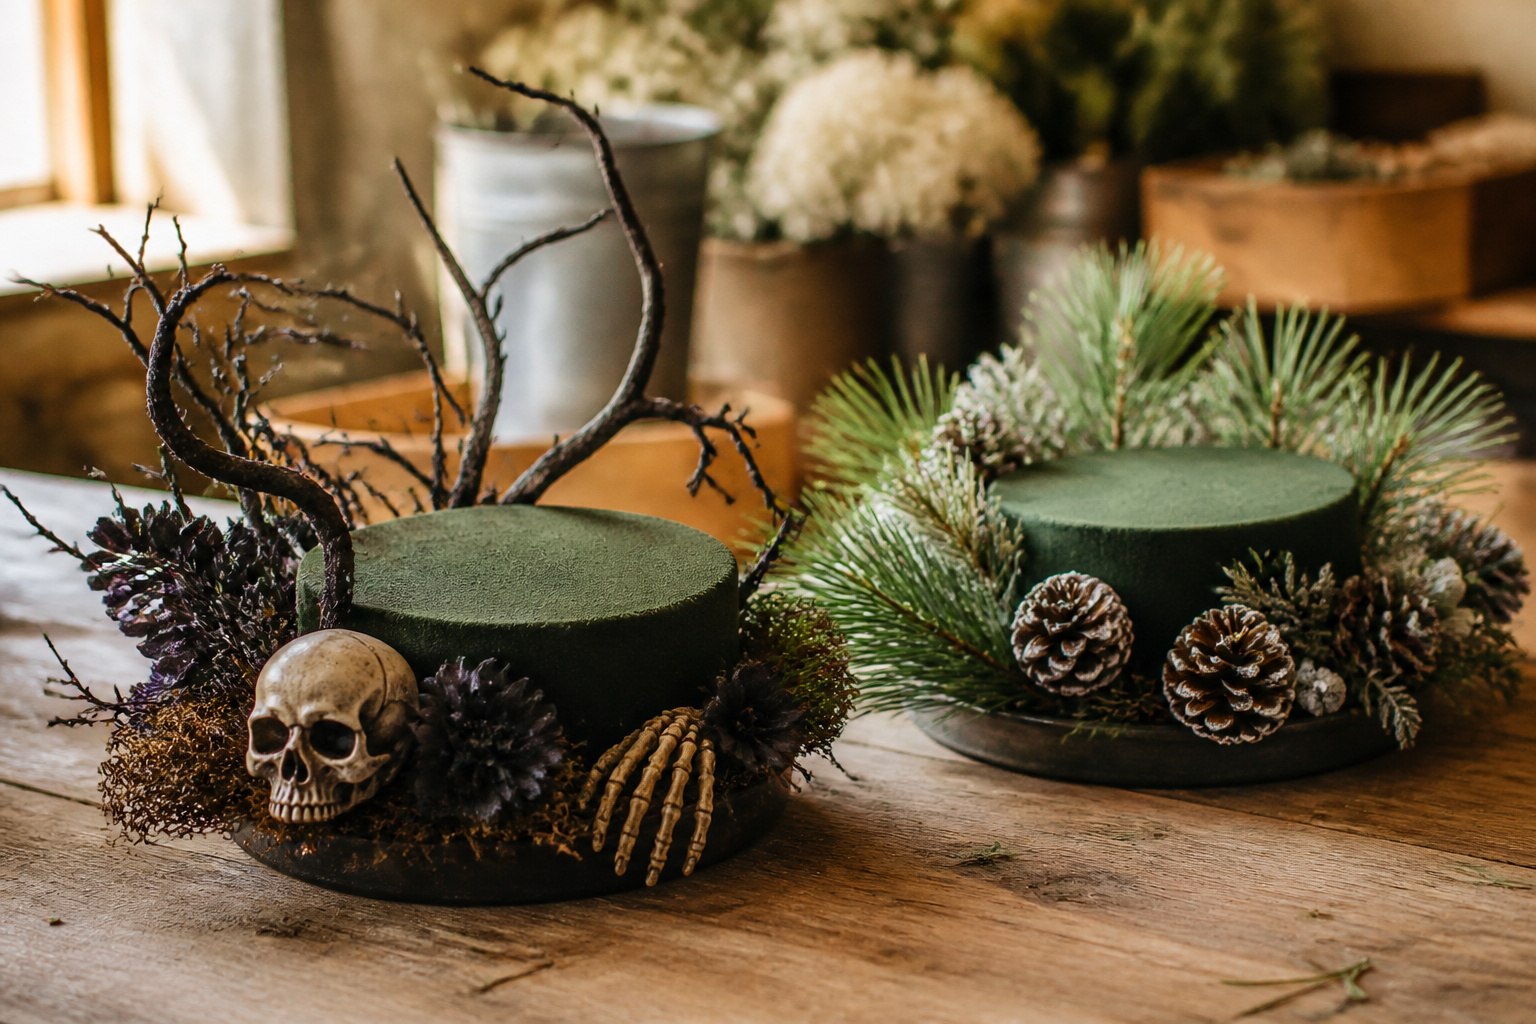
In my experience, once you’ve built one foam-anchored arrangement with branches and a focal element, you’ve learned a structure you can carry into almost any holiday or party. Swap the skull and bones for pumpkins and gourds for a fall tablescape, or for ornaments and pinecones once the calendar flips to December.
I lean on this same foam-and-branch base for a lot of the seasonal work that comes through my shop. It’s not fancy. It’s just reliable.
If you’re planning something bigger than a tabletop piece, like an arch or an installation, take a look at how I use zip ties in floral design to keep larger builds secure. And if you’re hosting rather than just decorating, my Halloween party ideas with flowers post covers the rest of the table.
Frequently Asked Questions
Do I need floral foam for this arrangement, or can I skip it? Floral foam gives you the most control over where each stem sits, which matters for a design this detailed. You can build without it using a chicken-wire frame instead, but the placement will take more patience.
How long will a fresh version of this arrangement last? With roses and branches, expect five to seven days if the foam stays hydrated. Keep it out of direct sun and away from heat vents, and check the water level in the foam every couple of days.
Can I use plastic or resin skeleton pieces safely around fresh flowers? Yes. Just keep the glued sections away from the wet foam so the adhesive holds, and wipe down any pieces before use since they tend to collect dust in storage.
What flowers work best if I can’t find plum branches or roses? Anything with a sturdy stem and some visual weight works. Mums, dahlias, and even sturdy greenery like eucalyptus can stand in depending on what’s in season near you.
Is this design sturdy enough to move once it’s finished? It is, as long as the branches and stakes are firmly anchored into the foam before you add the lighter decorative pieces. Build it where you plan to display it if you can, since less handling means less shifting.
Closing Thoughts
This is one of those projects that looks more complicated on a screen than it is on the workbench. Foam, a few branches, a handful of roses, and some spooky accents will get you most of the way there.
I’d love to hear how yours turns out, or what you swap in if you can’t find plum branches near you. Drop a comment and let me know.
Like most things in this business, the arrangement is only as good as the foundation underneath it. Build that right, and everything else falls into place like petals settling around a good centerpiece.
Til next time,