Disclosure: This post may contain affiliate links. If you click and buy, we may earn a commission at no extra cost to you. As an Amazon Associate, we earn from qualifying purchases.
Last Updated: June 2026
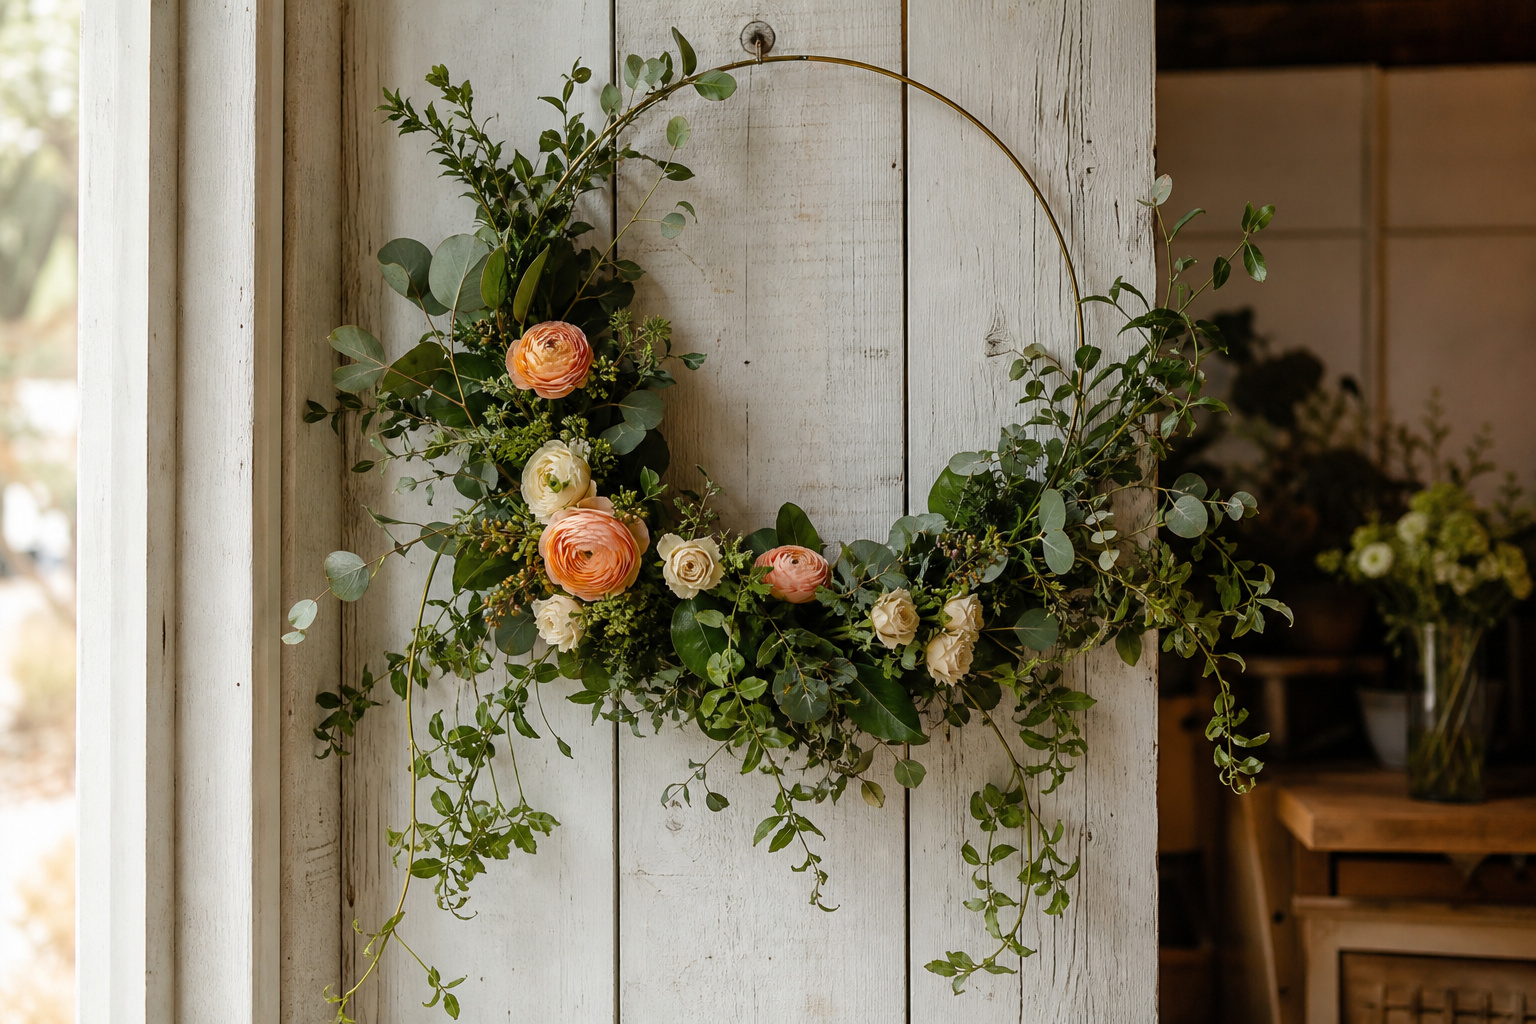
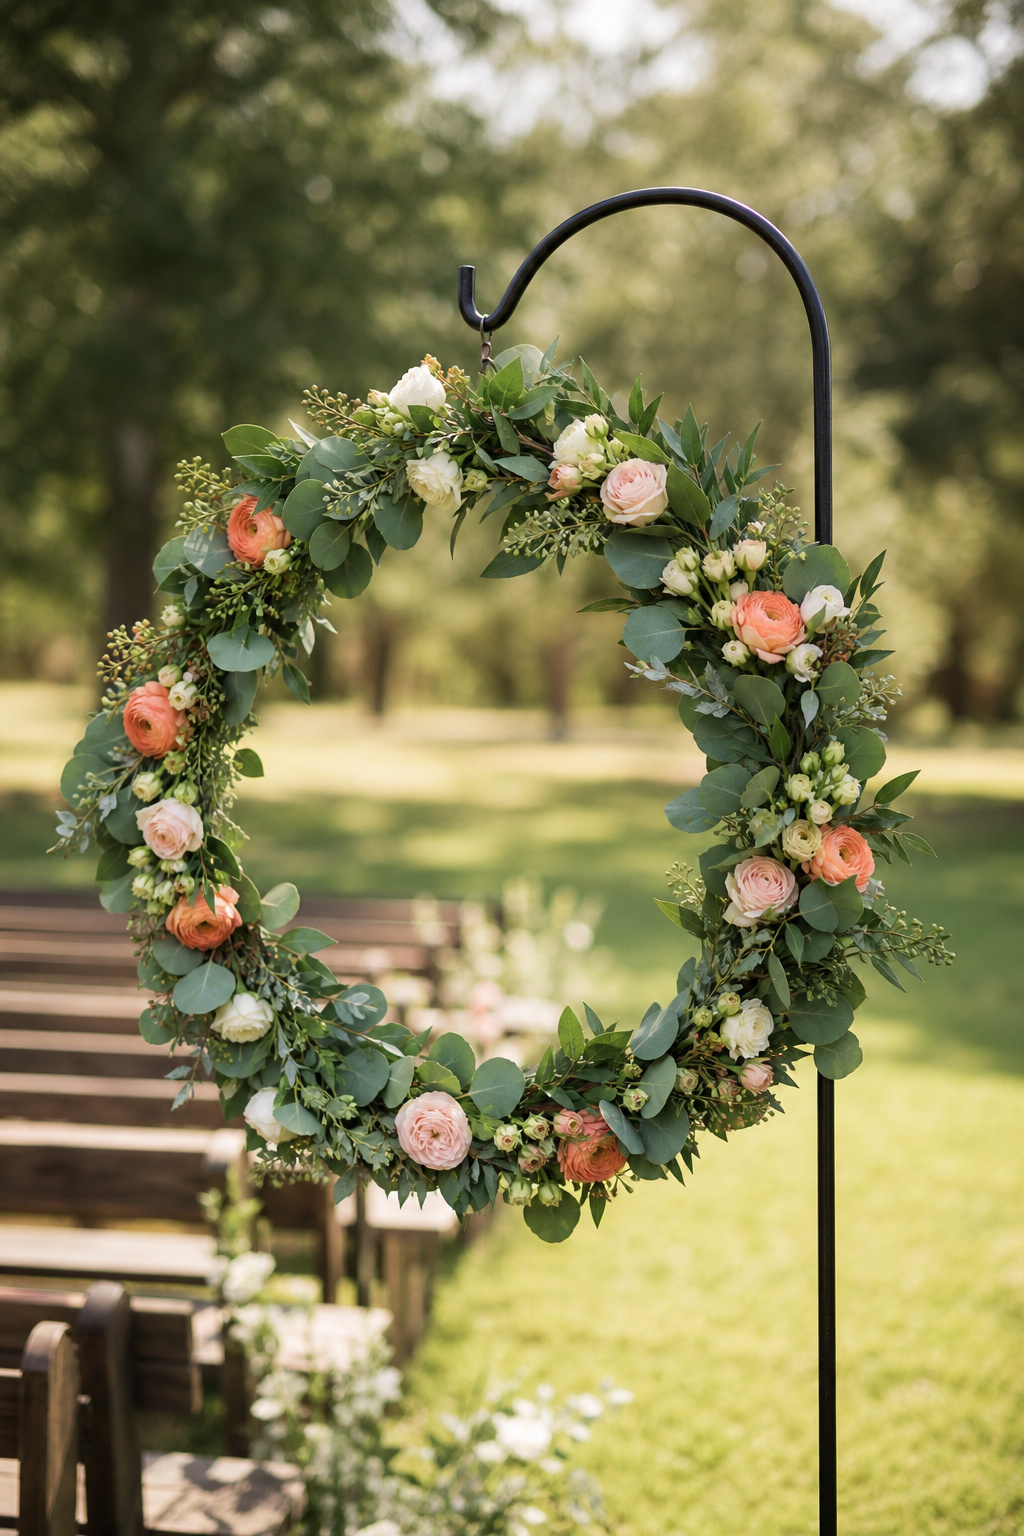
A bride came into the shop a few years back with her phone out, showing me a photo she’d saved from Pinterest. Big embroidery hoop, draped in huckleberry and ranunculus, hanging from a shepherd’s hook at the ceremony entrance. She wanted to make two of them herself and asked if it was realistic.
I told her yes, with the right approach, it absolutely is. Floral hoops look complicated from a distance. Up close, the mechanics are pretty straightforward. What trips people up is skipping the groundwork: starting with flowers before the greenery base is set, using blooms that can’t hold up without a water source, or building the whole thing the morning of the event.
Here’s how I’d walk you through it.
Start With the Right Hoop
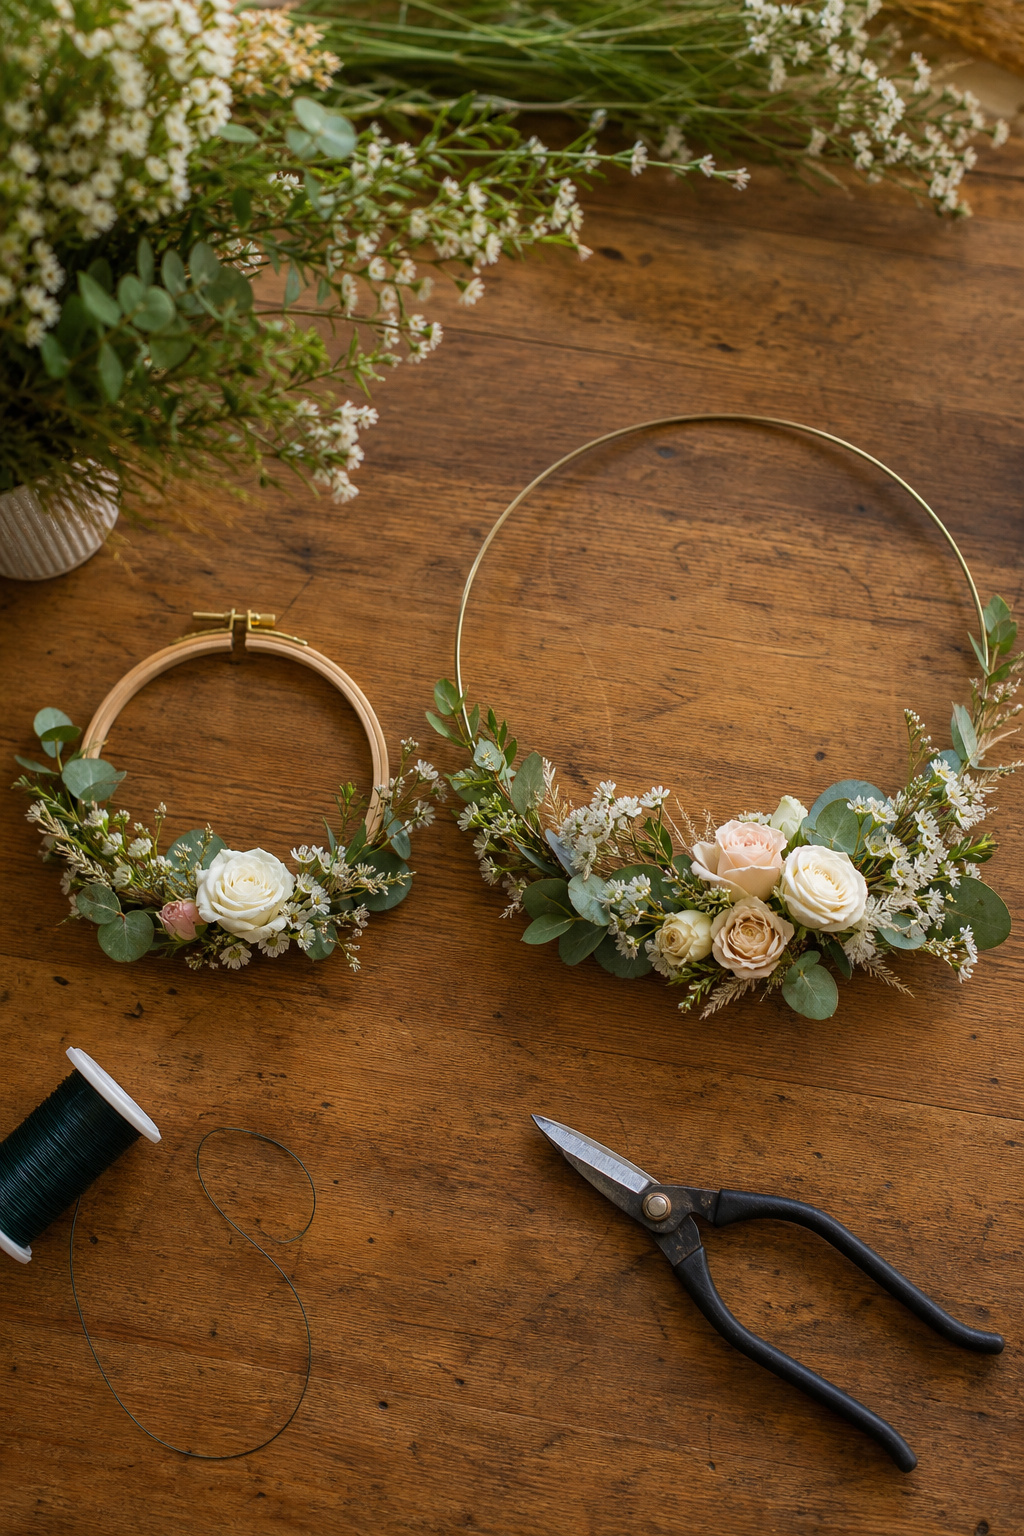
Most people grab a standard wooden embroidery hoop from a craft store, and that works fine for smaller projects — 10 to 14 inches. If you’re going bigger, look for a metal floral hoop. They’re sturdier, hold the weight of heavier florals without flexing, and the smooth surface makes wire attachment easier.
Size matters here. A 12-inch hoop reads well as a boutique piece or door accent. For a ceremony backdrop or hanging installation, you want something in the 18- to 24-inch range, minimum. Don’t underestimate how much greenery compresses once it’s layered — what looks like a lot on the workbench reads as a modest amount once it’s hanging.
You can find decent floral hoops on my Amazon storefront. I’ve linked the ones I’ve actually used.
Build the Greenery Base First
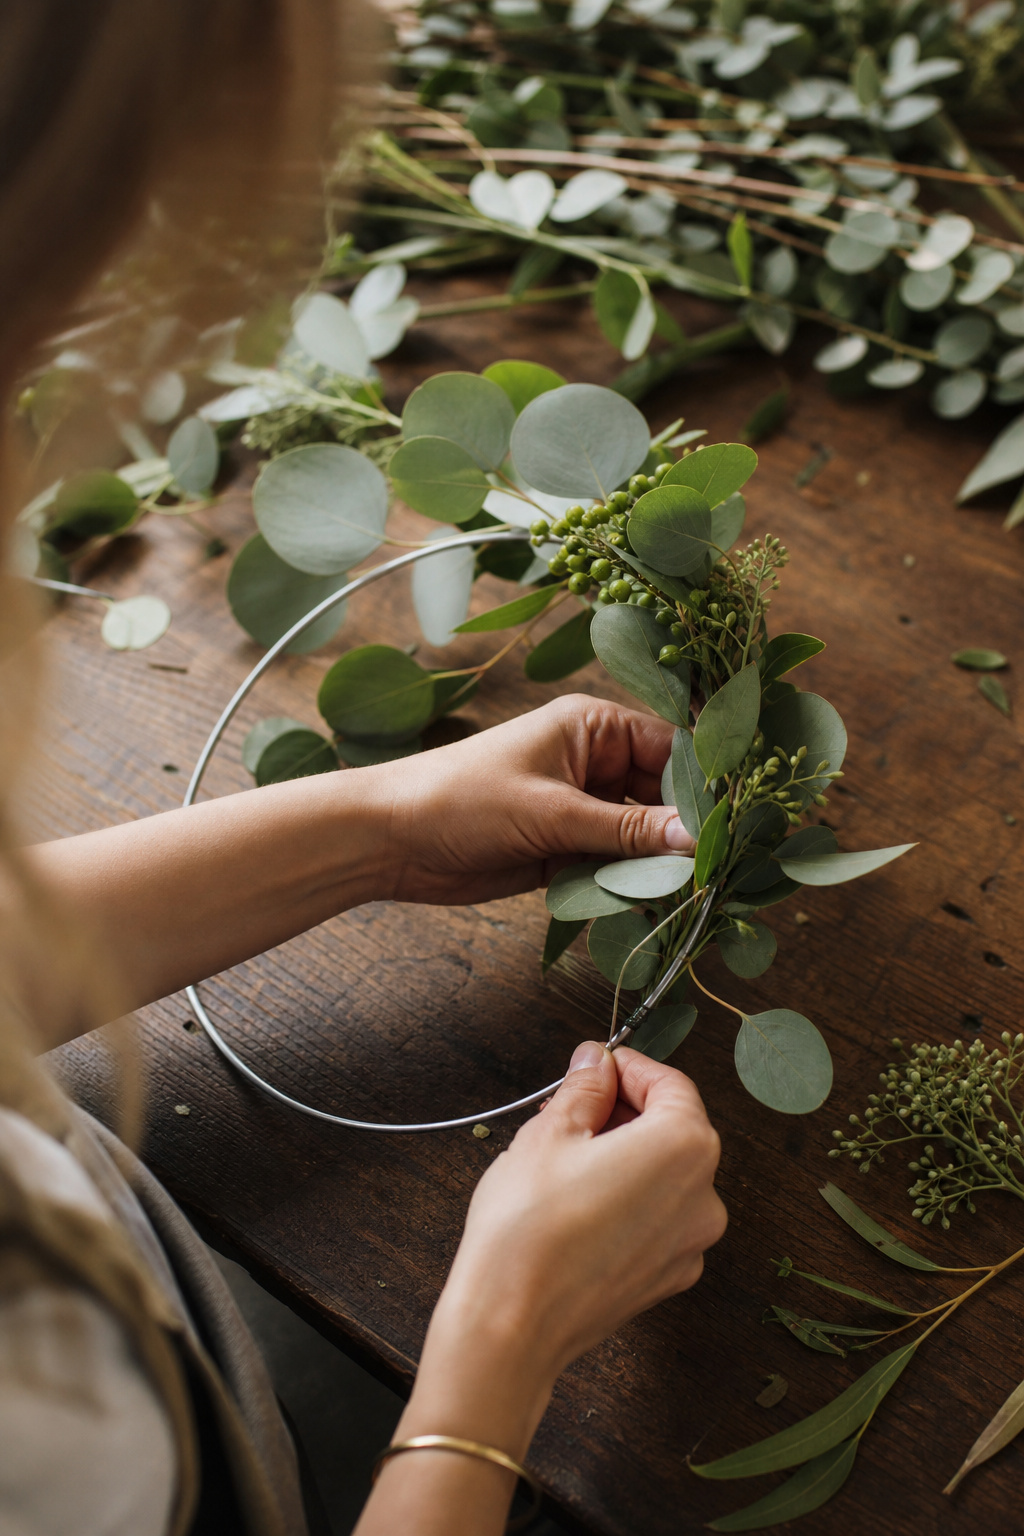
This is the step people rush, and it shows. The greenery base is your structure. Flowers go in last — they’re the finishing layer, not the foundation.
Start with your longest, most pliable stems and wind them around the hoop frame, working in one direction — clockwise or counterclockwise, your choice, just stay consistent. Secure at regular intervals with floral wire. Don’t rely on the stems to hold themselves.
For texture and depth, I’d suggest combining at least two or three varieties of greenery. Huckleberry gives you a nice draping effect. Silver dollar eucalyptus adds that blue-gray contrast that photographs beautifully. Passion vine trails loosely, adding movement. Camellia foliage is a good filler if you want something denser.
Once the base layer is where you want it, hit it with a foliage sealer spray. This buys you time, especially if the hoop is up for several hours in a warm room or outdoors. I use Design Master Foliage Sealer. It’s been in the shop for years.
Zip ties are also worth keeping on hand for bulkier greenery clusters. I wrote about how we use them in commercial installs in this post on zip ties in floral design. The same principle applies here.
Choose Flowers That Can Hold Without Water
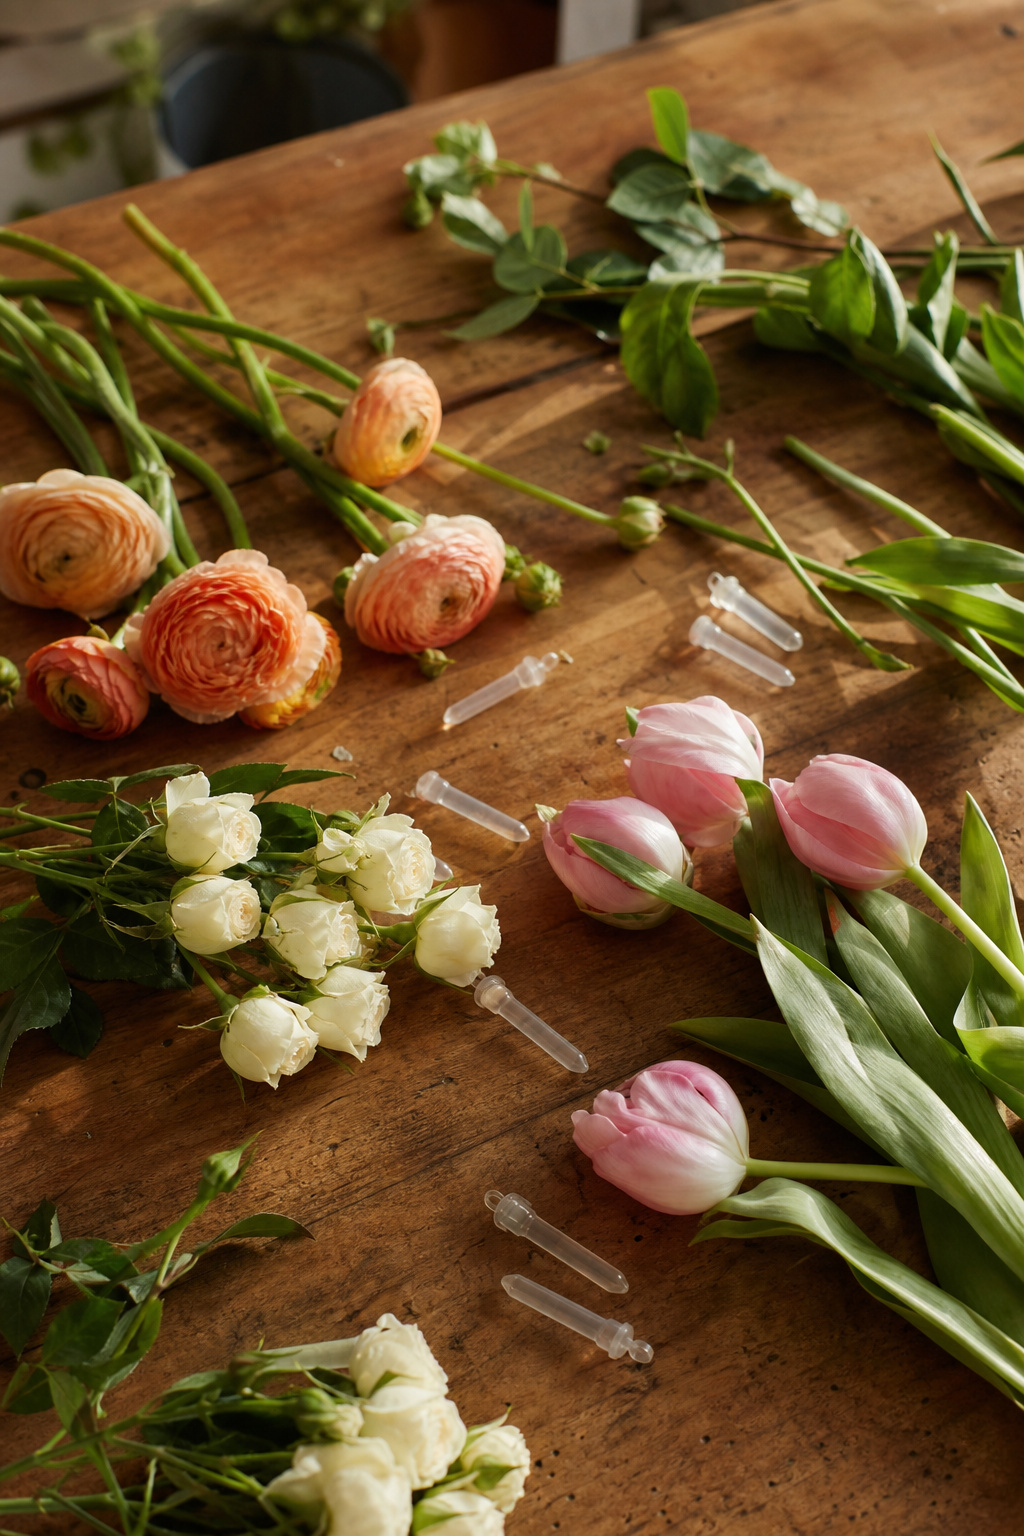
Not every flower belongs on a floral hoop. Some blooms need a water source to survive for more than an hour or two. If your hoop is a centerpiece or decor piece that’s going to sit for four, six, or eight hours, you need flowers that can handle it, or you need to use water picks.
Garden spray roses are my first pick for hoops. They’re compact, they hold up well without water, and you get multiple blooms from a single stem. Ranunculus is another good choice. The petals are dense enough that they don’t wilt as fast as something like a sweet pea or delphinium would. Tulips can work, but they keep moving after they’re cut; build them in a little tighter than you think you need to.
For anything more delicate, use water picks, small plastic tubes with a rubber cap that you fill with water and insert the stem into. They add a bit of weight, but they’re the difference between a hoop that looks good at setup and one that still looks good three hours later.
What I use in the shop: Water picks for any stem that needs hydration support. I also keep Design Master Petal Proofer on hand. A quick pass over finished blooms before placement adds longevity without affecting the look.
Place Flowers With Intention
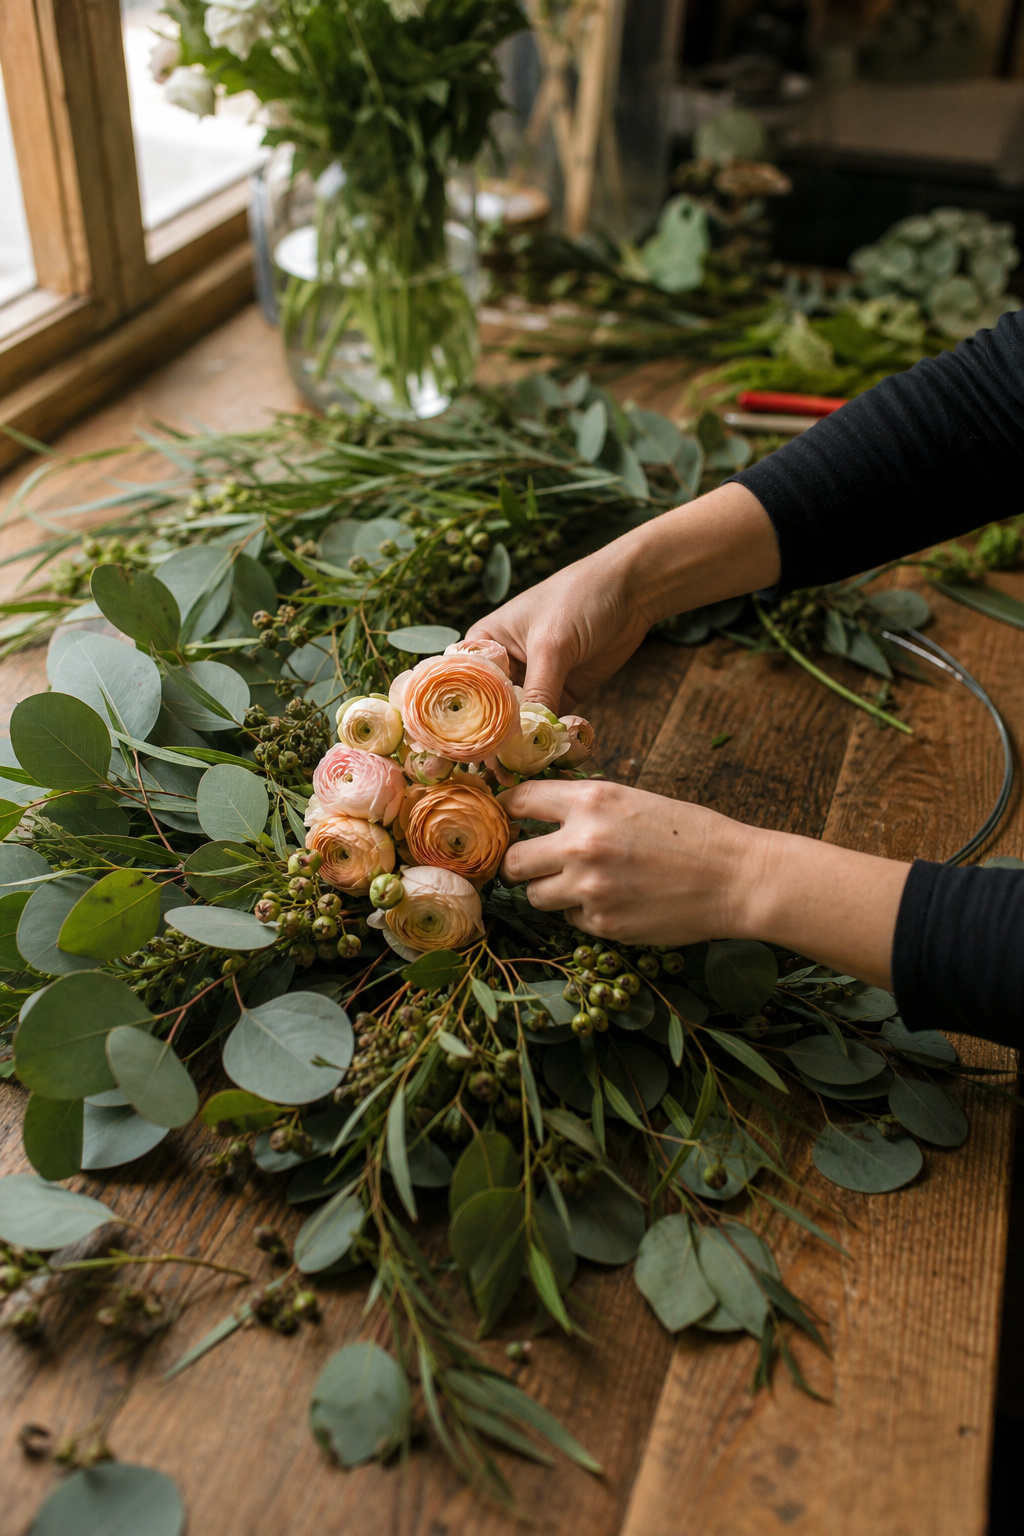
Start with your focal flowers. the largest, most eye-catching blooms. Place them first and build around them. The tendency is to scatter everything evenly, but that flattens the design. Group your focal flowers in a cluster or two rather than spreading them thin.
Vary the depth. Some blooms should sit close to the hoop frame; others should float a few inches out. That variation is what creates the layered, textured look that photographs well. A flat hoop looks amateurish. A dimensional one looks like you knew what you were doing, because you did.
Tuck smaller filler blooms into gaps as you go. Spray roses are good for this. Cover any visible wire or floral mechanics with a small piece of foliage once you’re happy with the placement.
If you’re making a boho-style arrangement, asymmetry is your friend. Don’t try to balance both sides of the hoop equally. Let one section be heavier, let something trail off to one side. That looseness is intentional, not a mistake.
Build It the Day Before, Not the Morning Of
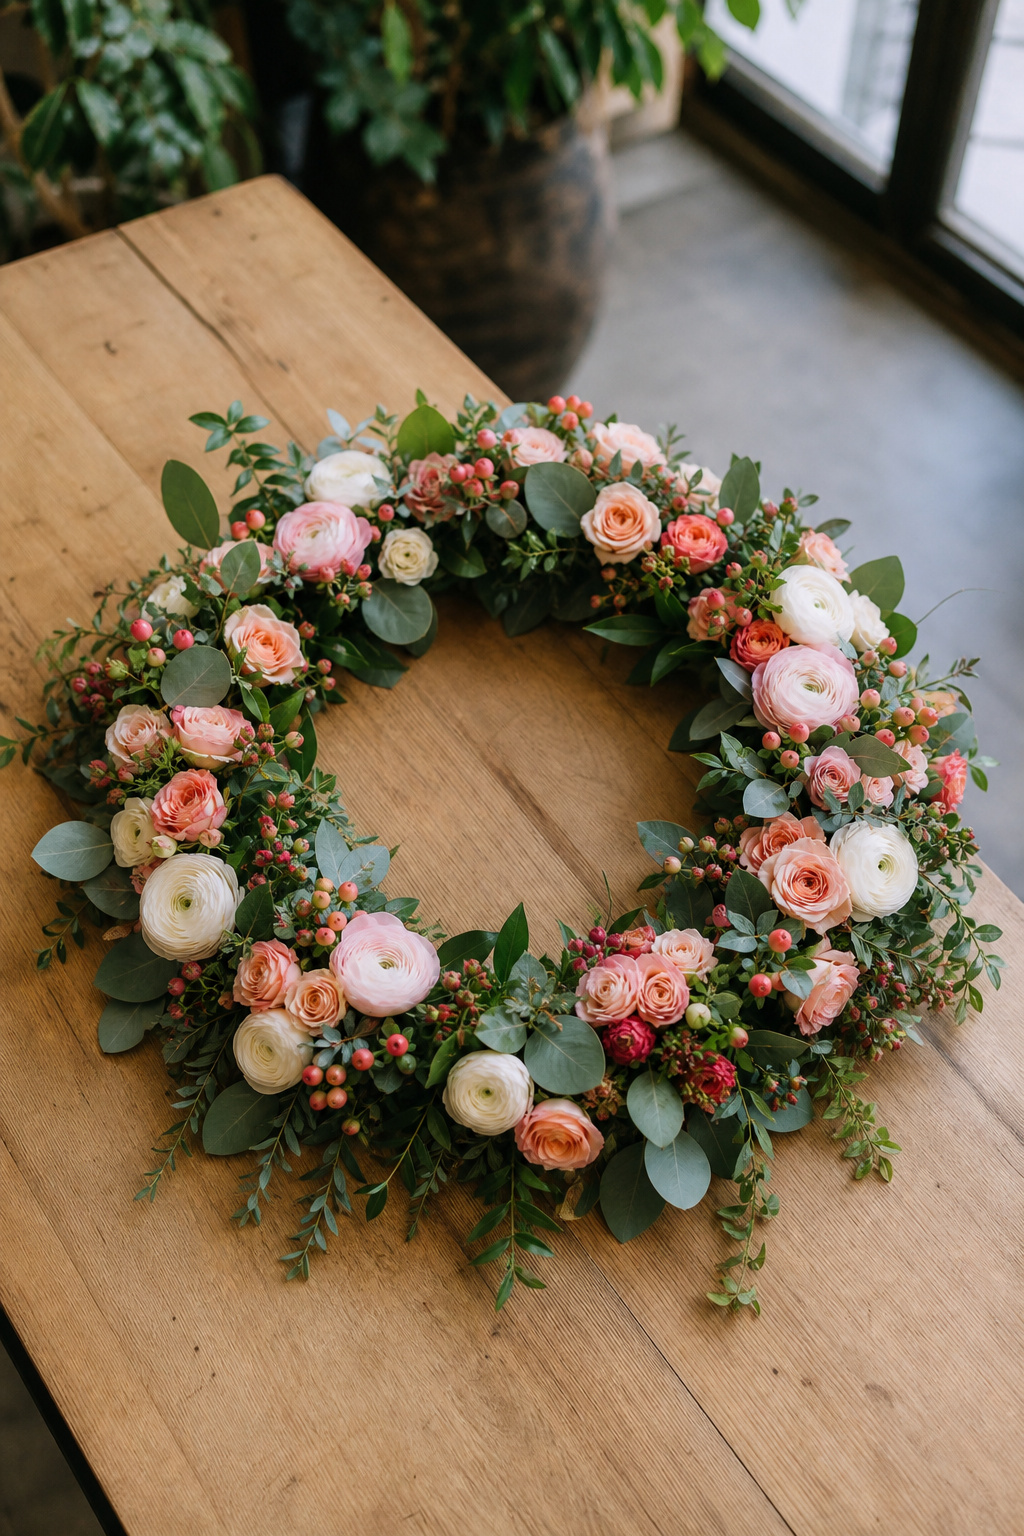
If this hoop is for an event, build it the day before. Full stop.
The flowers need time to settle into position and hydrate fully after being worked. A hoop built the morning of the wedding and hung immediately is a gamble. One built the night before and stored flat in a cool room overnight is going to look markedly better at the ceremony.
Store it flat. Don’t hang it overnight. The weight of the flowers pulling on fresh wire attachments can shift things. Lay it on a flat surface, keep it away from direct sun or heat sources, and give it a light mist before transporting it.
If you’re making multiple hoops for a wedding, say, a row of them for a ceremony backdrop or for aisle decor, stagger your build times across two evenings. Don’t try to do everything in one session.
Consider Silk Flowers if Longevity Is the Goal
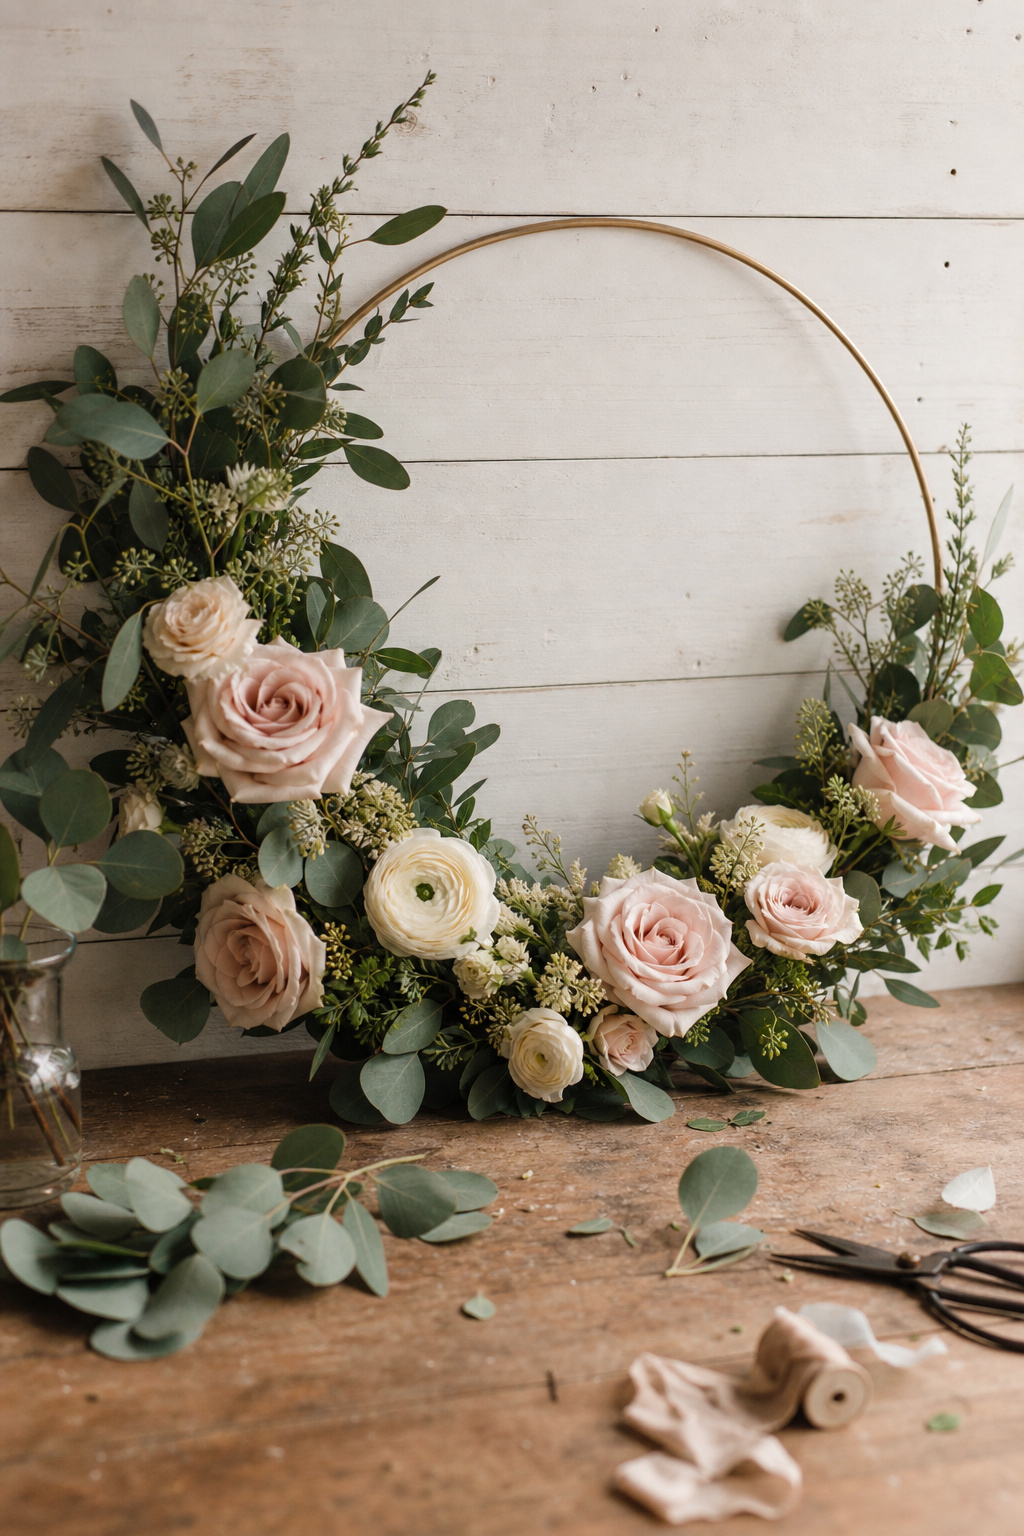
Not every floral hoop needs to be fresh. If you’re making one for home decor, a photo backdrop that gets used more than once, or a display that needs to last longer than a few days, silk flowers are a reasonable option.
My suggestion: use silk flowers, but pair them with real foliage whenever possible. Fresh greenery has a natural weight and movement that silk can’t replicate, and it brings the whole piece to life in a way that a fully artificial hoop usually doesn’t. The greenery won’t last forever, but it’ll last long enough for most display purposes, and you can swap it out when it starts to look tired.
For silk flowers, NearlyNatural carries a good selection online. Hobby Lobby and Michaels are solid brick-and-mortar options if you want to see what you’re buying before committing.
Where to Source Fresh Flowers
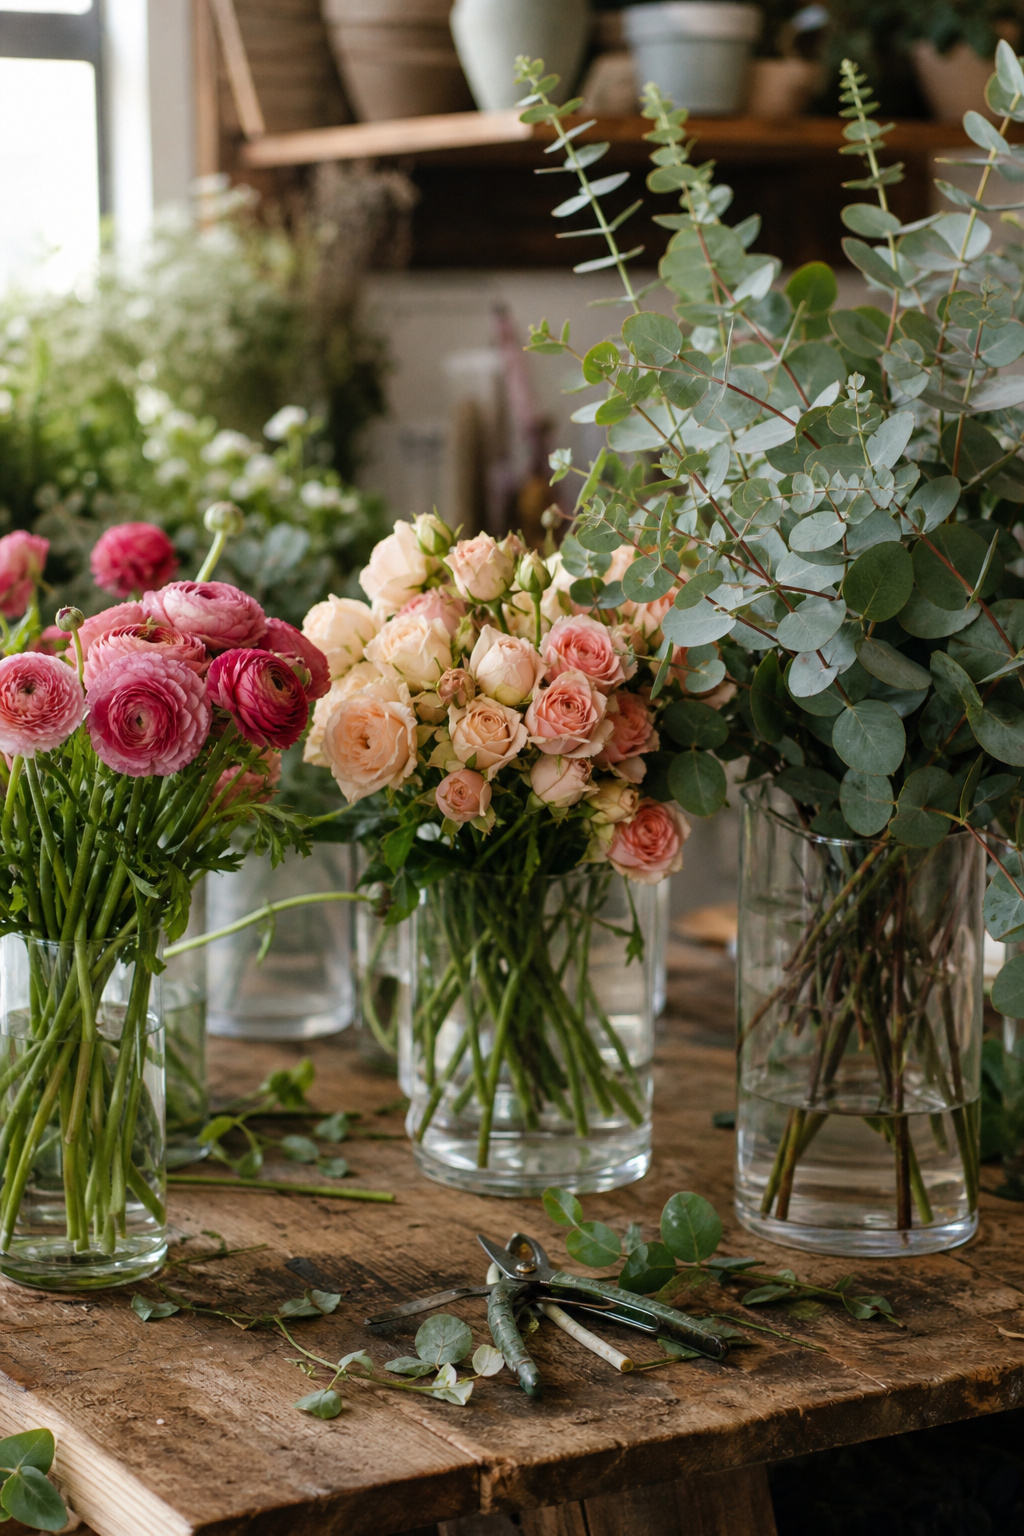
If you’re buying fresh flowers for this project, don’t overspend at a retail florist for flowers you’re going to wire and attach yourself. Buy wholesale.
Blooms by the Box and Fifty Flowers both ship fresh-cut flowers in bulk quantities, which are priced for DIYers. Order a few days ahead when you plan to build, so the flowers have time to open and hydrate properly before you work with them. Flowers that arrive tight and go straight onto a hoop aren’t going to look their best.
For the mechanics, clippers, wire, and picks, I keep a running list on my Amazon storefront. The clippers and floral wire, specifically, are the two things you don’t want to cheap out on.
Watch the Tutorial
This Mayesh Design Star tutorial walks through the full build process on camera. Watch it, and see if you agree with my approach above. There’s some overlap, and a few things they do differently that are worth seeing in practice.
Frequently Asked Questions
How far in advance can I make a floral hoop?
For fresh flowers, one day ahead is the sweet spot. Build the night before, store flat in a cool room, mist lightly before transport. With proper sealing and storage, you can push it to two days, but the flowers will show it.
Do I need a special hoop, or will an embroidery hoop work?
A wooden embroidery hoop works well up to about 14 inches. For anything larger, a metal floral hoop is more stable and easier to wire to. Both are inexpensive and easy to find online or at craft stores.
What flowers hold up best without water?
Garden spray roses, ranunculus, and tulips are solid choices. For anything more delicate, like sweet peas, anemones, and lisianthus, use water picks to extend their viability. Avoid flowers with very thin petals or hollow stems for placement without a water source.
Can I hang the hoop the night before the event?
I wouldn’t. Hanging overnight puts stress on the wire attachment points and can shift flower placement. Store it flat, then hang it the morning of or a few hours before. That’s the safer approach.
How do I keep the greenery from drying out?
Apply foliage sealer after building the greenery base, before you add flowers. Store in a cool location away from sunlight. A light mist of water on the morning of the event helps, too, but don’t soak it; the wire mechanics don’t need added weight.
Is it worth using silk flowers instead of fresh?
Depends on the purpose. For a one-time event, go fresh; the look is better. For home decor or a piece you want to reuse, silk makes more sense. Either way, pair silk blooms with real foliage when you can; it makes a noticeable difference in how natural the finished piece looks.
Closing Thoughts
Floral hoops aren’t complicated once you understand the sequence: hoop, greenery base, mechanics, then flowers. Skipping any step in that order is where the trouble starts.
The bride I mentioned at the top? She came back after the wedding with photos. Both hoops held up beautifully through the ceremony and cocktail hour. She was proud of them, and she should have been. That’s exactly what this craft is for.
If you’re working on a floral hoop for a wedding or event, drop a comment below and let me know what flowers you’re planning to use. I’m curious what combinations people are gravitating toward.
Til next time,