Disclosure: This post may contain affiliate links. If you click and buy, we may earn a commission at no extra cost to you. As an Amazon Associate, we earn from qualifying purchases.
Last Updated: July 16, 2026
A customer once came back to the shop a week after buying a pumpkin arrangement from us, upset that the pumpkin had started to rot from the inside out and ruined her entryway table. I had to explain that the pumpkin itself was never meant to last, and that a plastic liner would have protected the wood underneath if she’d had one.
You can’t escape fall without seeing a pumpkin floral arrangement somewhere. They’re a genuine classic, and building one is easier than it looks, as long as you protect what’s underneath it.
Hollow the Pumpkin Without Weakening the Walls
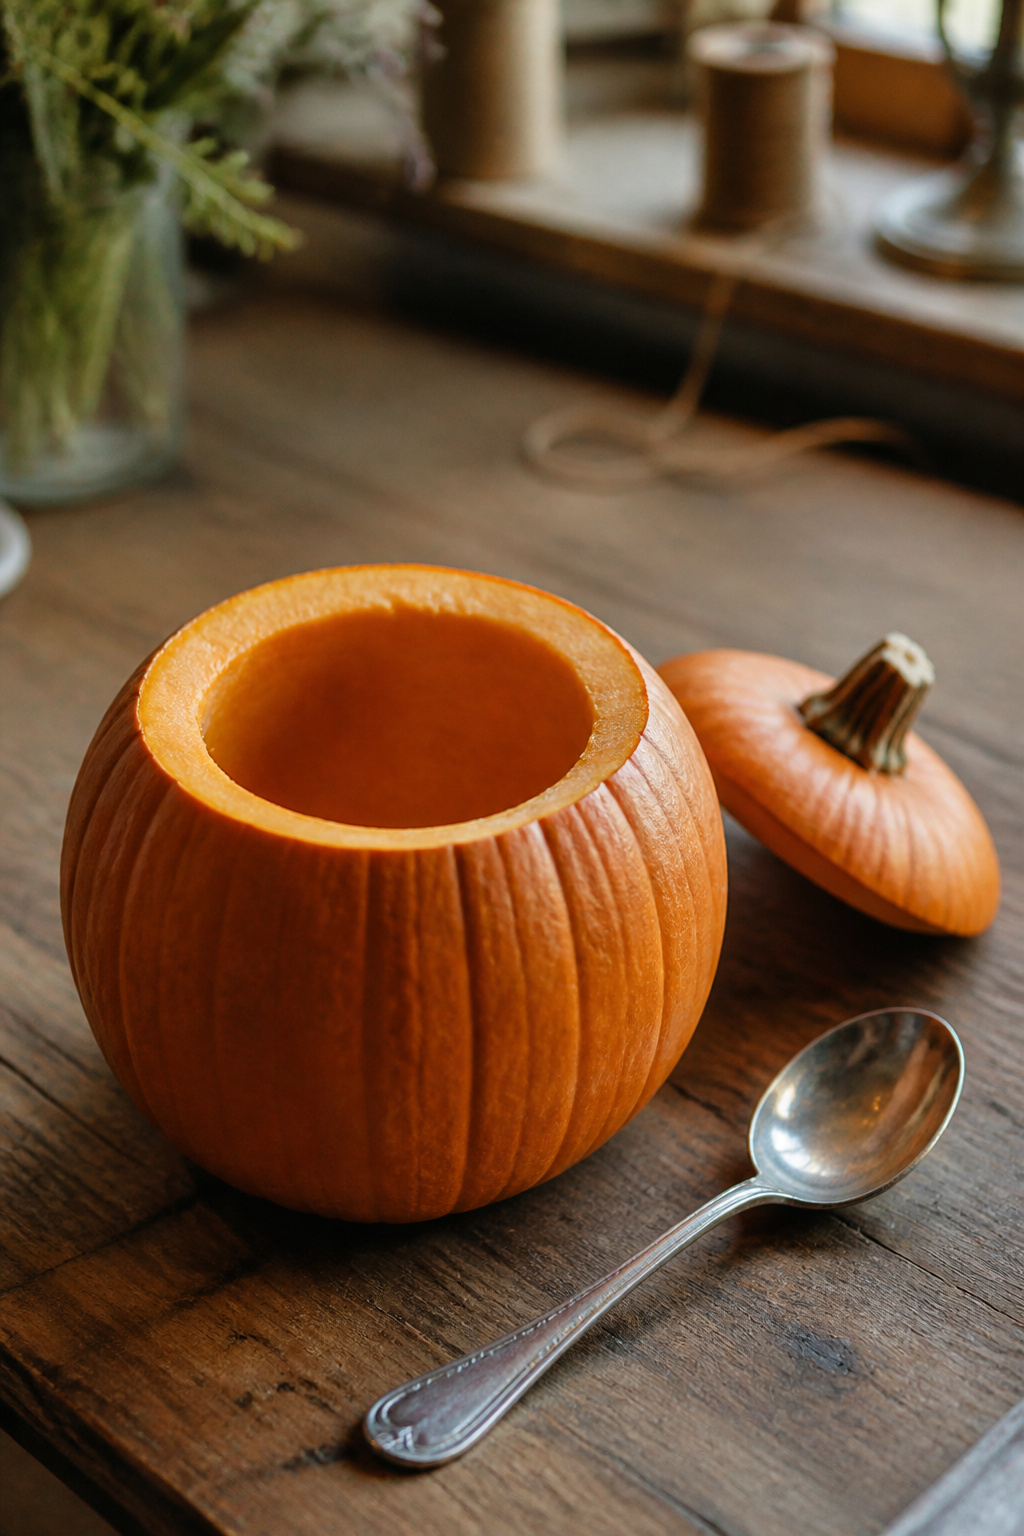
Cut a lid around the stem at an angle, the same way you’d carve a jack-o’-lantern, and scoop out the seeds and stringy interior with a large spoon. Leave the walls at least an inch thick all the way around. Scoop too aggressively and the pumpkin gets structurally weak, which becomes a real problem once it’s holding wet floral foam.
Choose a pumpkin with a flat, stable bottom so it won’t rock once it’s filled. A lopsided pumpkin looks charming empty and becomes a real headache once there’s water and foam sitting inside it.
Line the Cavity Before Anything Goes Inside
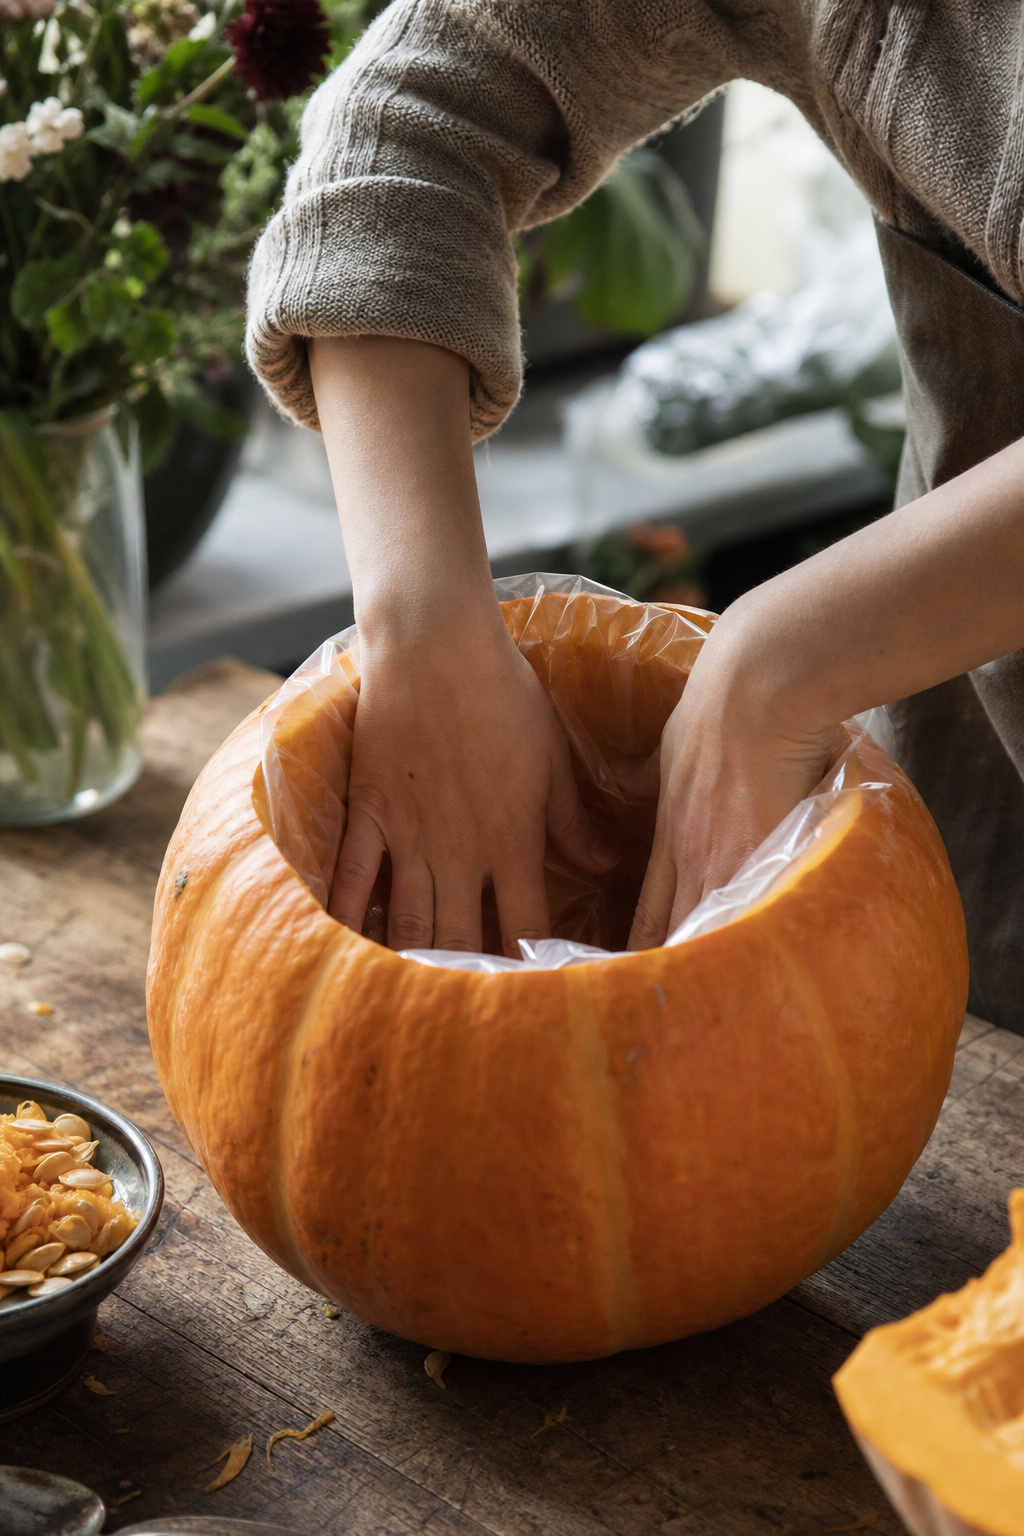
This is the step that gets skipped most often, and it’s the reason arrangements like this end up ruining the surface underneath them.
Line the hollowed cavity with cellophane or a plastic bag, a grocery bag or trash bag works fine, before you add wet floral foam. A pumpkin left unlined will start to soften and eventually leak once the interior flesh sits in constant moisture, and that moisture goes straight through to whatever the pumpkin is sitting on. The liner keeps the water contained and buys the pumpkin real extra time before it starts to break down.
This short video walks through the hollowing, lining, and foam placement from start to finish. Watch it, and see how the whole build comes together in real time.
Set the Floral Foam and Choose Flowers That Hold Up
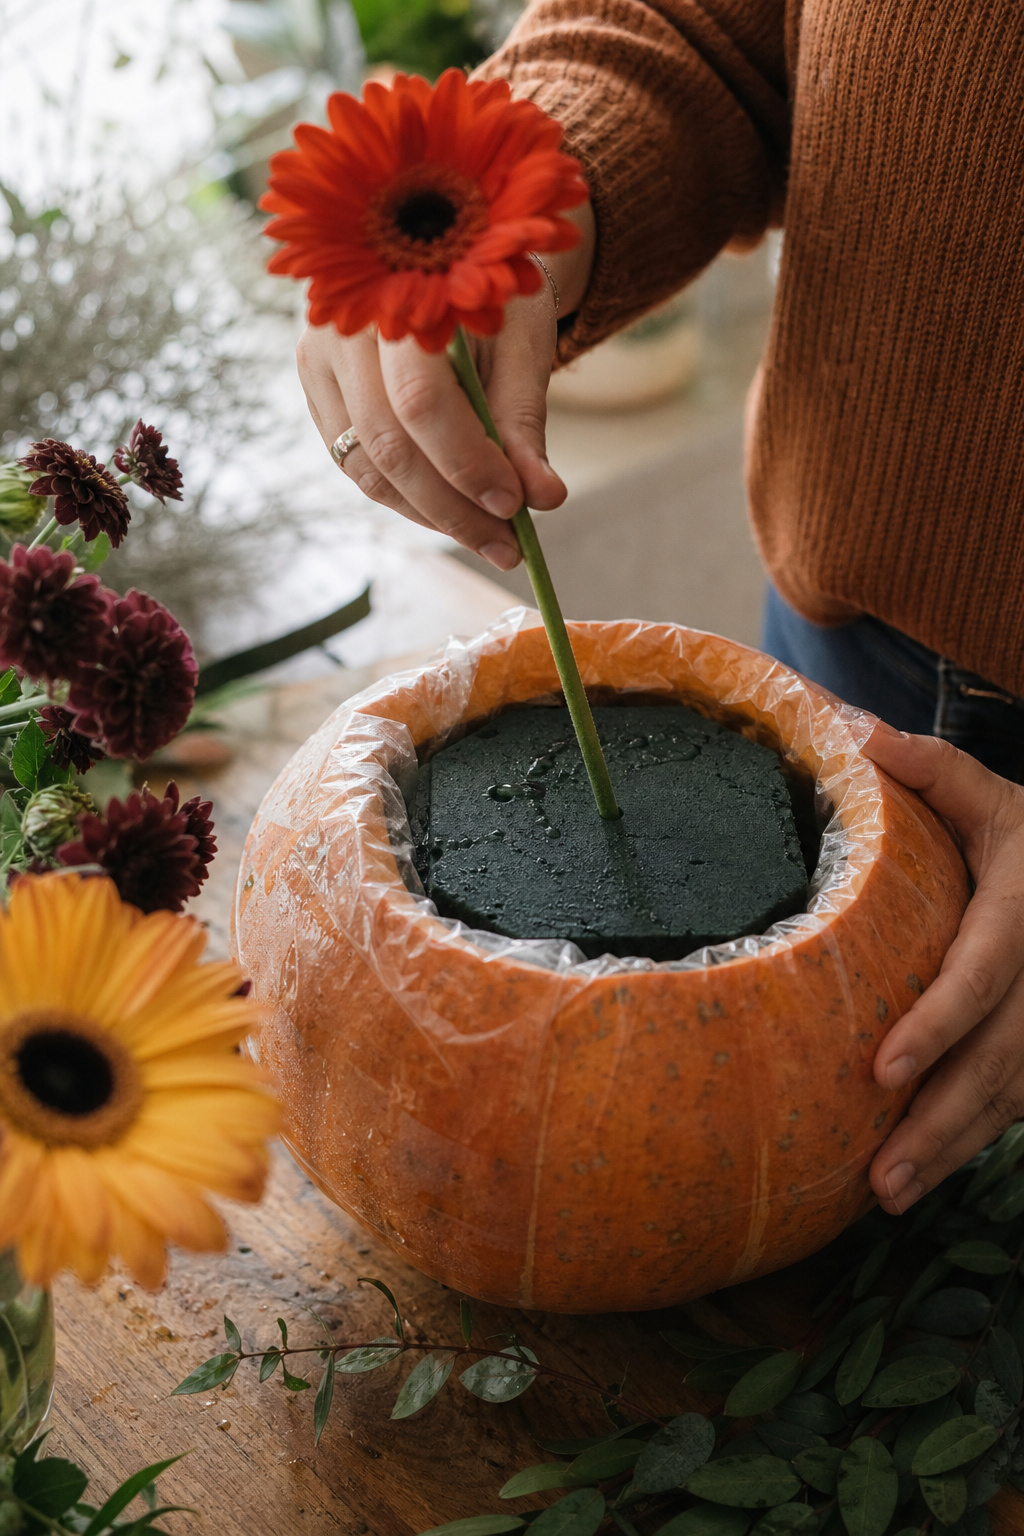
Soak your floral foam fully before placing it in the lined cavity, and cut it to sit slightly above the pumpkin’s rim so you have room to insert stems at an angle around the entire perimeter, not just straight down.
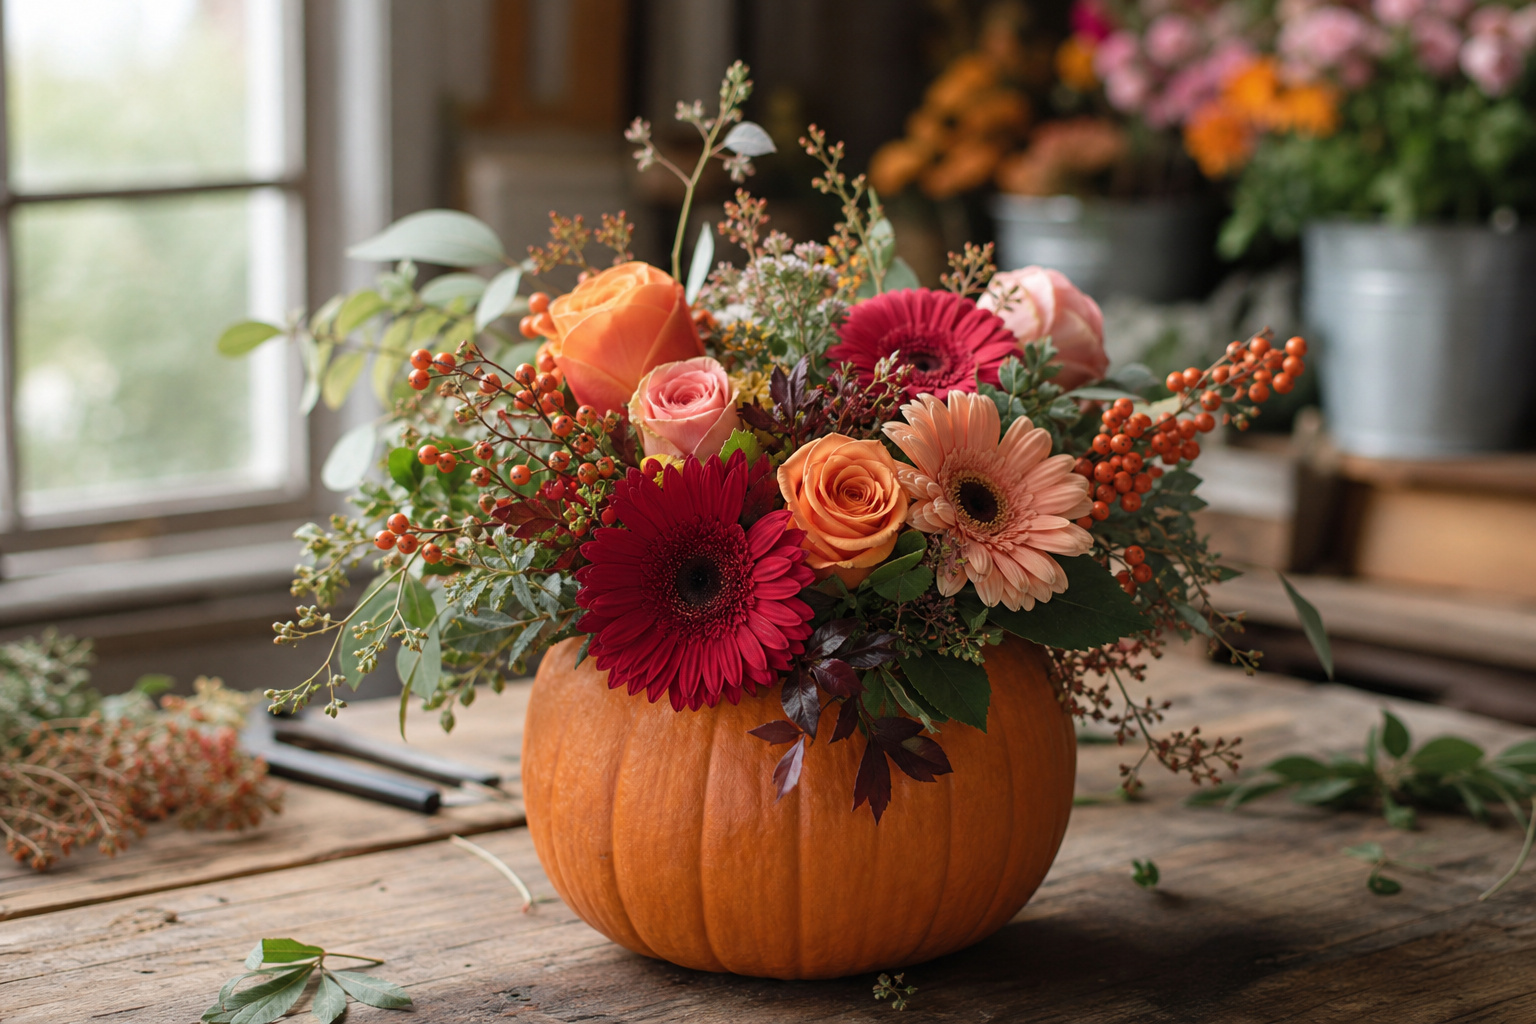
Gerbera daisies, roses, and berry stems, the classic fall combination, all hold up well in foam and give you the bold color contrast that makes this arrangement work against the pumpkin’s orange. Insert your larger flowers first to establish the shape, then fill in with smaller blooms and berries to cover any visible foam.
What I use in the shop: a brick of floral foam for this project every time. It’s inexpensive, and a fully soaked brick gives cut flowers real water access for the life of the arrangement instead of drying out fast.
Know How Long It’ll Actually Last
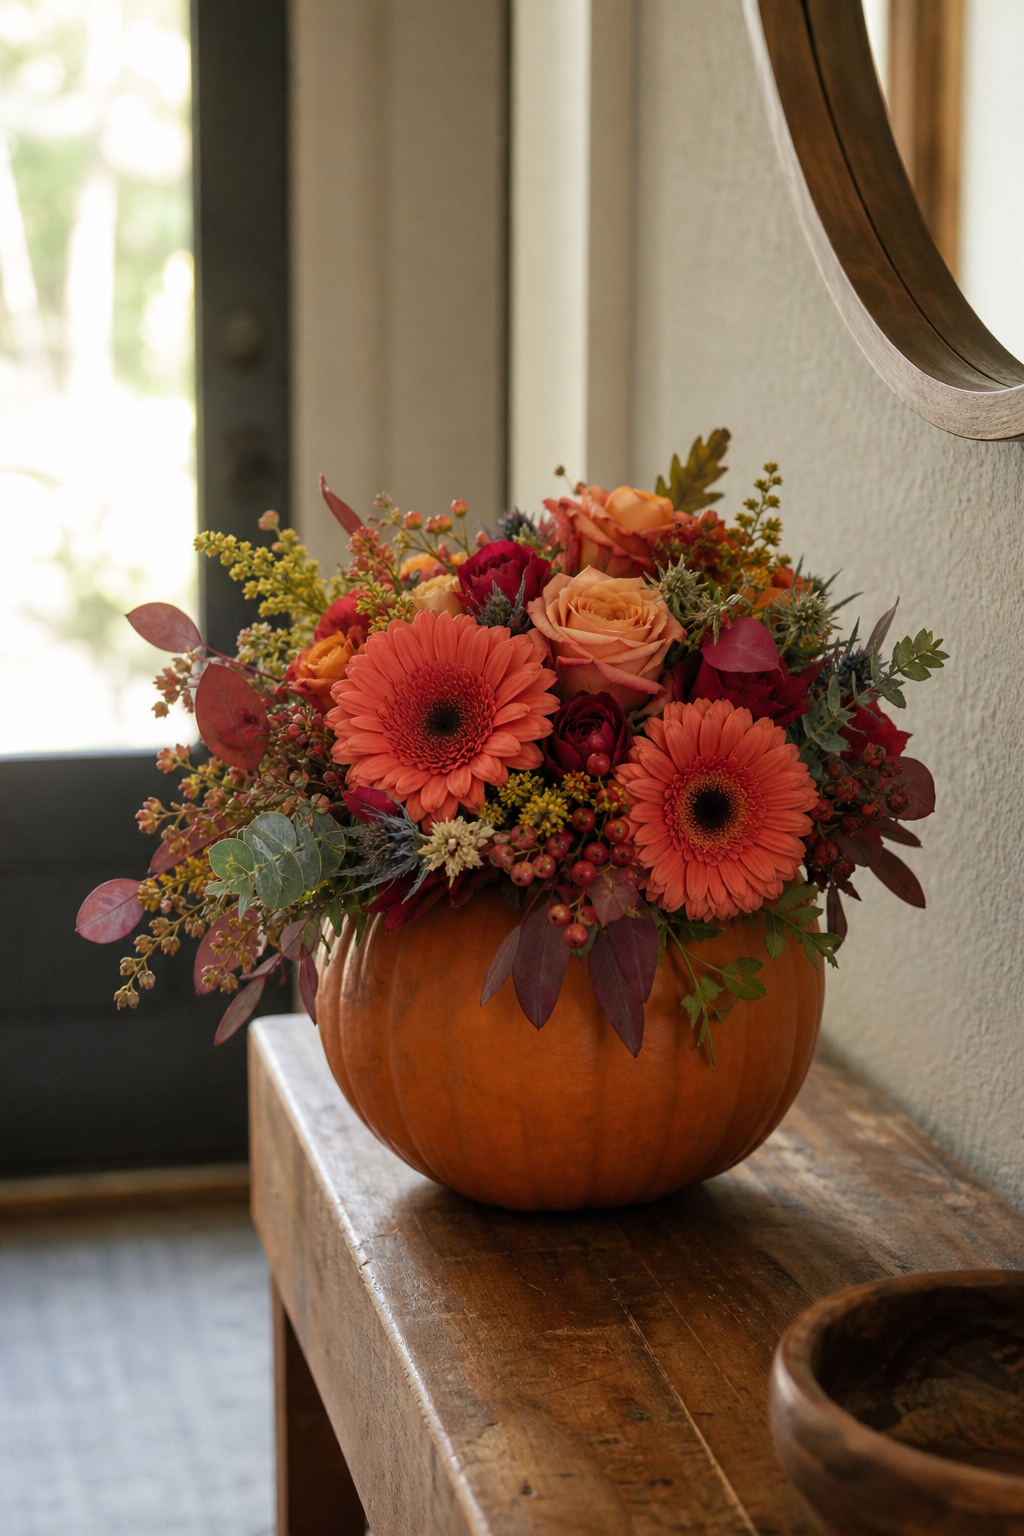
A pumpkin floral arrangement is a short-lived piece by nature, and it’s worth setting that expectation before you build one.
Kept somewhere cool with the flowers refreshed and the foam kept wet, expect five to seven days before the pumpkin itself starts to soften, even with a proper liner. The flowers may need refreshing before that if it’s warm where the arrangement is sitting. If you’re worried about the mess once it does start to break down, don’t be. As long as the liner held, cleanup is just lifting the whole thing out, liner and all, rather than scrubbing a stained tabletop.
Frequently Asked Questions
How do I keep a pumpkin arrangement from leaking onto my table?
Line the hollowed cavity with cellophane or a plastic bag before adding wet floral foam. This is the single most important step for protecting the surface underneath. An unlined pumpkin will eventually soften and let moisture through as the interior breaks down.
How long does a pumpkin floral arrangement last?
Expect five to seven days before the pumpkin itself starts to soften, even with a proper liner, kept somewhere cool. The flowers may need refreshing sooner than that depending on the room temperature. This is meant to be a short-lived seasonal piece, not something built to last through the whole fall.
What flowers work best in a pumpkin arrangement?
Gerbera daisies, roses, and berry stems are the classic combination, and all three hold up well in floral foam while giving strong color contrast against the pumpkin. Insert larger flowers first to establish the shape, then fill in with smaller blooms and berries.
How thick should the pumpkin walls be after hollowing?
Leave at least an inch of wall thickness all the way around. Scooping too aggressively weakens the structure, which becomes a real problem once the pumpkin is holding wet floral foam and a full arrangement of flowers.
Can I use a fake pumpkin instead of a real one?
Yes, and it solves the leaking and rotting concerns entirely. A quality faux pumpkin with a hollowed opening can be reused year after year. The tradeoff is losing the real pumpkin’s texture and weight, but for a piece that needs to sit somewhere for weeks rather than days, faux is worth considering.
Closing Thoughts
A pumpkin floral arrangement is one of the more forgiving fall projects, as long as you respect the two things that trip people up: wall thickness and the liner. Get those right and the rest is just arranging.
It won’t last forever, but for one good week on an entry table, it earns its keep.
Have you built one of these before, or is the liner step new information? Tell me in the comments. I read every one.
Til next time,