Disclosure: This post may contain affiliate links. If you click and buy, we may earn a commission at no extra cost to you. As an Amazon Associate, we earn from qualifying purchases.
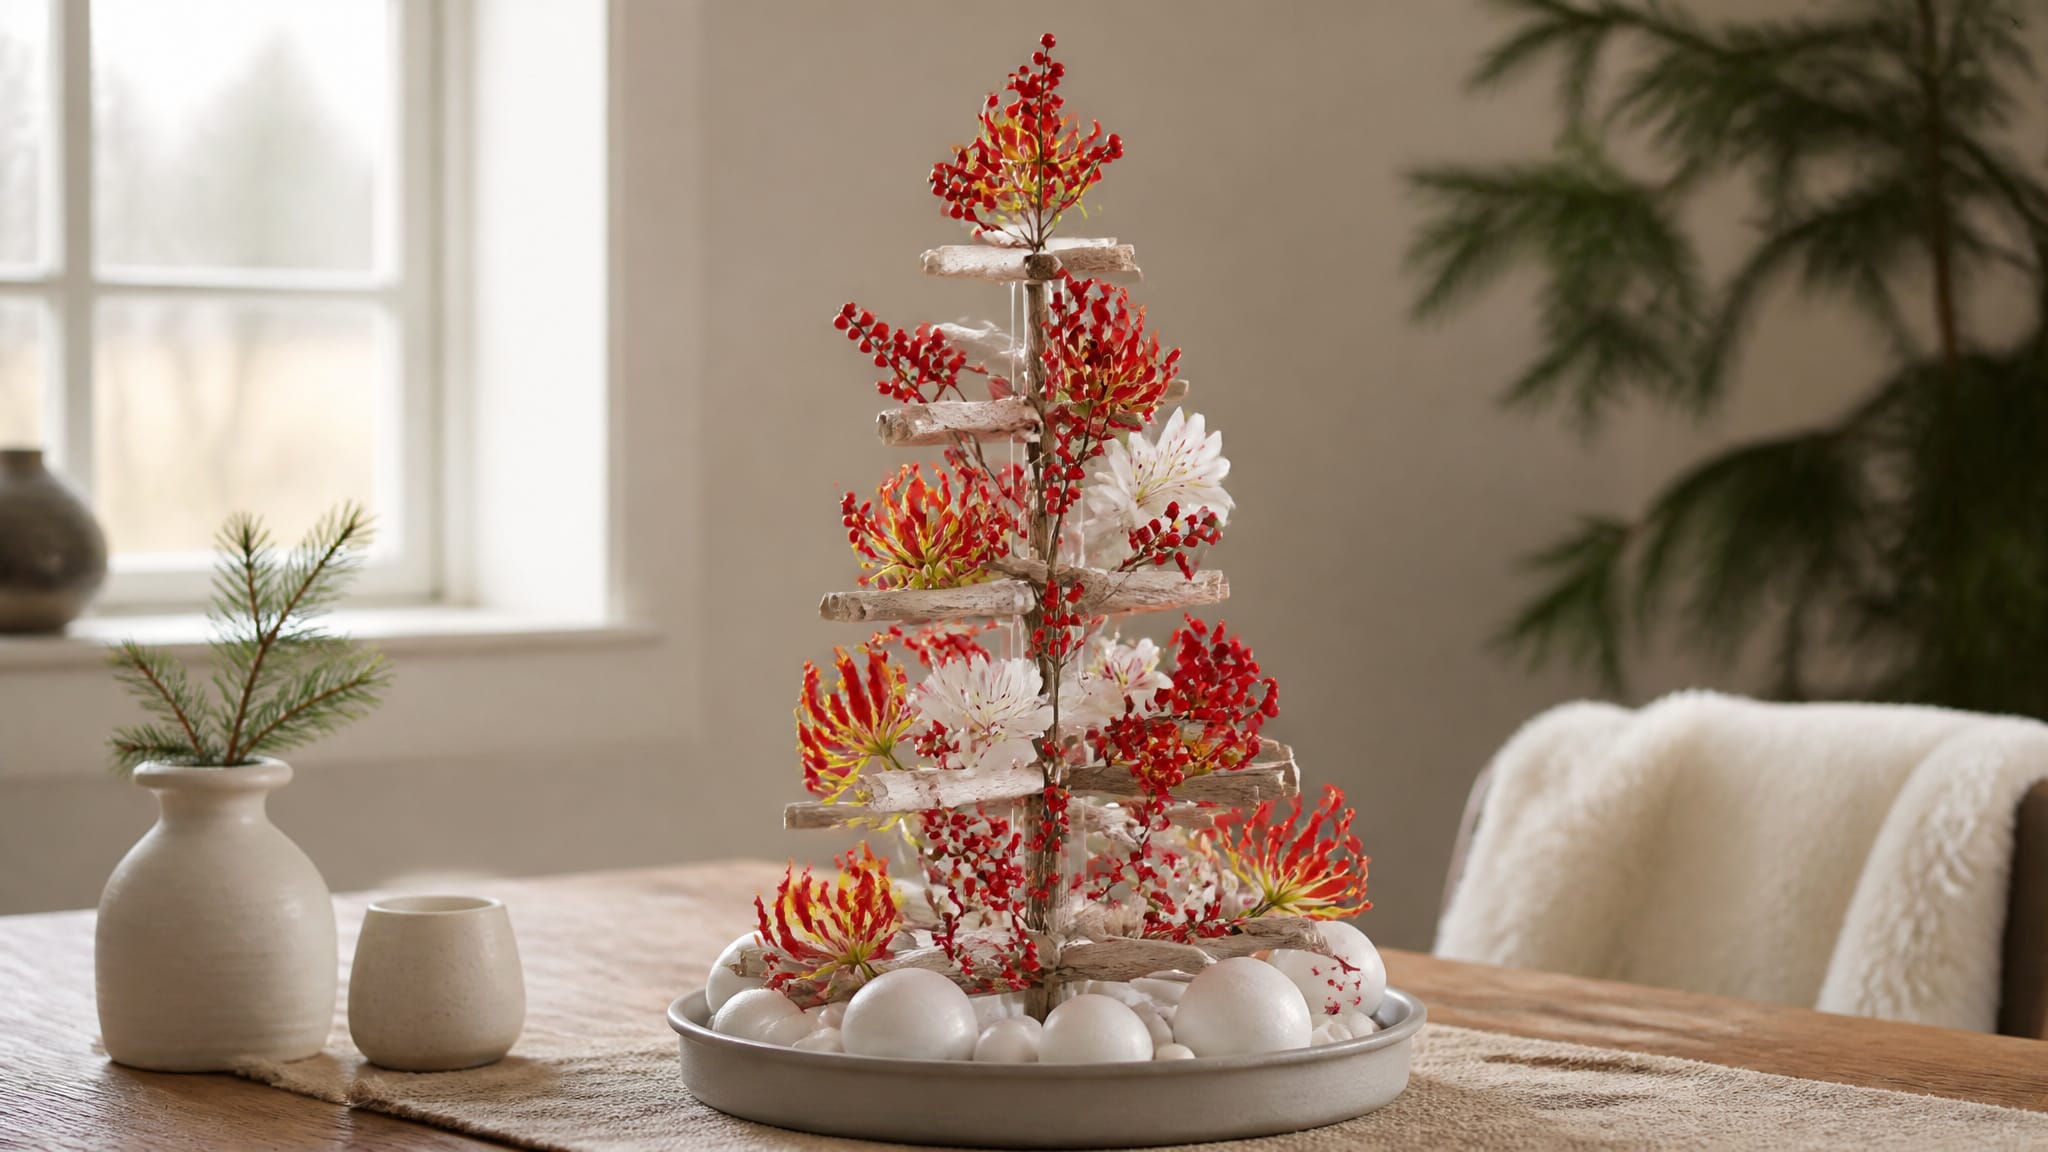
A bride called the shop last December asking about her head table. She didn’t want the usual greenery runner and candles. She’d seen a photo online of a little branch “tree” studded with glass vials, each one holding a single bloom, and wanted to know if we could build a few for her reception.
We could, and we did. It’s a Scandinavian design tradition at heart: simple materials, natural wood, a restrained palette, nothing fussy. This tutorial walks through the whole build using a wooden trunk, wired branches, and glass water tubes, finished off with flame lilies and orchids. I’m walking you through the same steps below, with a few notes from building these in my shop.
Build the Trunk and Base First
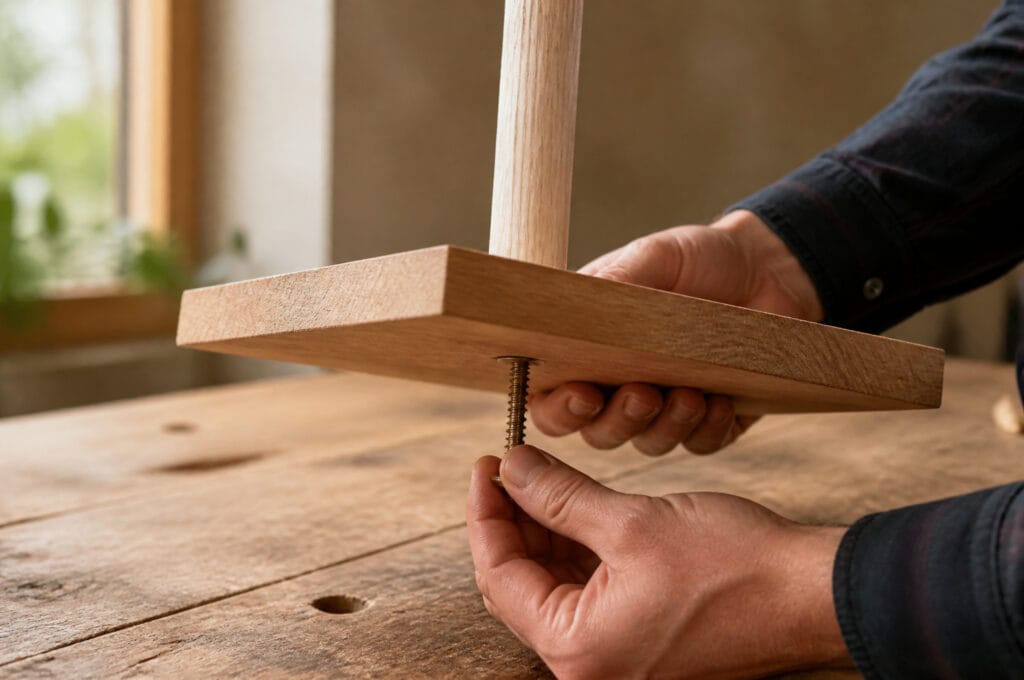
Start with a thick, straight wooden dowel or branch as the trunk. Anything under an inch in diameter tends to wobble once the branches and vials add weight, so go thicker than you think you need.
Mark the center of a flat, square wooden board, then screw the trunk into it from underneath. A washer under the screw head keeps it from pulling through the wood over time. Give it a few minutes to set before you move on. A wobbly trunk ruins everything you build on top of it.
What I use in the shop: a round wood base plaque instead of cutting my own board. It comes sanded and finished already, which saves a step on a project with this many others.
Wire the Branches Into Tiers
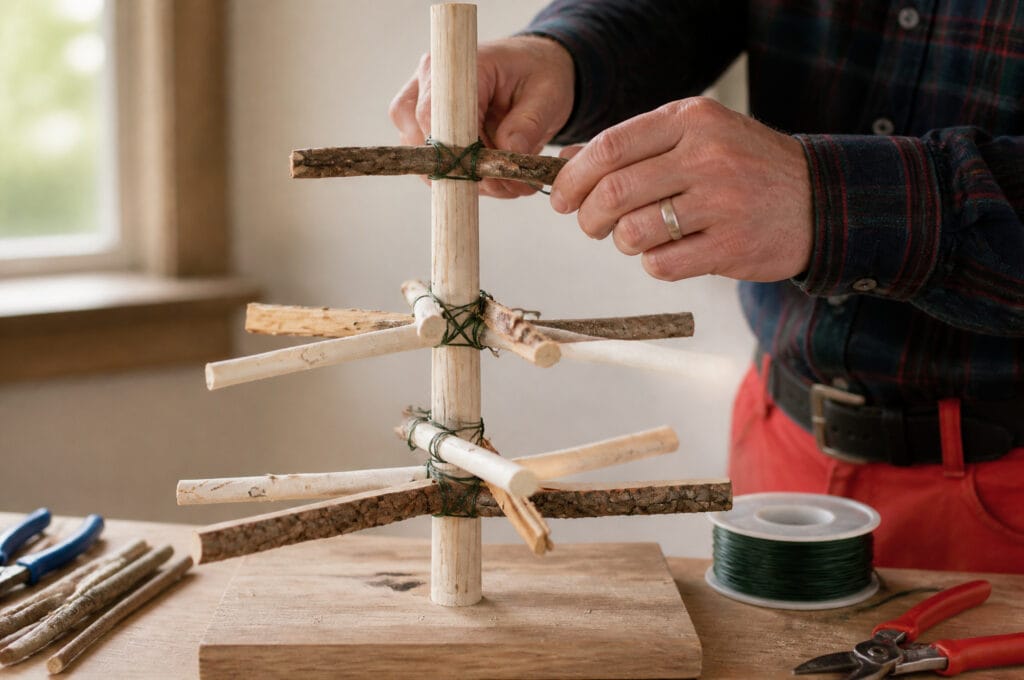
Bind a few supporting twigs near the base of the trunk with floral wire, then work your way up, wiring bark strips and smaller branches around the pole at different heights. Think of it in tiers: wider at the bottom, narrower toward the top, in the same shape as a real Christmas tree.
Wire each tier tightly before moving to the next. A loose wrap now becomes a leaning branch later, once the vials and flowers add weight.
I’ve written before about when zip ties earn a place in floral work, and this isn’t one of those times. You want wire you can twist tight, adjust, and hide against the bark. Zip ties are too rigid for the fine adjustments a tiered structure like this needs.
What I use in the shop: 26-gauge floral wire. It’s thin enough to twist by hand but strong enough to hold a branch in place through the whole design.
Attach Your Water Vials
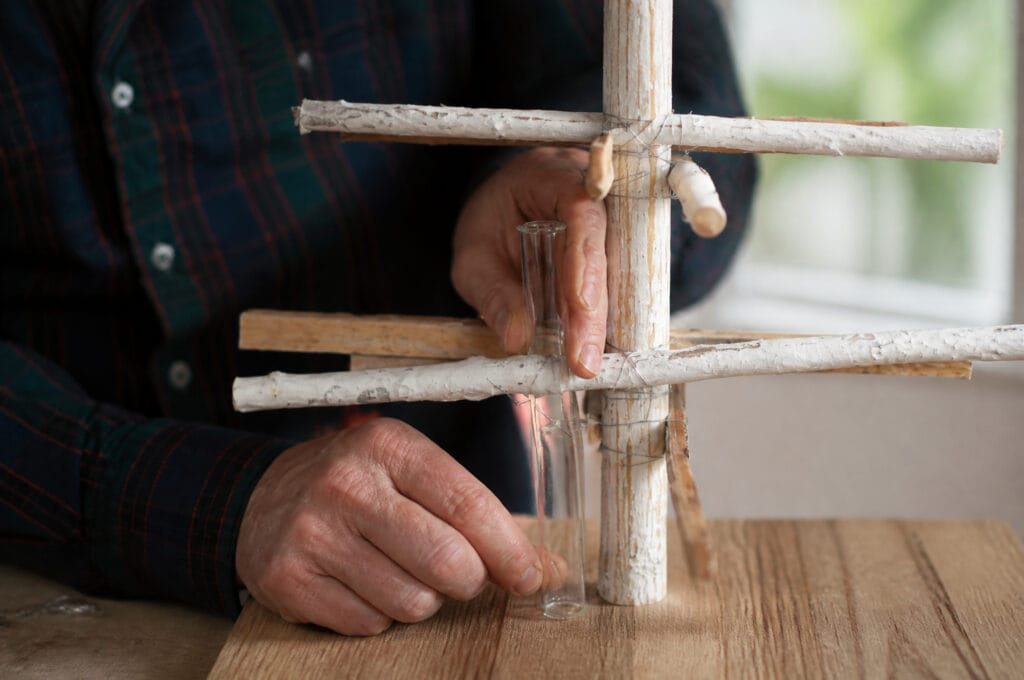
Once your branch structure is wired and stable, add the vials. Wire small glass water tubes throughout the branches, then reinforce each one with a dot of hot glue where it meets the wood. The wire holds the weight; the glue keeps the tube from twisting once it’s full of water and a stem.
Space them out instead of clustering them together. A tree with vials scattered through different heights and angles reads as more natural than one with all of them bunched near the top.
What I use in the shop: glass floral water tubes with caps instead of the plastic picks you’ll find at most craft stores. They hold more water, which means your flowers last longer between refills.
Prep the Baubles for the Base
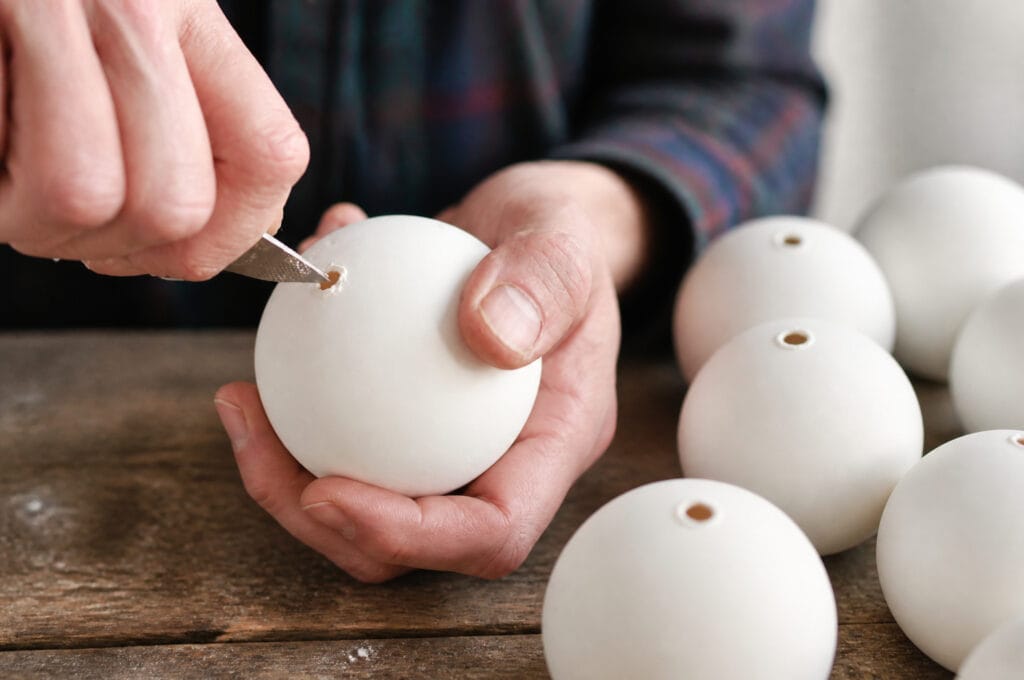
White Christmas baubles arranged around the base board give the tree a snowy finish, and a second spot to tuck in flowers. Use a craft knife to carefully open a hole at the top of each ornament, just wide enough to slide a small stem or berry branch through.
What I’d do: warm the tip of the craft knife slightly before piercing glass or thin plastic ornaments. It cuts a cleaner hole and cracks far fewer baubles than forcing a cold blade through.
I learned that one the hard way, with a box of broken ornaments to show for it. Cracked baubles make a decent wind chime, but that’s not really the look I was going for.
Arrange the prepped baubles around the base once your holes are ready, then set them aside until your flowers are cut and ready to insert.
Fill the Tubes and Set Your Flowers
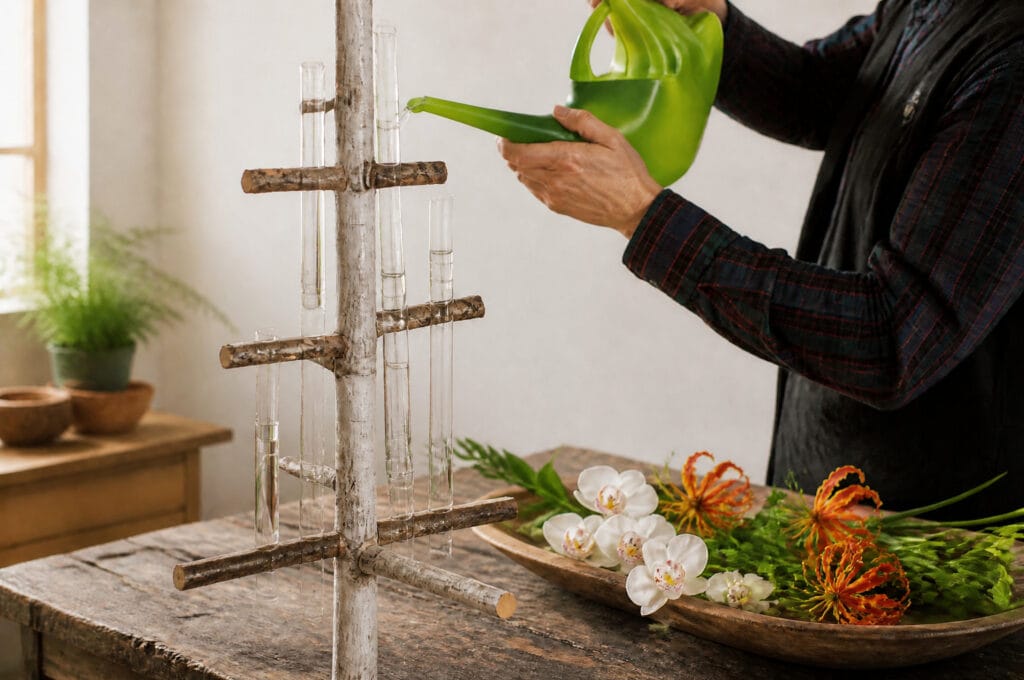
Fill each vial with water using a long-spouted watering can. It reaches into tight spaces between branches without you knocking the whole structure sideways.
Insert berry branches into the baubles at the base and into the upper vials for texture, then finish with your focal flowers. The BloomTube video uses flame lilies (Gloriosa) and cymbidium orchids, and the combination pairs naturally with the white color palette. Both hold up well out of water for the short time it takes to place them.
A quick caution on the flame lilies: every part of a Gloriosa plant is toxic if eaten, so keep the finished tree somewhere pets and small kids can’t reach it. Cymbidium orchids, by contrast, are considered non-toxic, so if the tree’s going somewhere curious hands or paws can get to, lean on the orchids and skip the lilies.
What I use in the shop: a small long-spout watering can. It’s the one tool on this list I reach for on almost every design, not just this one.
Watch the Full Build
If you’d rather watch the whole process before trying it yourself, this short video from BloomTube covers every step above in real time. Watch it, and see if you agree it’s easier than it looks.
Substitutions That Still Work
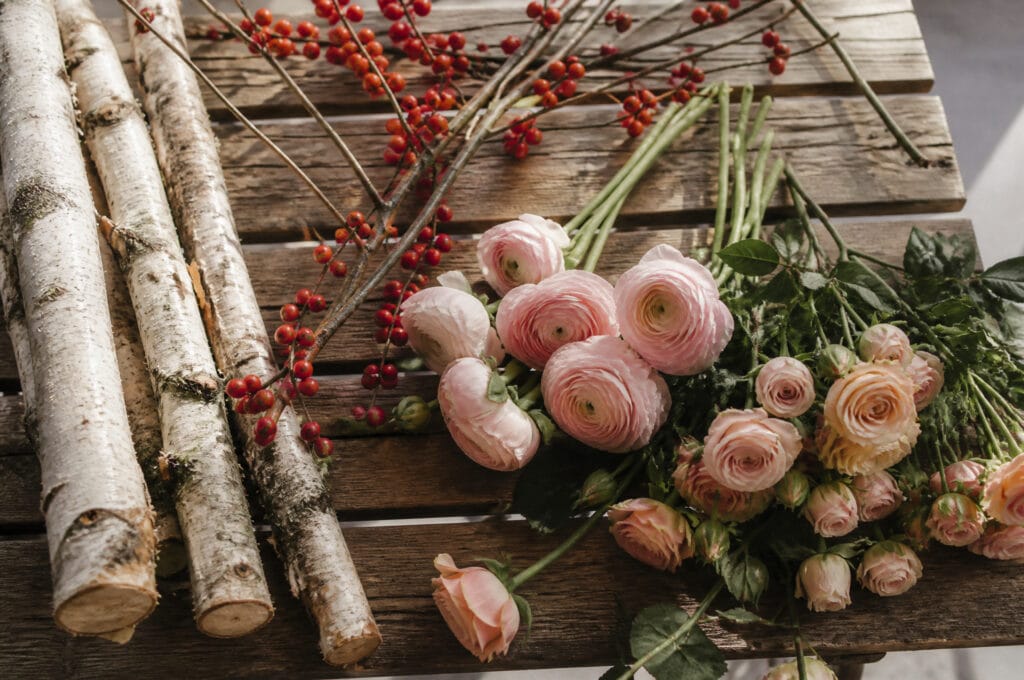
Flame lilies and cymbidium orchids aren’t always easy to find at a local shop or grocery store floral counter. If your supplier is out, ranunculus or spray roses in that same warm red or white tone will fill the vials just as well.
No wooden branches on hand? Curly willow or birch branches from a craft store work fine, and they come already stripped and ready to wire. If glass vials aren’t available locally, small bud vases or even shot glasses wired into the structure will hold a stem and a splash of water in a pinch.
This same wired-branch technique carries over to other holiday projects, too, including my Christmas kissing ball and the holiday centerpiece I build most years for my own table. If you want to build out your kit further, I keep an updated list of the floral design tools I use every day.
Frequently Asked Questions
Do I need floral foam for this design?
No. The water vials do the job foam would normally do, holding water right where each stem needs it, so the design stays foam-free from the start.
How long will the flowers in the vials last?
With fresh water and a cool spot out of direct sun, five to seven days is typical for orchids and lilies. Swap the water every couple of days and the display will hold even longer.
Can I use fresh greenery instead of bare branches?
You can, but bare wood branches are what give this design its Scandinavian look. If you want to soften it, tuck in a few sprigs of eucalyptus or cedar near the base rather than covering the whole structure.
Is this design safe to have around pets?
Not with flame lilies in it. Gloriosa is toxic to both pets and people if ingested. Cymbidium orchids are considered pet-safe, so a tree built with orchids only is the better choice for a home with curious animals.
What size board should I use for the base?
An 8-inch to 10-inch round works well for a tabletop version. Go bigger if you’re adding a full ring of baubles around the trunk; a base that’s too small will make the finished tree look top-heavy.
Can I reuse the trunk and base next year?
Yes. Once the flowers are spent, pull the vials, rinse them, and store the whole branch structure somewhere dry. It’ll be ready for fresh flowers again next season.
Closing Thoughts
A design this small still teaches a big lesson: you don’t need a lot of material to make something memorable, just the right structure underneath it. Wire your branches well, keep your vials filled, and the blooms will do the rest of the work for you.
What flower would you fill your vials with? Tell me in the comments. I read every one.
Til next time,