Disclosure: This post may contain affiliate links. If you click and buy, we may earn a commission at no extra cost to you. As an Amazon Associate, we earn from qualifying purchases.
Last Updated: July 12, 2026
A bride called the shop the week before her wedding wanting to know if she could reuse the orchid centerpieces from her rehearsal dinner at the reception two nights later. I told her it depended entirely on how they were built. Orchids potted properly in a liner will hold up over multiple events. Orchids cut and jammed straight into floral foam won’t survive the first night.
That’s the whole trick to an orchid centerpiece. Build it to last, and it’ll outlast the event by weeks.
Work With the Whole Plant, Not Cut Stems
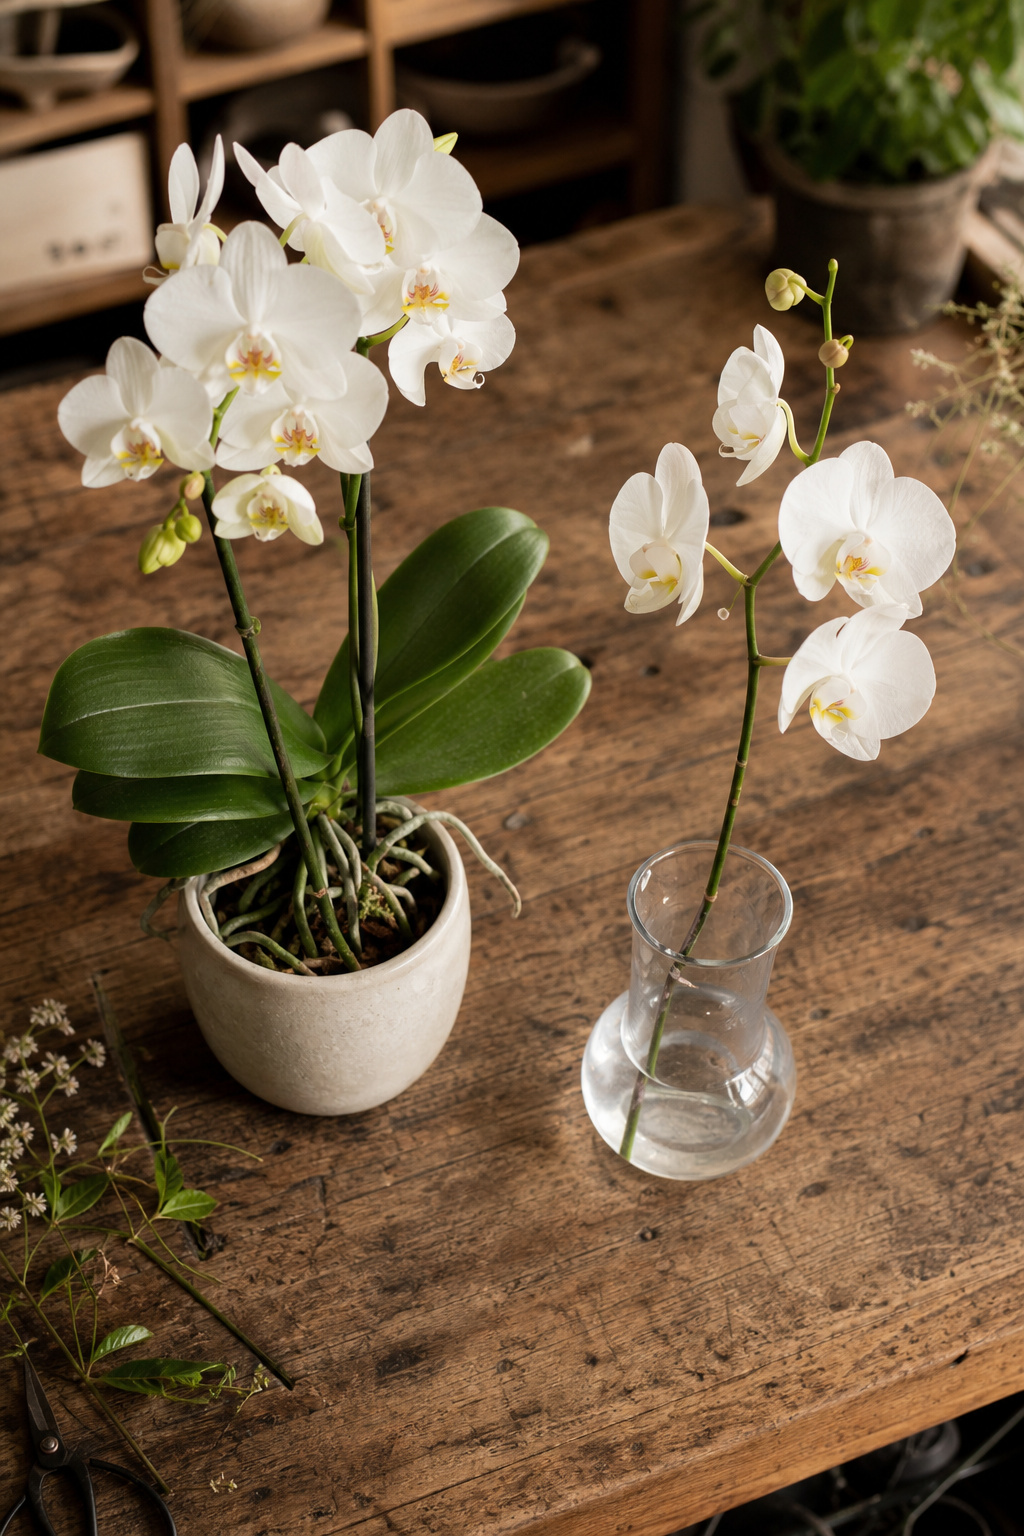
The best orchid centerpieces I build start with potted plants, phalaenopsis most often, kept in their original growing pots rather than cut and treated like a bouquet flower.
Cut orchid stems look identical to potted ones for about a day, then they start to decline fast, since an orchid bloom cut from the plant has none of the plant’s own reserves keeping it hydrated. A potted arrangement, by contrast, can look fresh for weeks with basic care. If longevity matters at all, that’s reason enough to build with the whole plant.
Hide the Pots Without Repotting the Plant
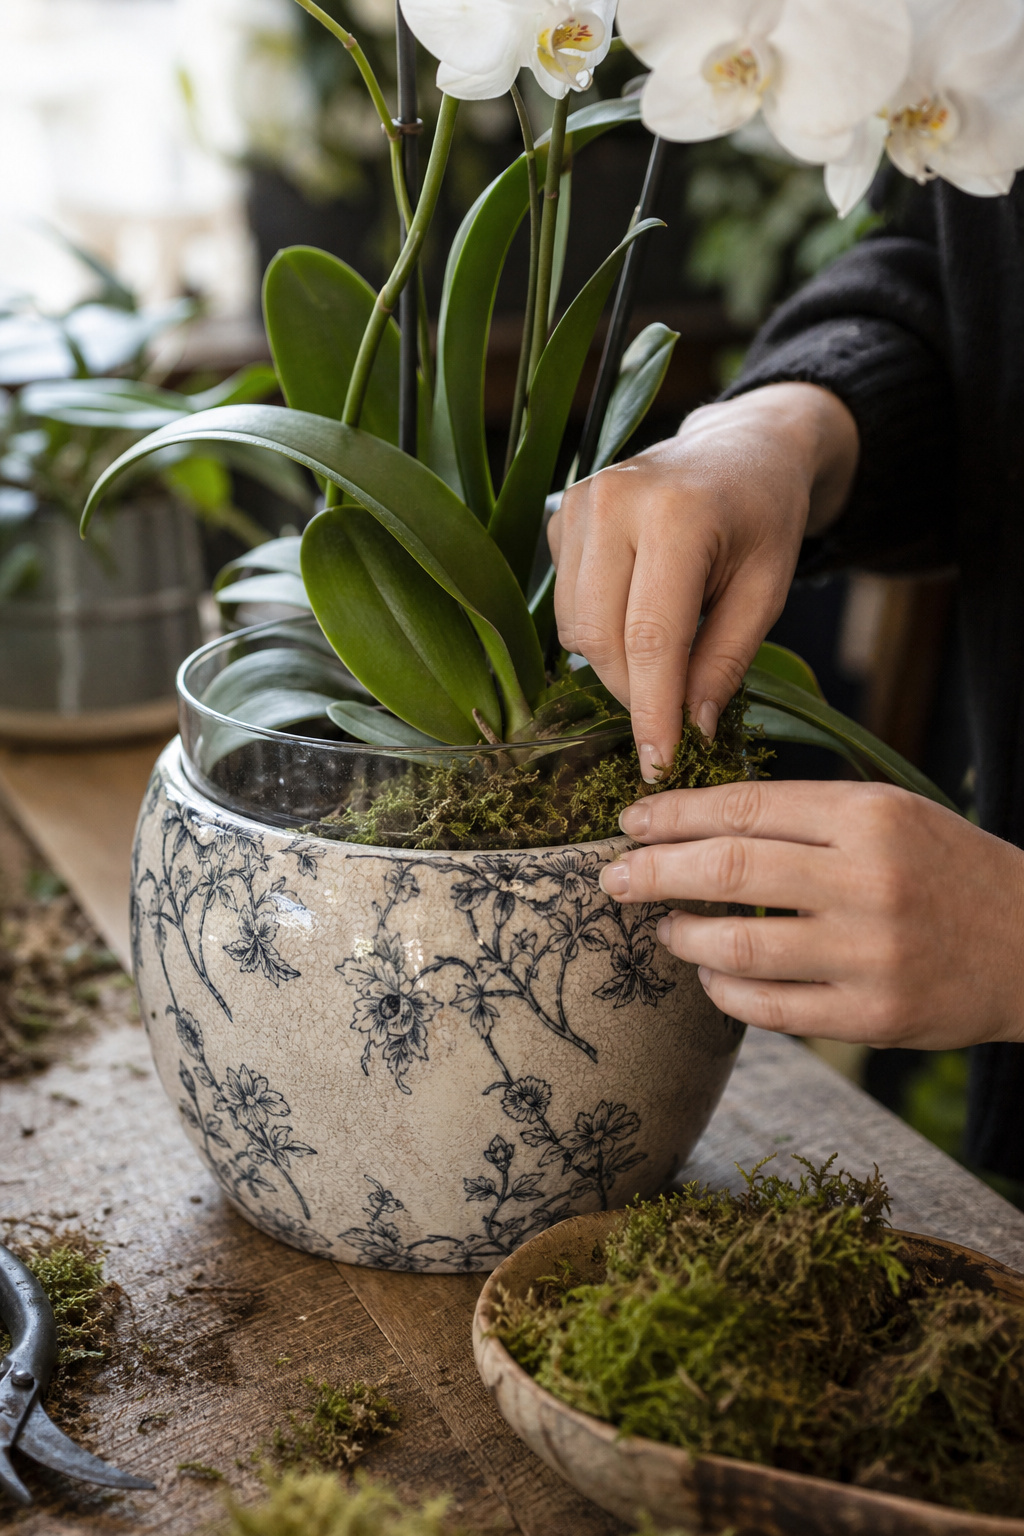
You don’t need to actually repot each orchid into your final container, and I’d tell you not to. Repotting an orchid is a whole separate skill with its own risks, and doing it right before an event is a good way to stress the plant right when you need it looking its best.
Instead, keep each orchid in its own plastic growing liner and nest that liner inside your decorative vessel. Gluing a few liners together with hot glue before placing them lets you position multiple plants as a single unit instead of fighting with them individually, and it makes the whole base reusable for your next arrangement. Fill the gaps around the liners with sheet moss to hide the plastic, and nobody will know it’s there.
What I use in the shop: a bag of natural preserved sheet moss for hiding liners. It stays put better than fresh moss and doesn’t need its own watering schedule.
Give the Plant Its Own Water, Not the Vessel’s
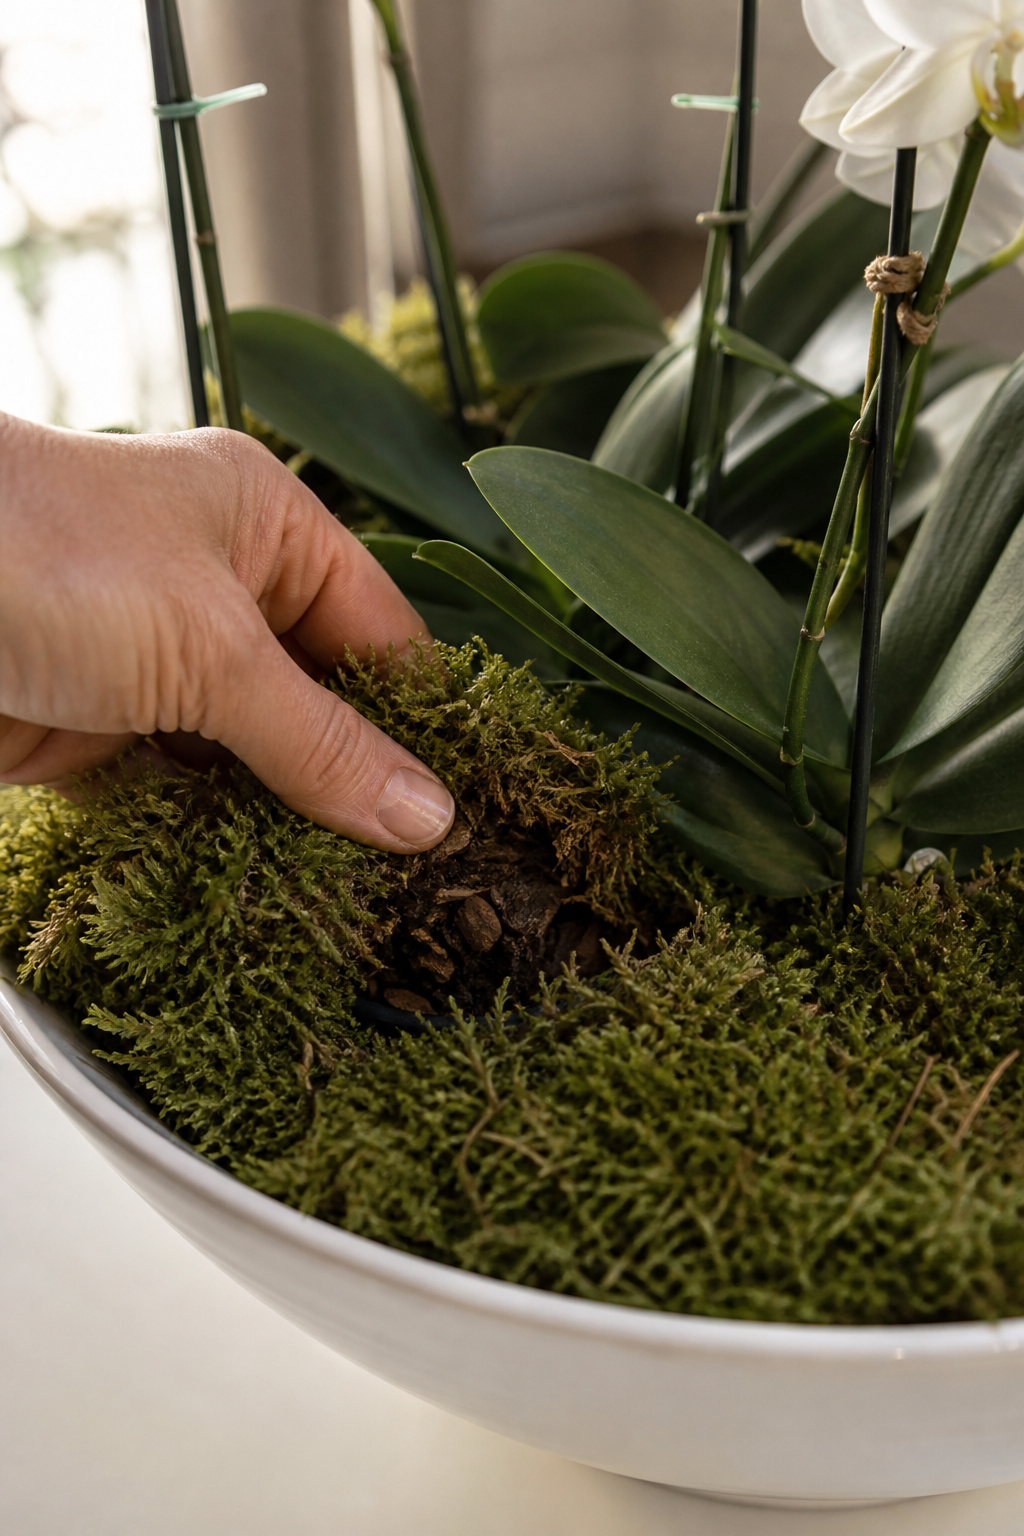
This is where the reusable version of this technique goes wrong most often. If you’re building it to last past one event, each plant still needs to be watered on its own schedule inside its liner, not soaked as if the whole centerpiece were a single potted plant.
Lift the moss on the side, check the growing medium in each liner, and water individually when it’s actually dry. Orchid roots that sit in standing water rot fast, and a centerpiece built to be reused only stays reusable if the plants inside it are still alive a week later. If you want the full watering and light routine, our phalaenopsis care guide covers it in more depth than I can here.
Choose a Vessel That Matches the Event
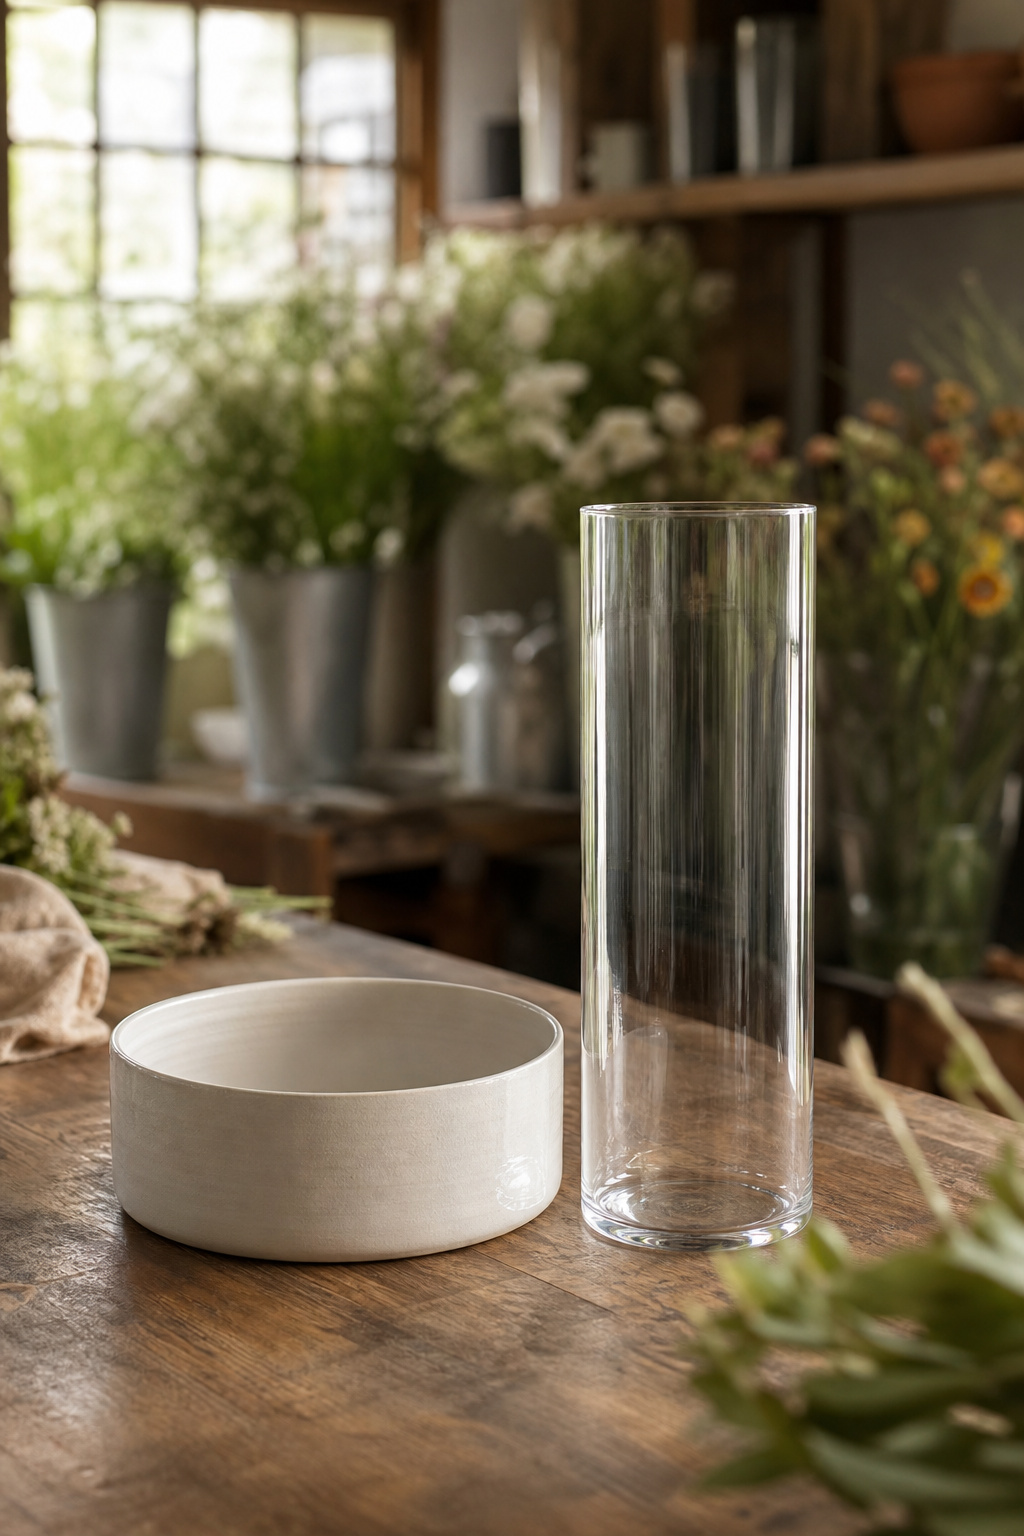
A low, wide vessel keeps sightlines open across a dinner table, which matters more at a seated event than most people think. Guests want to see each other across the centerpiece, not around it.
For a bigger visual statement, a taller vessel with a single dramatic orchid stem works well on an entry table or a spot where height won’t block anyone’s view. Match the vessel’s finish to your event. A clean glass or ceramic container suits a formal wedding reception. A wood or woven basket vessel fits a more casual gathering.
Optional – Add Fresh Flowers to Complete the Centerpiece
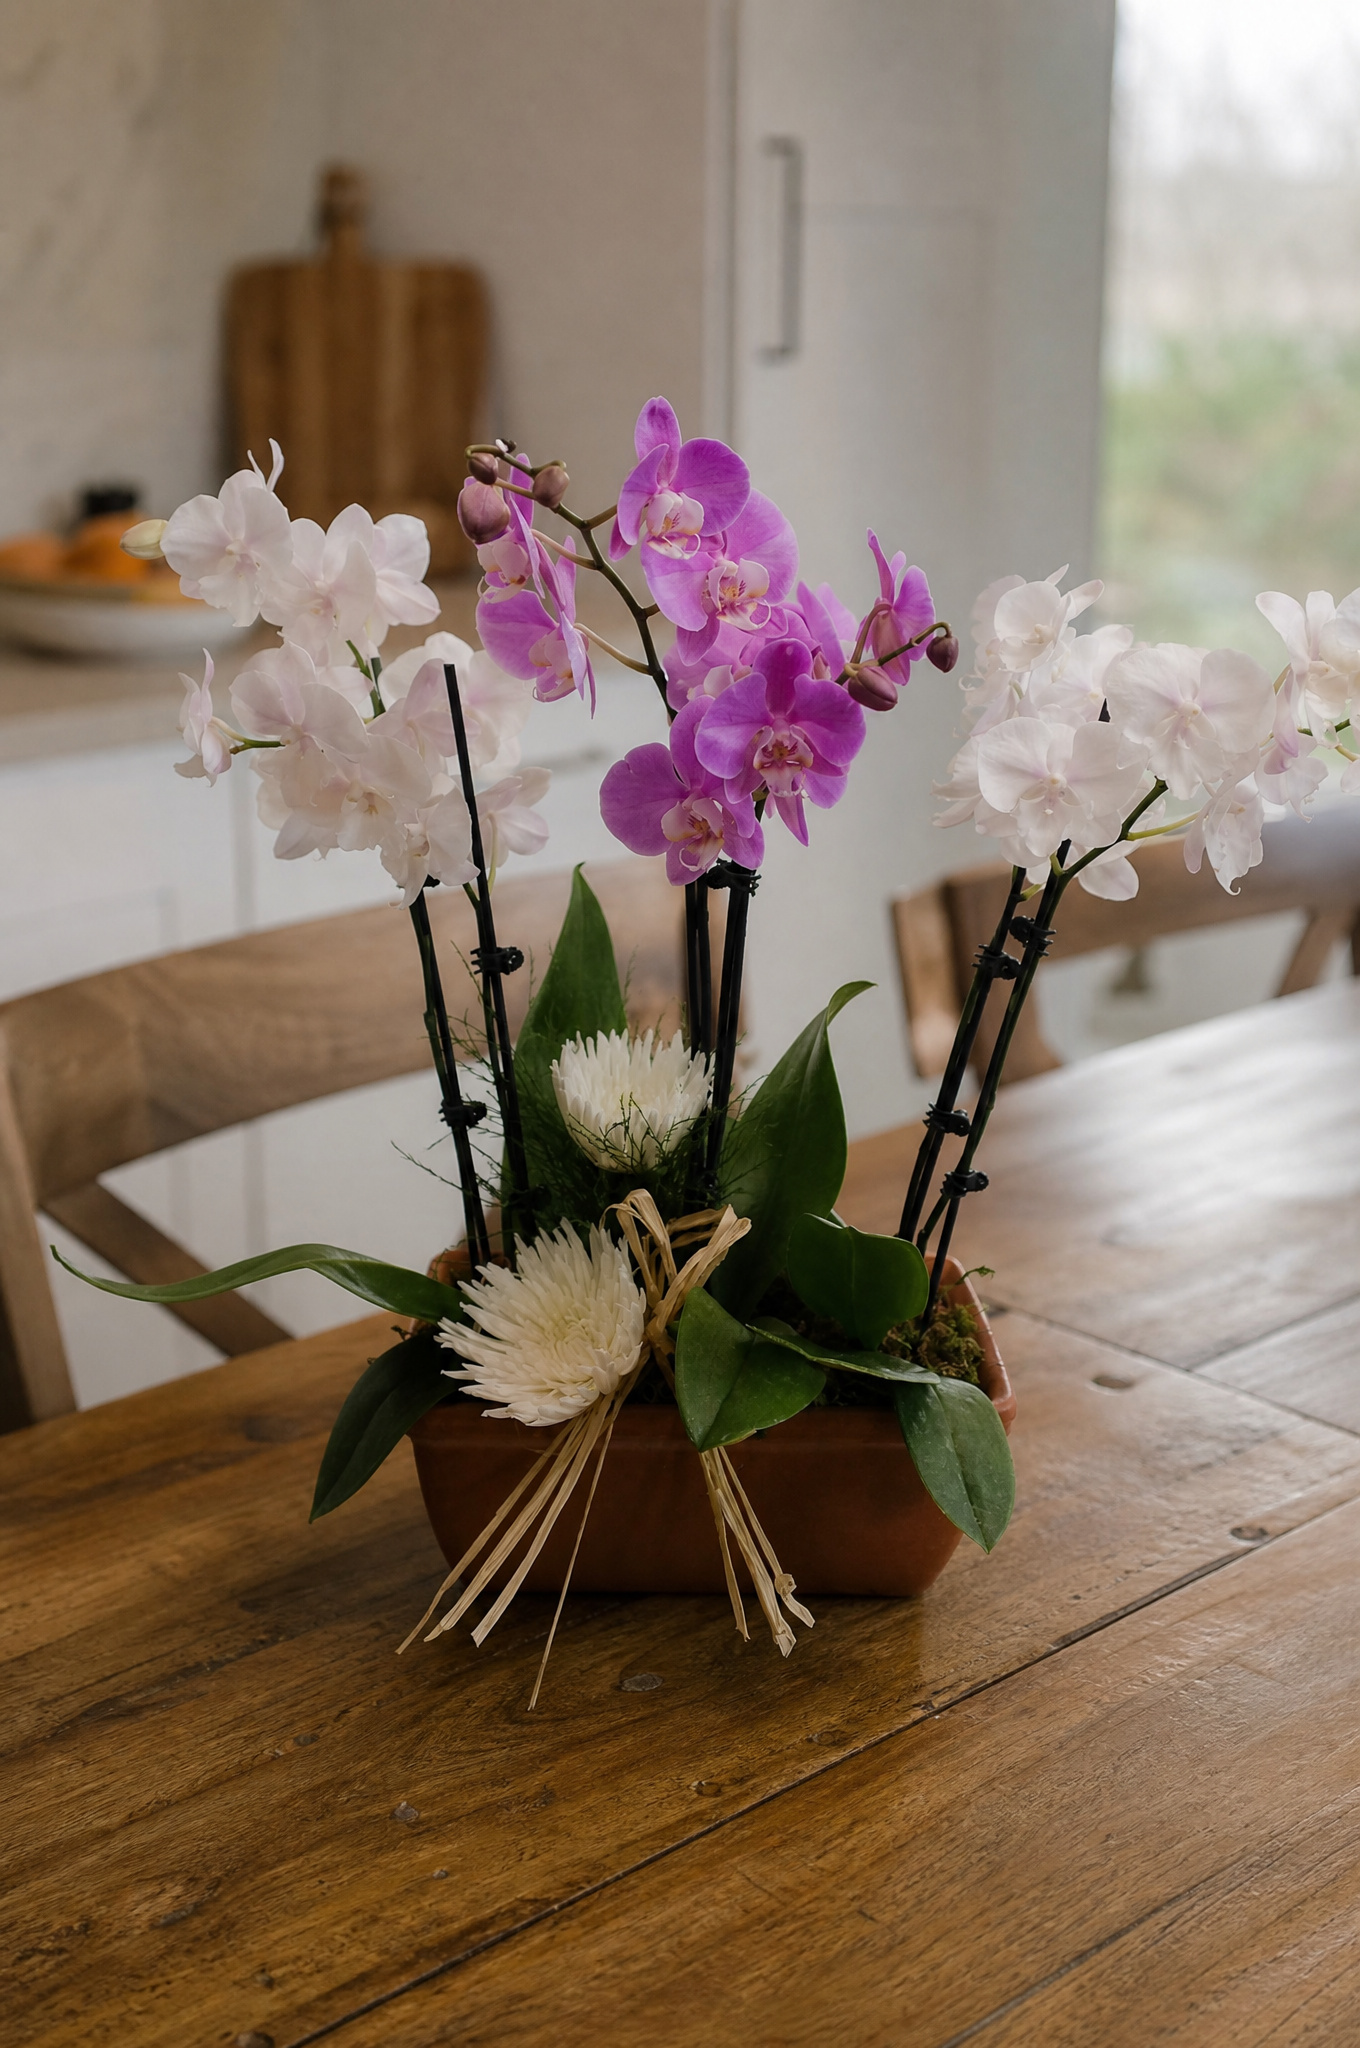
The potted orchids do the heavy lifting on their own, but a few cut flowers tucked into the moss can soften the look and tie the centerpiece to the rest of your color palette without adding any real upkeep.
Keep it light. A handful of garden roses or ranunculus stems, cut short, placed in water tubes, and slipped into the moss between the liners, reads as an intentional finishing touch rather than a second arrangement competing with the orchids. Since these stems have a minimal water source, treat them as short-term, a day or two at most, and plan on swapping them out if the centerpiece needs to hold up over a longer event.
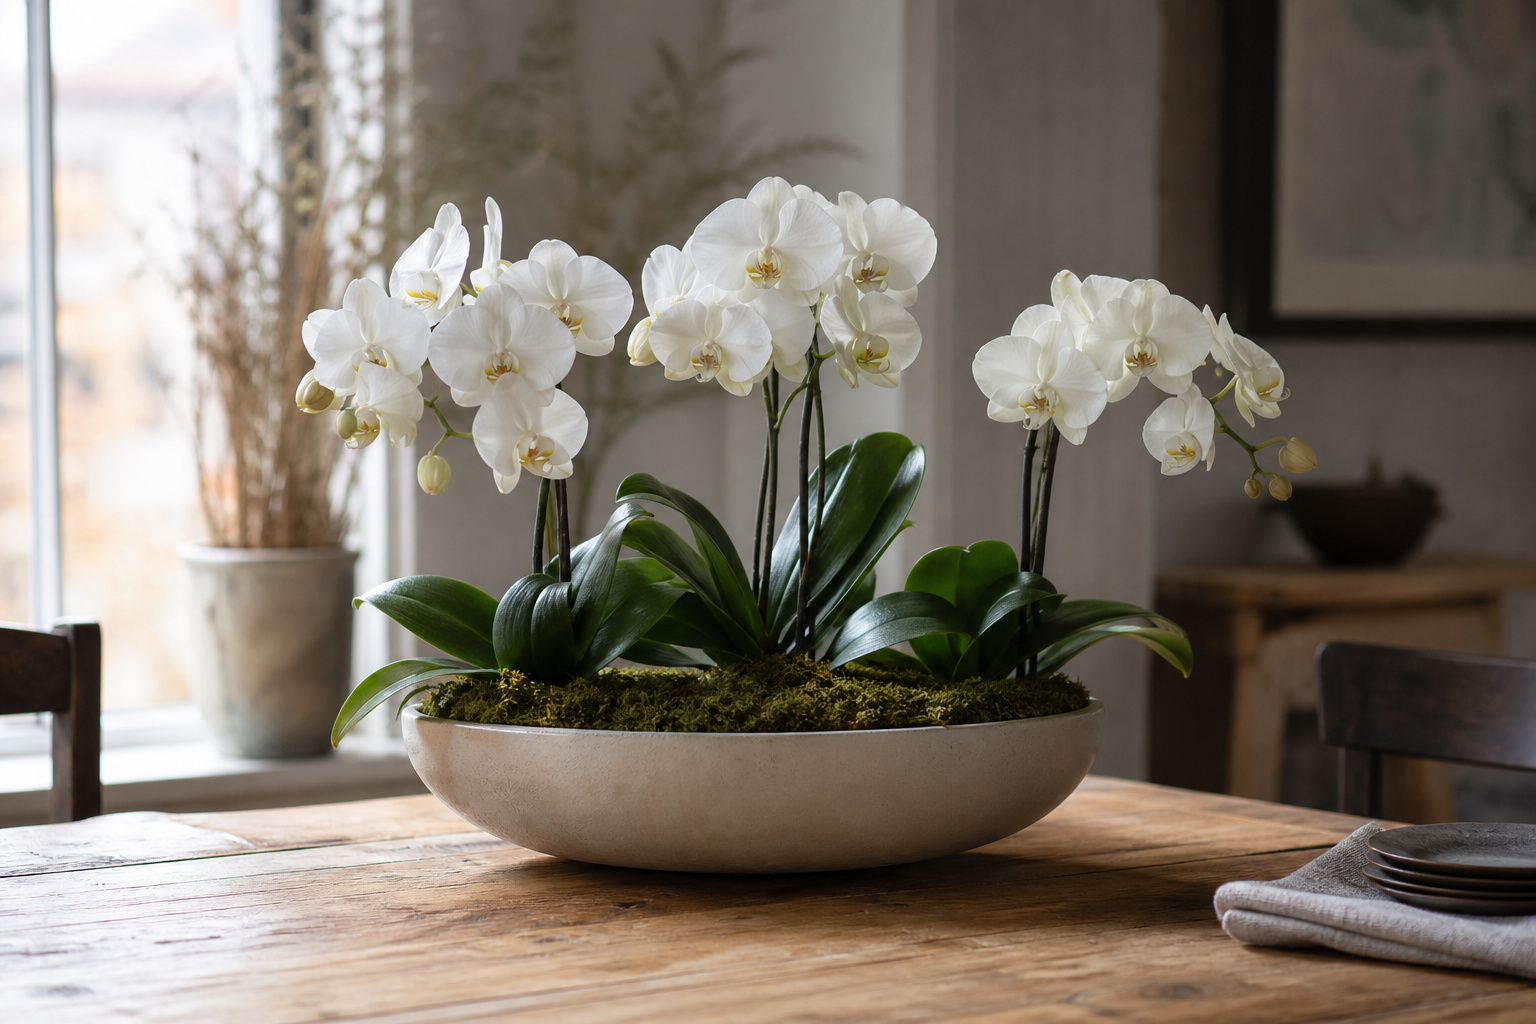
This is also where a centerpiece stops looking like a potted plant with a bow on it and starts looking like it came out of a shop. Here’s one we built this way for a recent event.
Frequently Asked Questions
Should I use cut orchid stems or potted plants for a centerpiece?
Potted plants hold up dramatically longer. Cut orchid blooms look fine for about a day before declining fast, since they’re cut off from the plant’s own water reserves. A potted orchid kept in its growing liner and nested into a decorative vessel can look fresh for weeks with basic care.
How do I hide the plastic pots in an orchid centerpiece?
Nest each orchid’s plastic growing liner inside your decorative vessel, then fill the visible gaps with sheet moss. Preserved moss holds its look longer than fresh moss and doesn’t need separate watering. Gluing multiple liners together first makes them easier to position and reuse as a set.
Can I reuse an orchid centerpiece after the event?
Yes, if it was built with potted plants rather than cut stems. Water each plant individually inside its liner as needed rather than treating the whole centerpiece as one unit, and a well-built arrangement can be reused across multiple events or moved home afterward as a regular houseplant display.
How many orchid plants do I need for one centerpiece?
It depends on your vessel size and the look you want. A single dramatic stem works well in a tall, narrow vessel. Three to five plants clustered together in a low, wide vessel give more fullness for a dinner table. Odd numbers tend to look more natural than even ones.
What kind of vessel works best for an orchid centerpiece?
Keep it low and wide for a seated dinner table, so guests can see each other across it. A taller vessel with a dramatic single stem suits an entry table or another spot where blocked sightlines aren’t a concern. Match the material, glass or ceramic for formal, wood or woven for casual, to the event itself.
Closing Thoughts
An orchid centerpiece built around the whole plant instead of a cut stem does more work for less money, since it outlasts a single event by weeks if you keep watering it right.
Build it once, and you’ll get more than one event out of it.
Are you planning to reuse your centerpieces after the event, or are they one-night pieces? Tell me in the comments. I read each one.
Til next time,