Disclosure: This post may contain affiliate links. If you click and buy, we may earn a commission at no extra cost to you. As an Amazon Associate, we earn from qualifying purchases.
A regular of mine called last month asking for help with flowers for her daughter’s gender reveal party. She didn’t want the usual balloon arch with a couple of grocery store bouquets shoved underneath it.
She wanted arrangements that actually held up next to the rest of the party décor. We worked through it right there over the phone, and what we landed on is what I want to walk you through here.
You don’t need a design background to pull this off. You need the right flowers, in the right order, built with the same layering technique I use on centerpieces that go out of my shop.
Start With Gender-Neutral Blooms
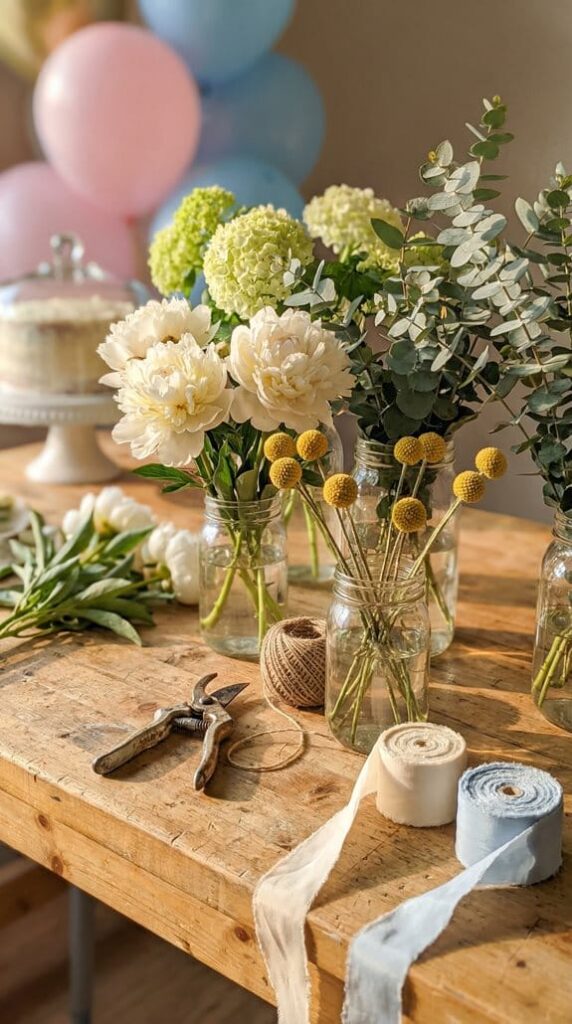
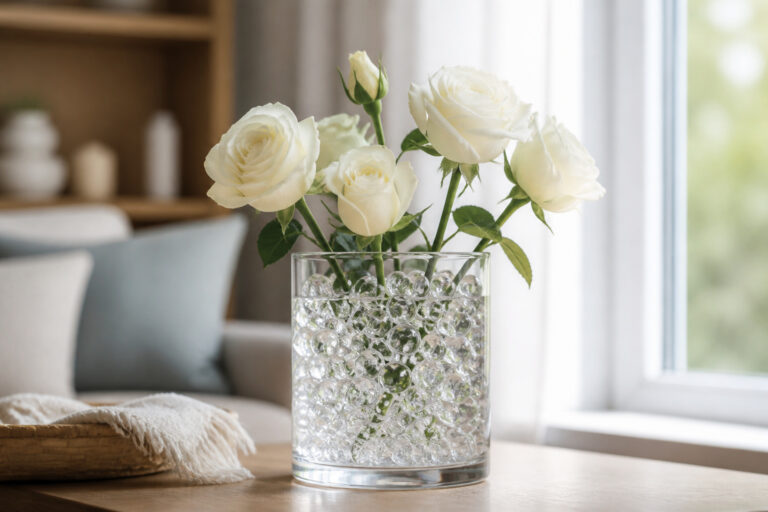
Your foundation flowers do one job: keep the mystery intact while still looking put-together. In my experience, white roses, orchids, and yellow-green blooms work best for this.
They read as elegant on their own. They also give you a neutral base you can build any color story on top of, once you’re ready to add it.
Skip anything overtly pink or blue at this stage, even as an accent. Save that color for the reveal moment itself, not the flowers sitting on the table beforehand.
Pick a Focal Flower and Build Around It
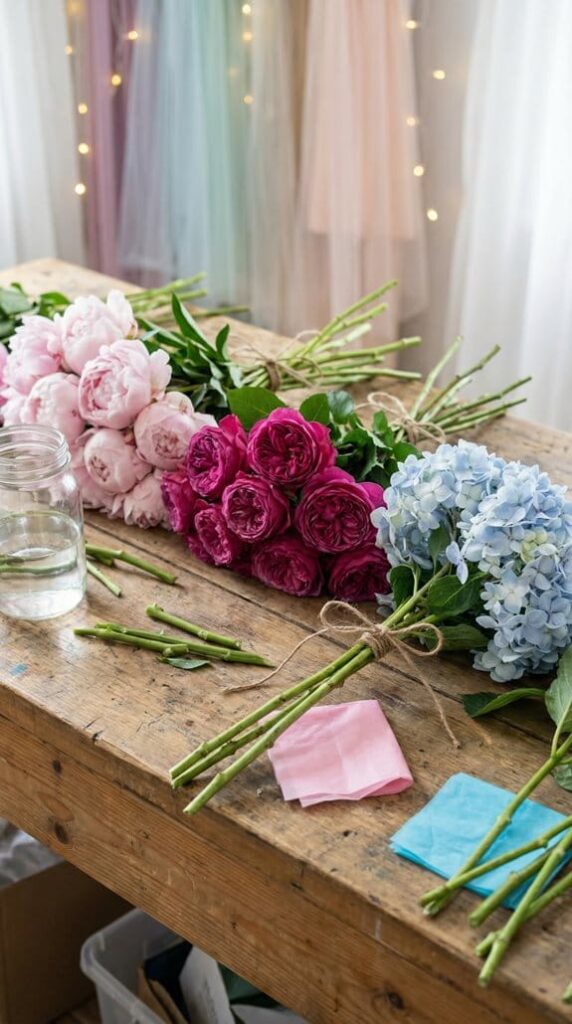
Every good arrangement needs one flower doing the heavy lifting. Focal flowers like garden roses, peonies, or orchids give your design something to build around.
Pick blooms with real size and shape, not just a nice color. Cream peonies and white garden roses both do the job well here.
What I do in the shop: I pick my focal bloom first, then buy a few backups. Flowers don’t always arrive looking how the catalog photo promised, and a gender reveal party doesn’t get a rain date.
Place your focal flowers at different heights instead of lining them up flat. That’s what makes an arrangement look built, not just assembled.
Match Your Colors to the Mood You Want
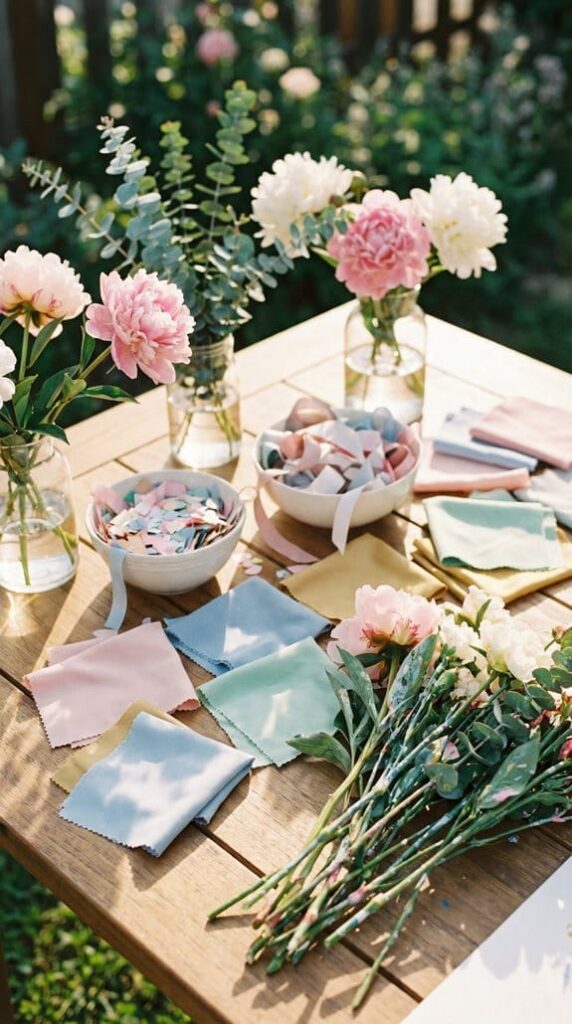
Color sets the tone before anyone reads a single detail on your invitation. From my perspective, this is where most DIY arrangements either come together or fall apart.
Stick with whites, creams, and soft greens if you want the suspense to hold until the actual reveal. Add pastels for a spring party, or deeper tones if you’re hosting in the fall.
If you’re worried that any hint of color will spoil the surprise early, don’t be. Keep accent colors to ribbon and greenery, never the flowers themselves, and you’re safe.
Metallics pair well with a neutral palette too, and they photograph better than you’d expect.
Layer In Greenery and Filler for Texture
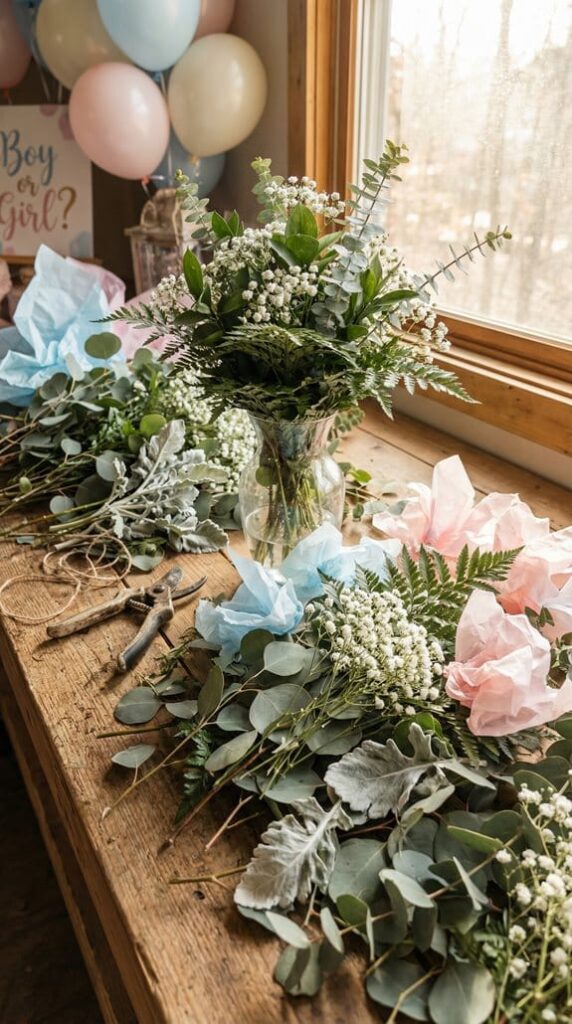
Greenery and filler aren’t an afterthought. They’re what turns a handful of stems into something that looks finished.
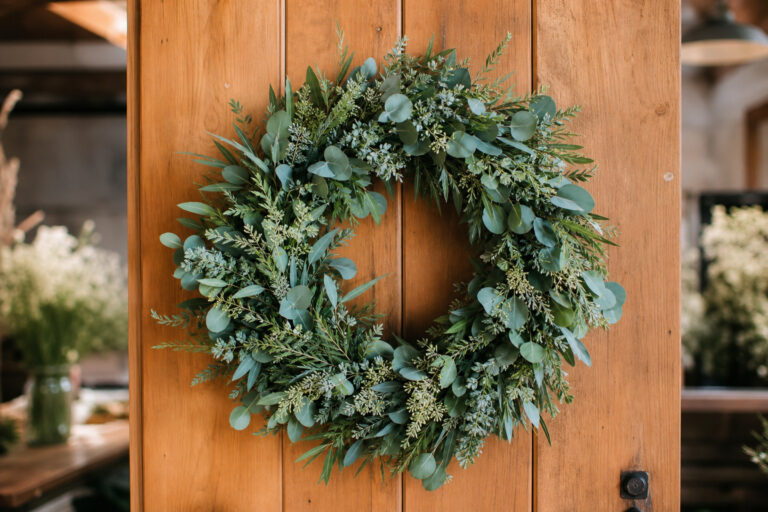
Eucalyptus, Italian ruscus, and salal all add texture without pulling attention off your focal flowers. Baby’s breath and waxflower fill the gaps between blooms without crowding them.
If you’re using floral foam to hold everything in place, it’s worth reading through what I’ve learned about floral foam first. The wrong foam, or the wrong prep, is the most common reason a DIY centerpiece looks great at noon and droopy by five.
Vary your leaf shapes and sizes as you go. That’s a small move, but it’s the difference between an arrangement that looks intentional and one that looks like it came out of a single bunch.
Add Balloons and Ribbon the Right Way
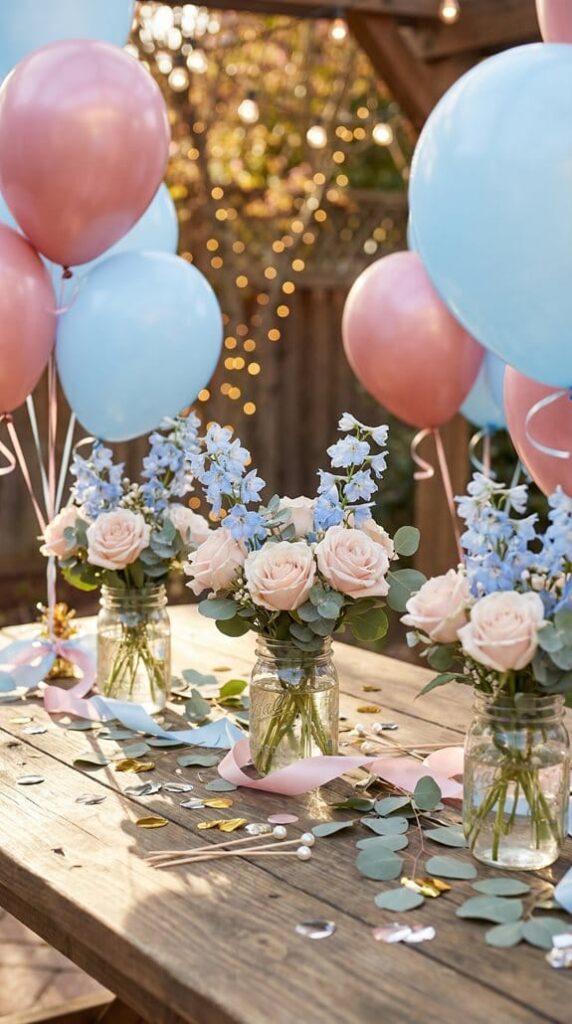
Balloons and ribbon are what push a floral arrangement into full gender-reveal-party territory. They’re also the easiest part to get wrong.
Float a few gender-neutral balloons above the arrangement instead of clustering them at the base. It adds height without hiding the flowers you spent time on.
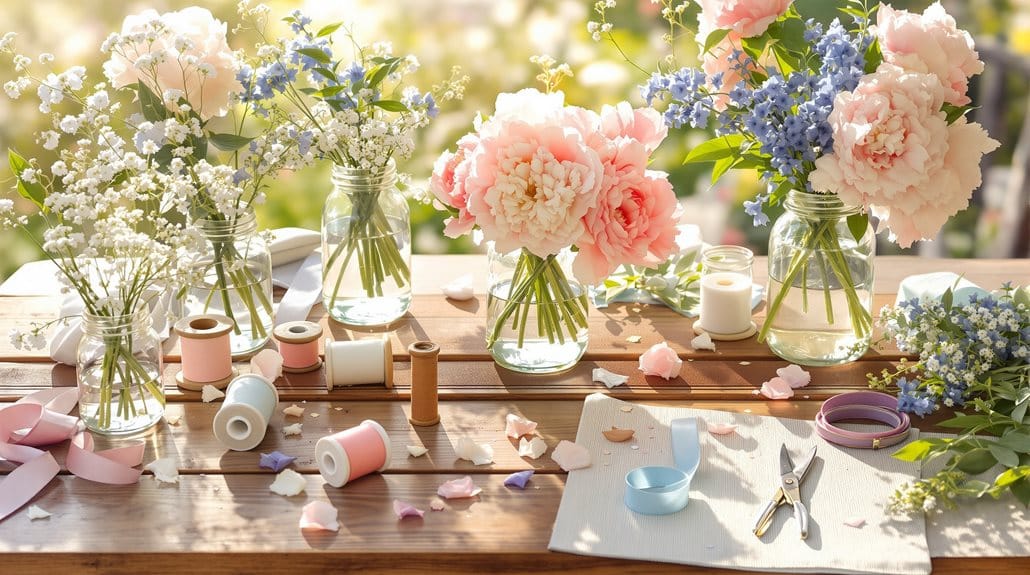
Wrap ribbon around the vase and weave a little through the stems for texture. The same zip-tie trick I use to keep wedding installations secure through a long reception works just as well anchoring balloon ribbon to a centerpiece base.
Balloons pop. Flowers, usually, don’t. Plan your vertical drama accordingly.
Size and Place Your Centerpieces for the Room
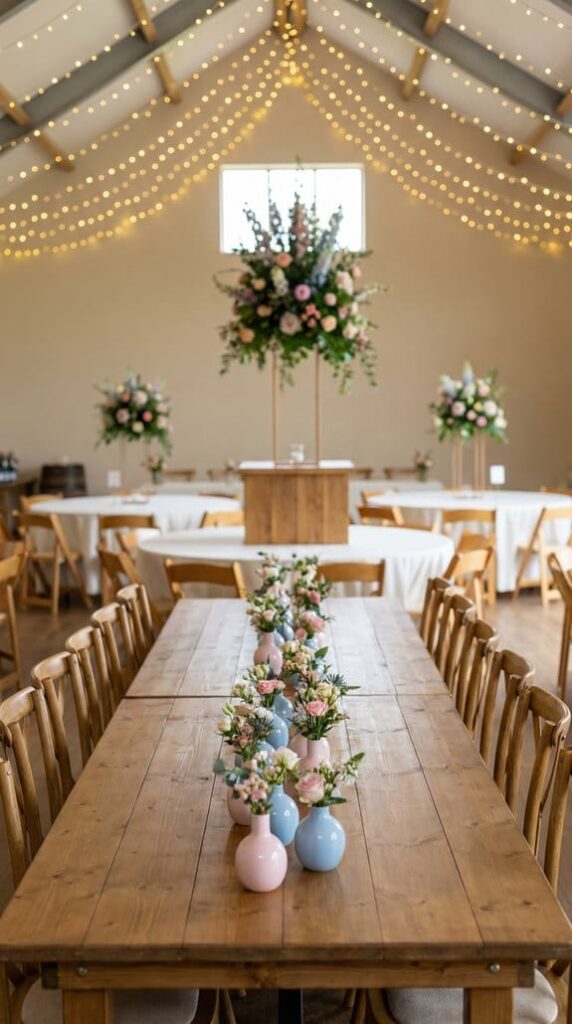
Once your arrangement is built, where you put it matters almost as much as what’s in it. Tall pieces belong on elevated surfaces like cocktail tables. Shorter ones belong on standard dining tables, where they won’t block anyone’s view.
Spread your centerpieces out evenly instead of clustering them near the reveal area. Guests should be able to see the big moment from wherever they’re standing.
I cover more of this positioning logic, including a video walkthrough, in my post on building centerpieces for events with a lot of moving parts.
Walk the room and test your placement before the party starts. It’s a five-minute step that saves you from moving vases around while guests are already arriving.
Prep Your Flowers a Day Ahead, Not the Morning Of
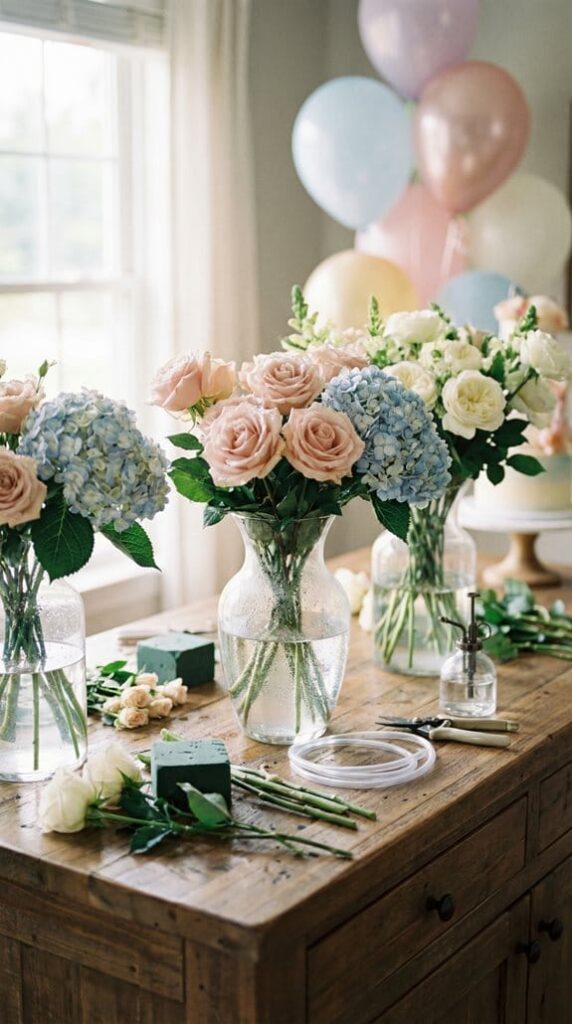
Prep your flowers twenty-four hours before the party, not the morning of. That single change does more for how your arrangements look than almost any other step here.
Proper flower processing the day before gives your blooms time to hydrate and open fully before anyone sees them.
What I use in the shop: my floral design essentials list — floral shears, waterproof containers, wire, and tape. It’s the same kit I reach for any event with a hard deadline.
Set your finished arrangements up right before guests arrive. Give them a spot out of direct sun, and they’ll hold through the whole party.
Frequently Asked Questions
How Far in Advance Should I Buy Flowers for a Gender Reveal Arrangement?
Buy three to five days out. That gives you enough time for proper hydration and arranging without the flowers wilting before the party.
What’s the Best Way to Store Cut Flowers Before I Arrange Them?
Keep them in a cool spot, ideally 65 to 72°F, in a clean vase with fresh water and floral preservative. Change the water daily.
What Tools Do I Actually Need for a Clean DIY Build?
Floral shears, a sharp knife, waterproof containers, wire, and tape cover most of it. I keep all of mine on the essentials list above.
Do I Need Floral Foam for a Gender Reveal Centerpiece?
No. Foam makes certain shapes easier, but a vase with chicken wire or a grid of floral tape across the opening holds stems just as well for most centerpiece styles.
Can I Use Silk or Dried Flowers Instead of Fresh Ones?
You can, and it’s a smart move if you’re setting arrangements up more than a day ahead or shipping them somewhere. Just skip mixing silk and fresh stems in the same arrangement. The difference in texture is more noticeable up close than people expect.
How Much Should I Budget for DIY Gender Reveal Flowers?
Most home DIYers land between $75 and $200 for two to three centerpieces, depending on flower choice. Garden roses and peonies push that number up. Roses and carnations keep it down.
Closing Thoughts
Gender reveal flowers don’t need to be complicated to look good. Start neutral, build around one strong focal bloom, and give yourself real prep time instead of scrambling the morning of.
I’d like to know: are you team big reveal moment with balloons and confetti, or letting the flowers do the talking on their own? Drop a comment and tell me which way you’re leaning.
Plant the right foundation, and the rest of the arrangement blooms into place on its own.
Til next time,