Disclosure: This post may contain affiliate links. If you click and buy, we may earn a commission at no extra cost to you. As an Amazon Associate, we earn from qualifying purchases.
Last Updated: June 25, 2026
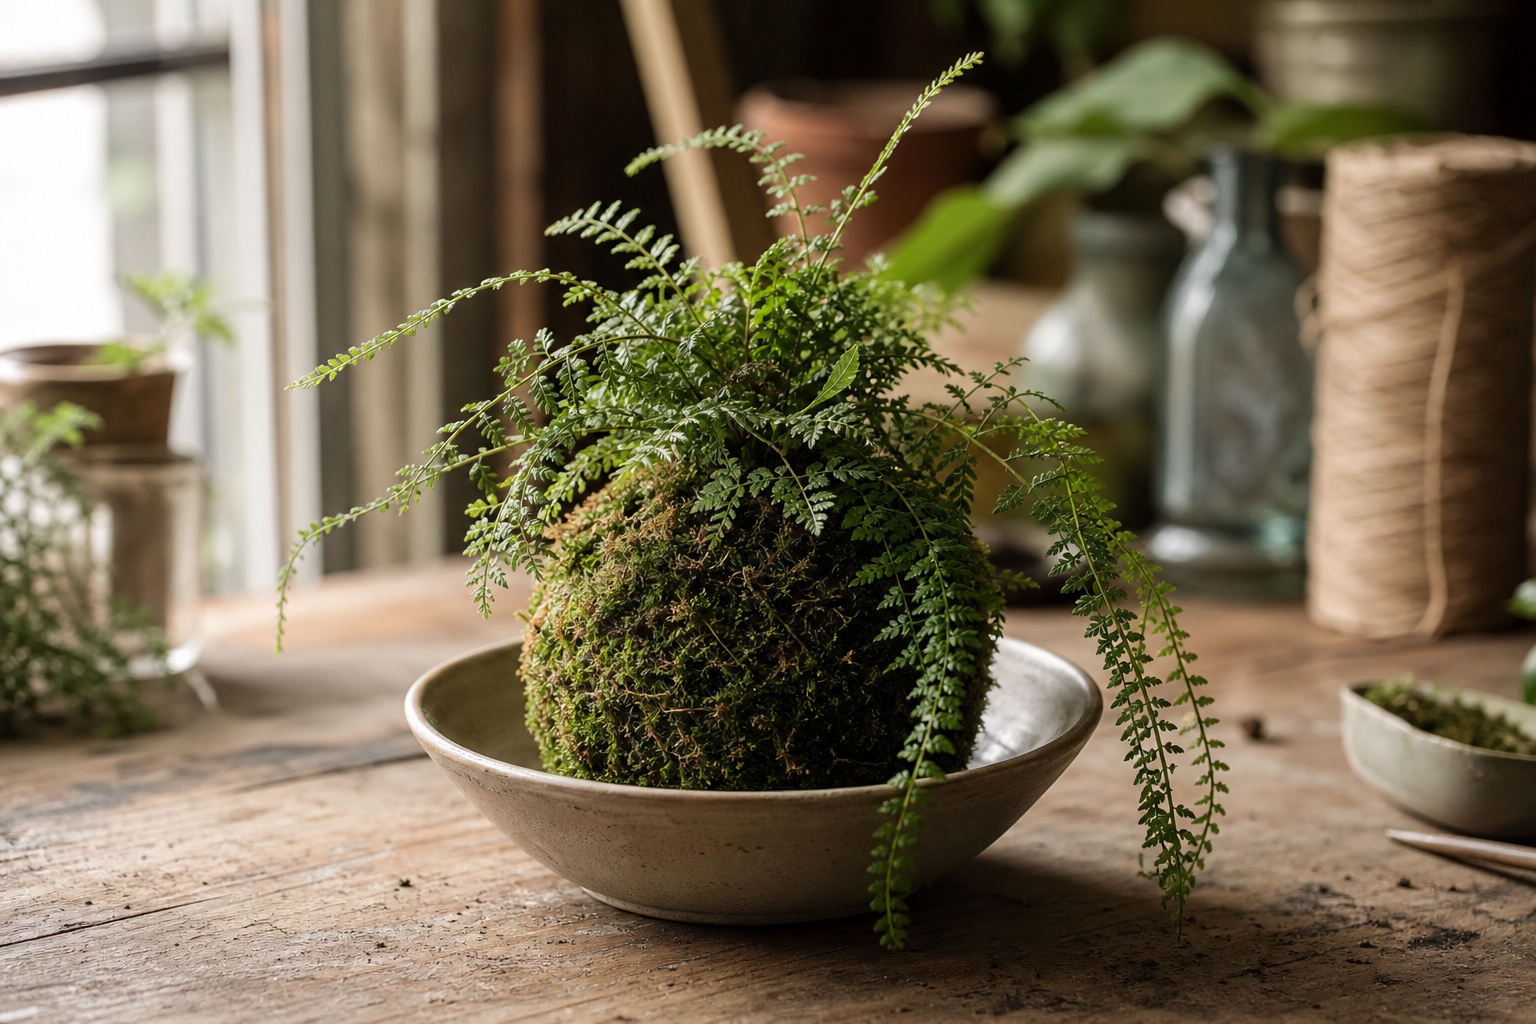
A customer came in a few summers ago and set a small hanging plant on the counter — a fern wrapped in a tight ball of moss, suspended by a loop of twine. She’d picked it up at a farmers market and wanted to know how to keep it alive. I’d seen kokedama before, but this was the first time I’d held one in my hands—compact, natural-looking, no pot in sight. I was impressed.
That conversation stuck with me, and I’ve been recommending kokedama to customers ever since, especially anyone who wants something a little different on their windowsill or as a handmade gift. They’re easier to make than they look, and the results are genuinely striking.
What Is a Kokedama?
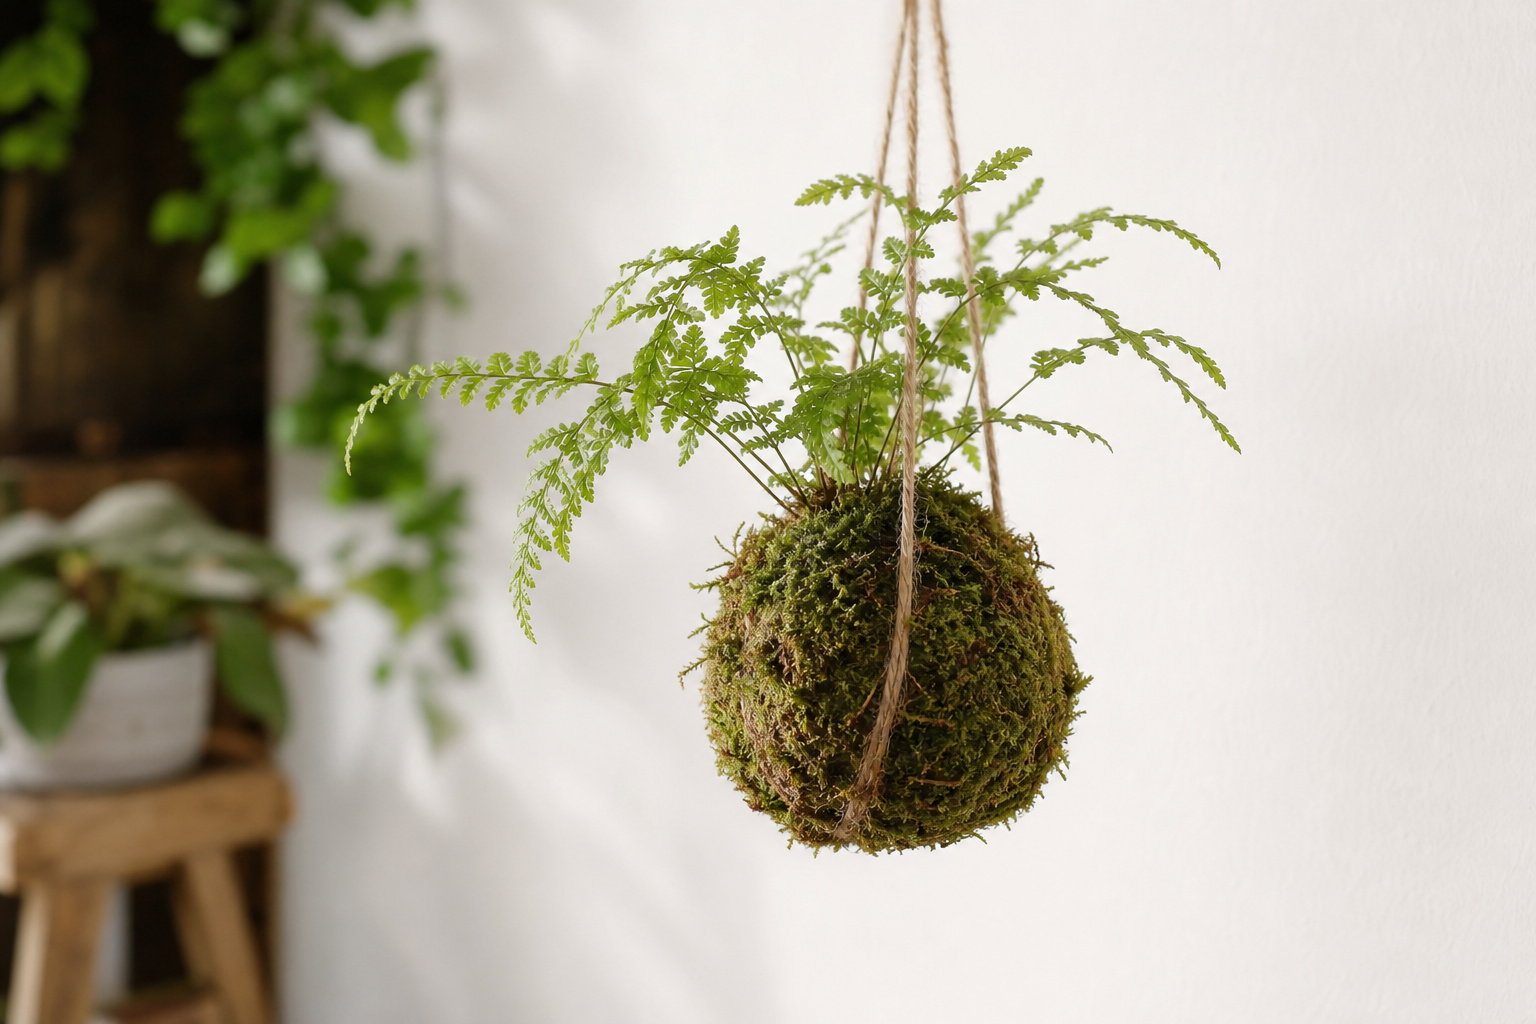
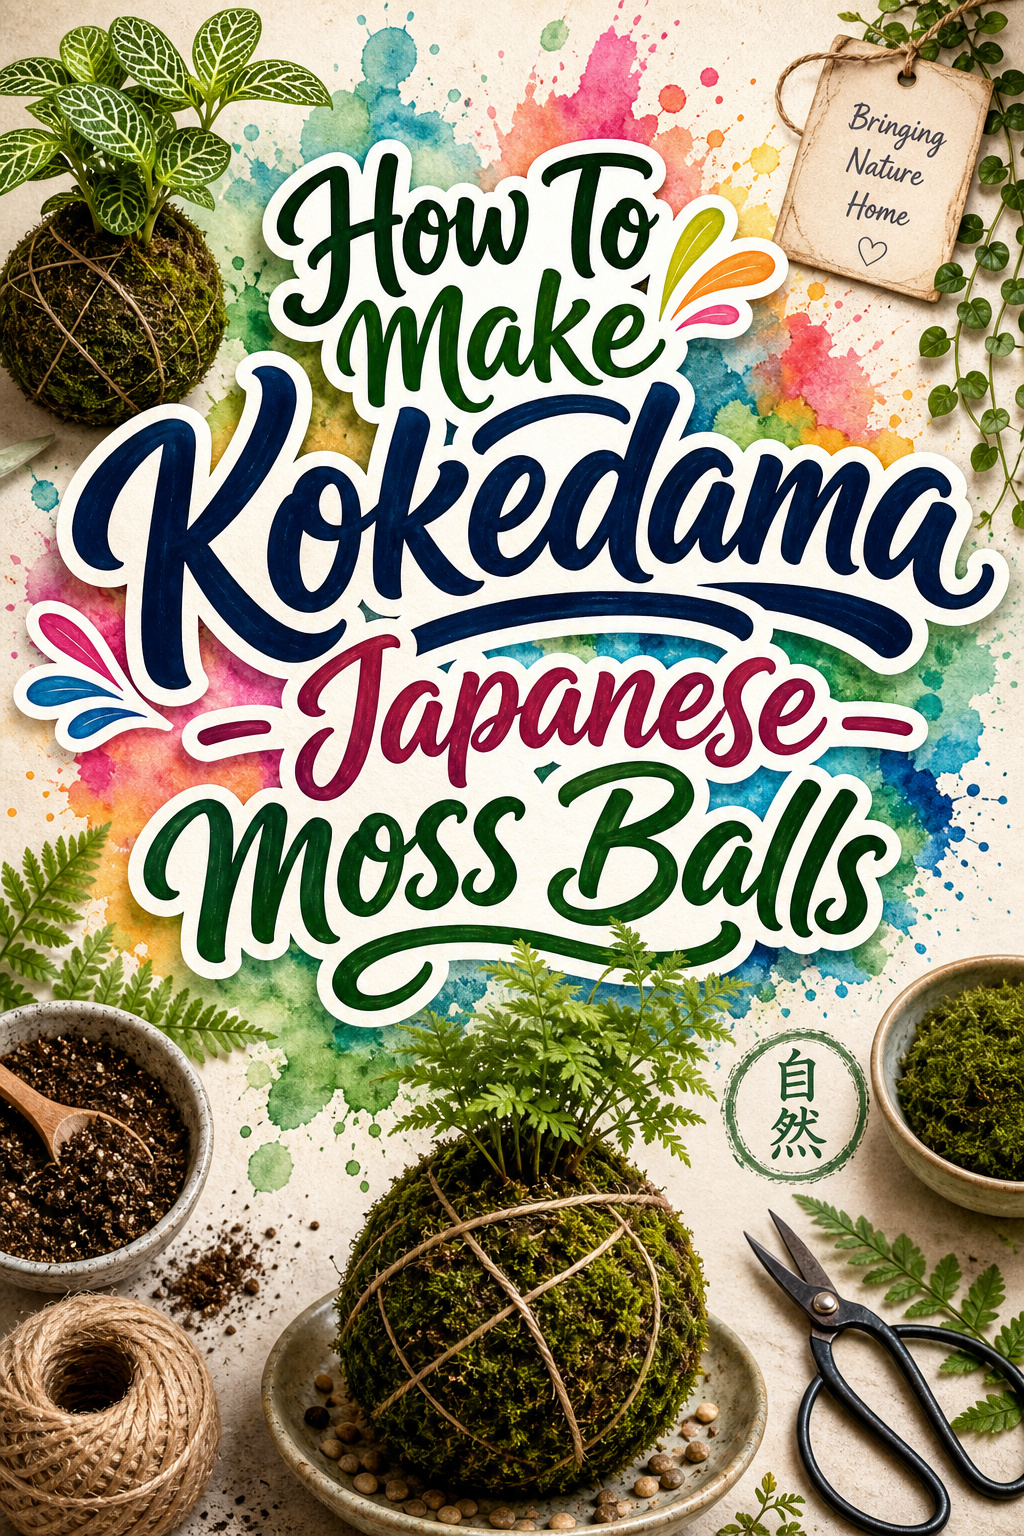
Kokedama is a Japanese art form. The word translates roughly to “moss ball.” The technique involves wrapping a plant’s root ball in a mixture of soil and moss, then binding it with twine or wire to hold its shape. The result is a self-contained planting that can sit in a bowl, rest on a plate, or hang suspended from the ceiling.
It comes from the bonsai tradition but doesn’t require any specialized pruning or long-term shaping that bonsai demands. That’s part of the appeal. You can make one in an afternoon and have something that looks like it took years to develop.
Plants that do well in kokedama include asparagus fern, staghorn fern, bird’s-nest fern, grape ivy, prayer plant, lucky bamboo, and African violets. Most compact houseplants are fair game, as long as they don’t need aggressive drainage. The moss holds moisture, so plants that like consistently damp roots tend to do best.
Why Make Kokedama?
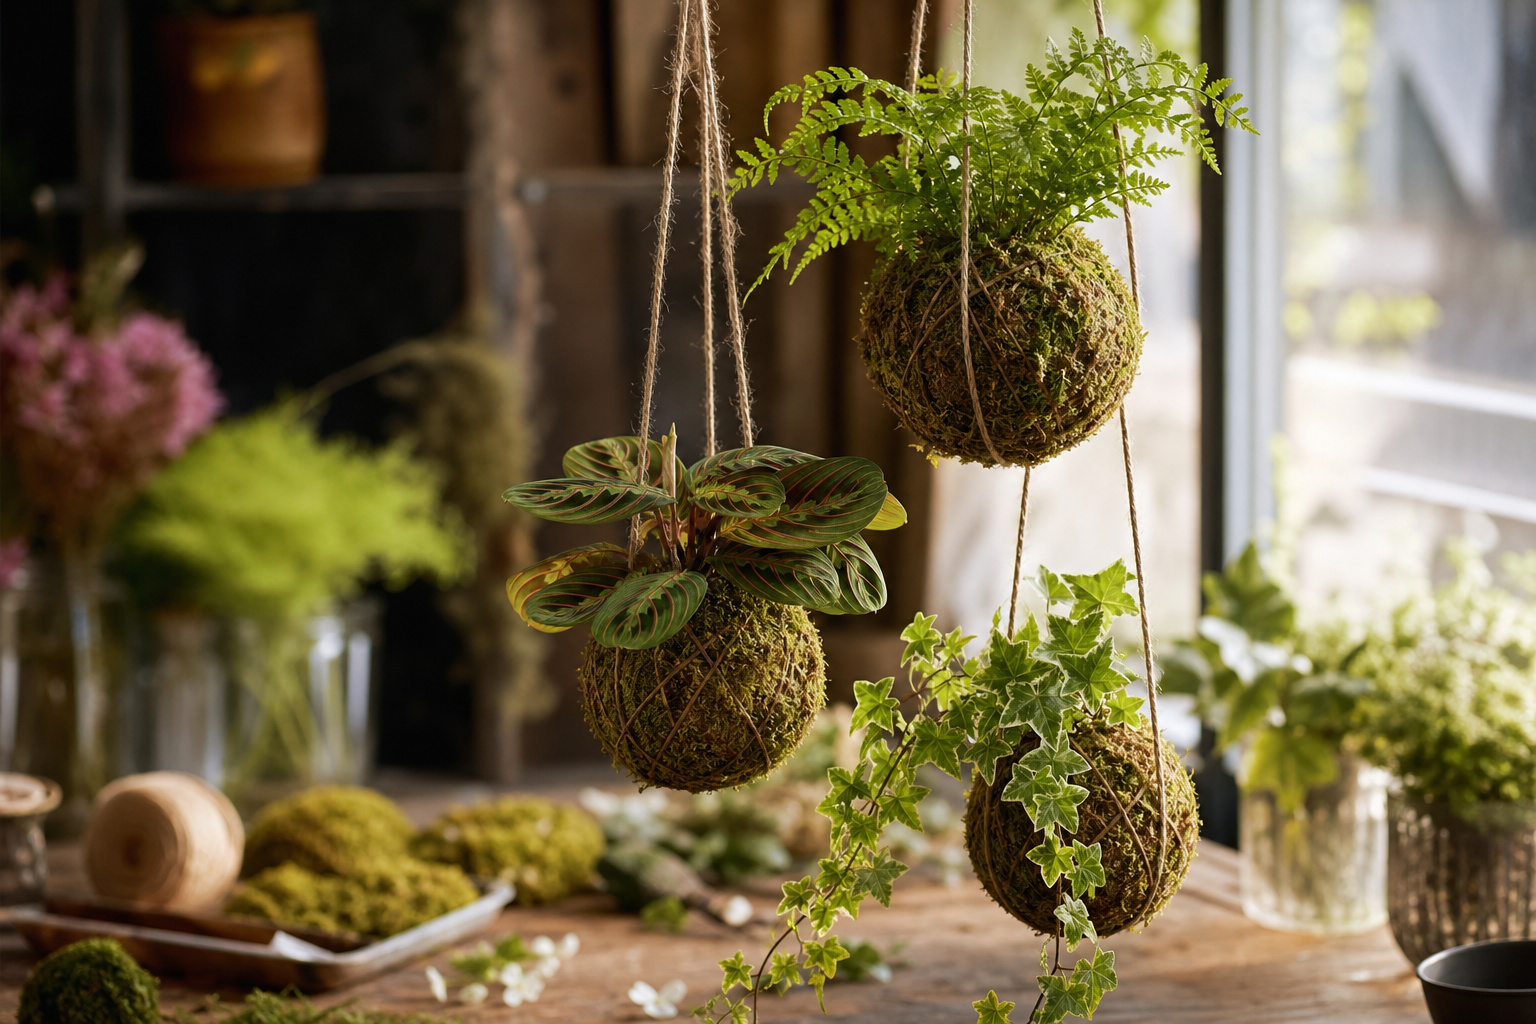
The short answer: they’re beautiful, and they don’t look like anything else on a shelf or windowsill. If you’re tired of the same terra cotta pot arrangements, kokedama give you a genuinely different option.
They also make excellent gifts. A well-made kokedama in a shallow ceramic bowl feels considered and handmade without being fussy. I’ve seen customers bring them as hostess gifts, wedding presents, and housewarming offerings, and they always get a reaction.
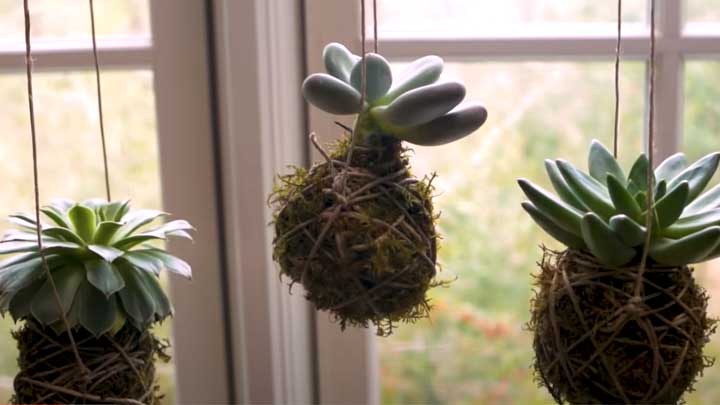
From a design standpoint, they work well grouped at different heights. Three or four hanging at staggered levels in a window creates a living installation that’s hard to achieve with potted plants. Check out some succulent display ideas for more inspiration on grouping plants in creative ways; a lot of those principles carry over.
Gather Your Materials First
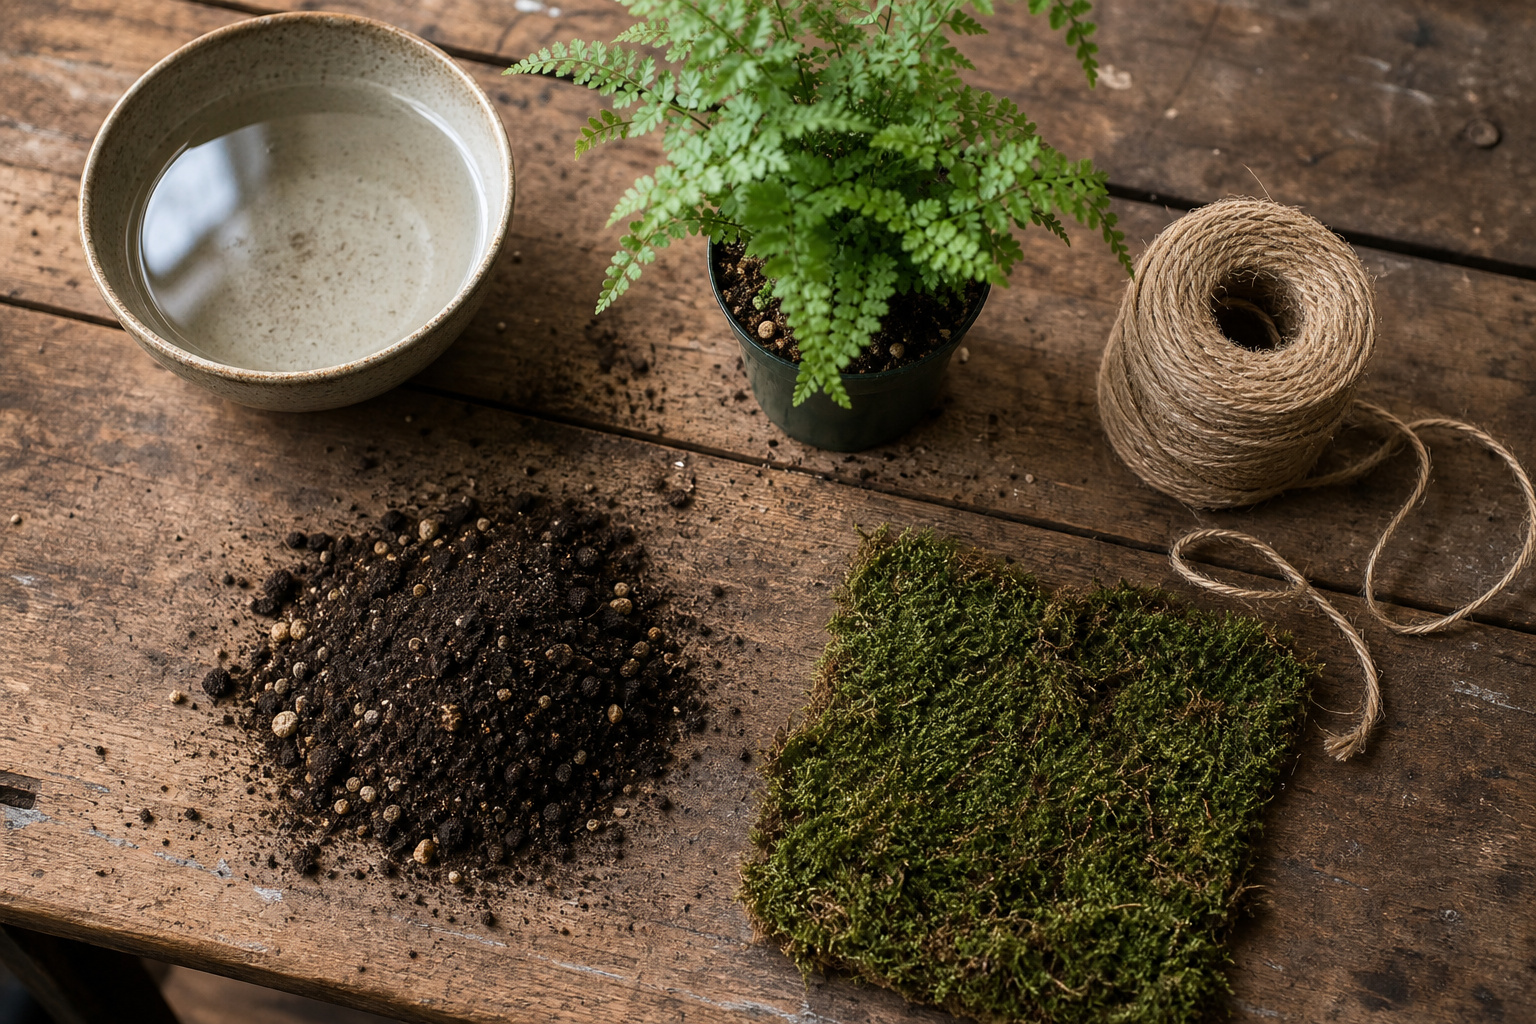
Before you start, gather everything you need. Having it all on the table before you begin makes the process much smoother. Once your hands are muddy, you don’t want to be searching for the scissors.
What I use in the shop: bonsai soil mixed with peat moss at roughly a 50/50 ratio. Bonsai soil gives you good drainage structure; the peat holds moisture and helps the ball bind together. For the outer wrap, sheet moss works well. It’s flexible, clings to the soil mix, and looks clean when finished. For binding, I prefer natural jute twine, though floral wire works if you need a more secure hold. And of course, a plant; something compact with a manageable root ball.
How To Make Kokedama
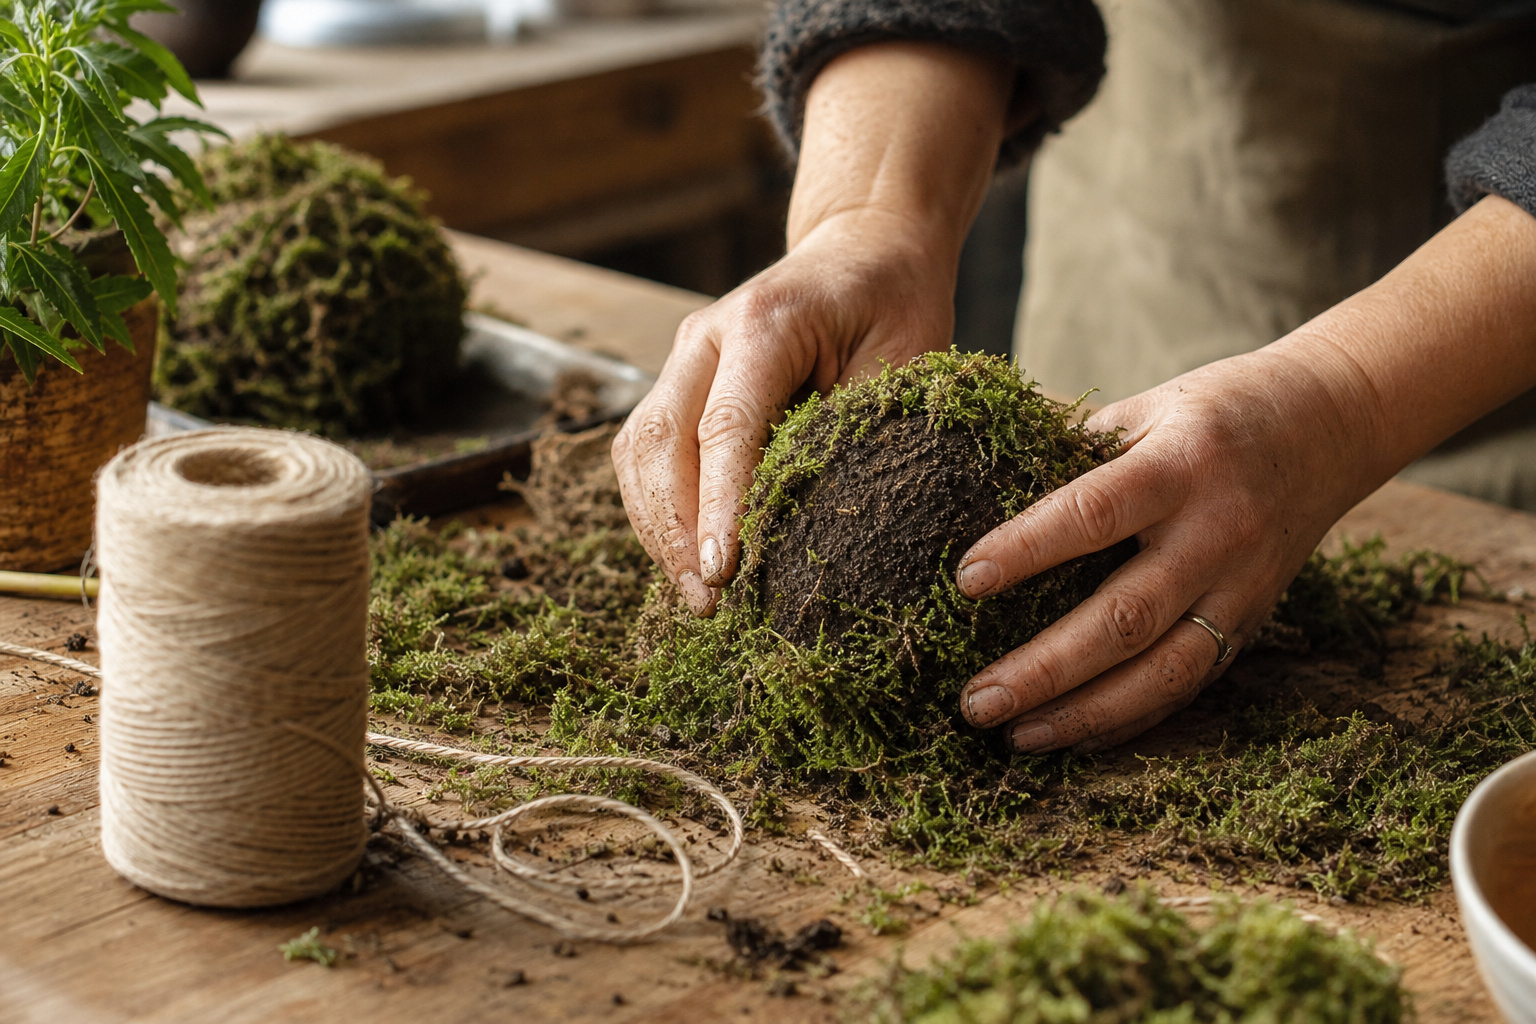
The process is straightforward once you’ve done it once. This video from Garden Answer walks through the full technique clearly. It’s worth watching before you start.
Watch it, and see if the process looks more approachable than you expected. Here’s the step-by-step rundown:
1. Mix your soil. Combine bonsai soil and peat moss in roughly equal parts. Add just enough water to make the mixture hold together when squeezed. It should clump, not crumble or drip.
2. Prep your plant. Remove the plant from its pot and shake off most of the existing soil from the roots. You don’t need to remove all of it, just enough so the root ball is compact and manageable.
3. Form the ball. Take a handful of your soil mixture and press it around the root ball, working it into a sphere. It doesn’t have to be perfect; the moss will cover the surface. Aim for a ball that’s dense enough to hold its shape when you let go.
4. Wrap with moss. Lay your sheet moss flat, set the soil ball on top, and fold the moss up around it. Press it firmly against the surface so it makes contact everywhere. Overlap the edges and smooth any gaps as you go.
5. Bind with twine. Wrap twine around the moss-covered ball in multiple directions, side to side, top to bottom, and diagonally, until the whole surface is secure. Tie it off firmly. The twine holds everything in place while the moss establishes itself.
That’s it. The whole process takes 20 to 30 minutes once your materials are ready.
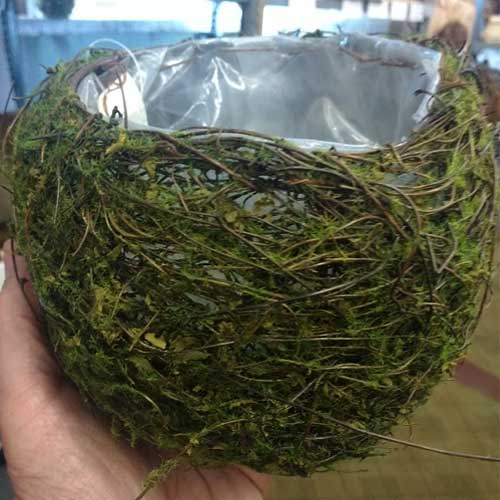
If you’d rather skip the from-scratch process, a premade moss container gets you most of the way there. Just drop in your plant and hang it. Not quite the same as making one yourself, but a solid option if you’re short on time.
How To Care For Kokedama
This is where most first-timers have questions, and rightly so. Caring for a moss ball is different from caring for a potted plant. There’s no drainage hole, no pot to tip, no way to check soil moisture by sticking your finger in. You learn to read the ball itself.
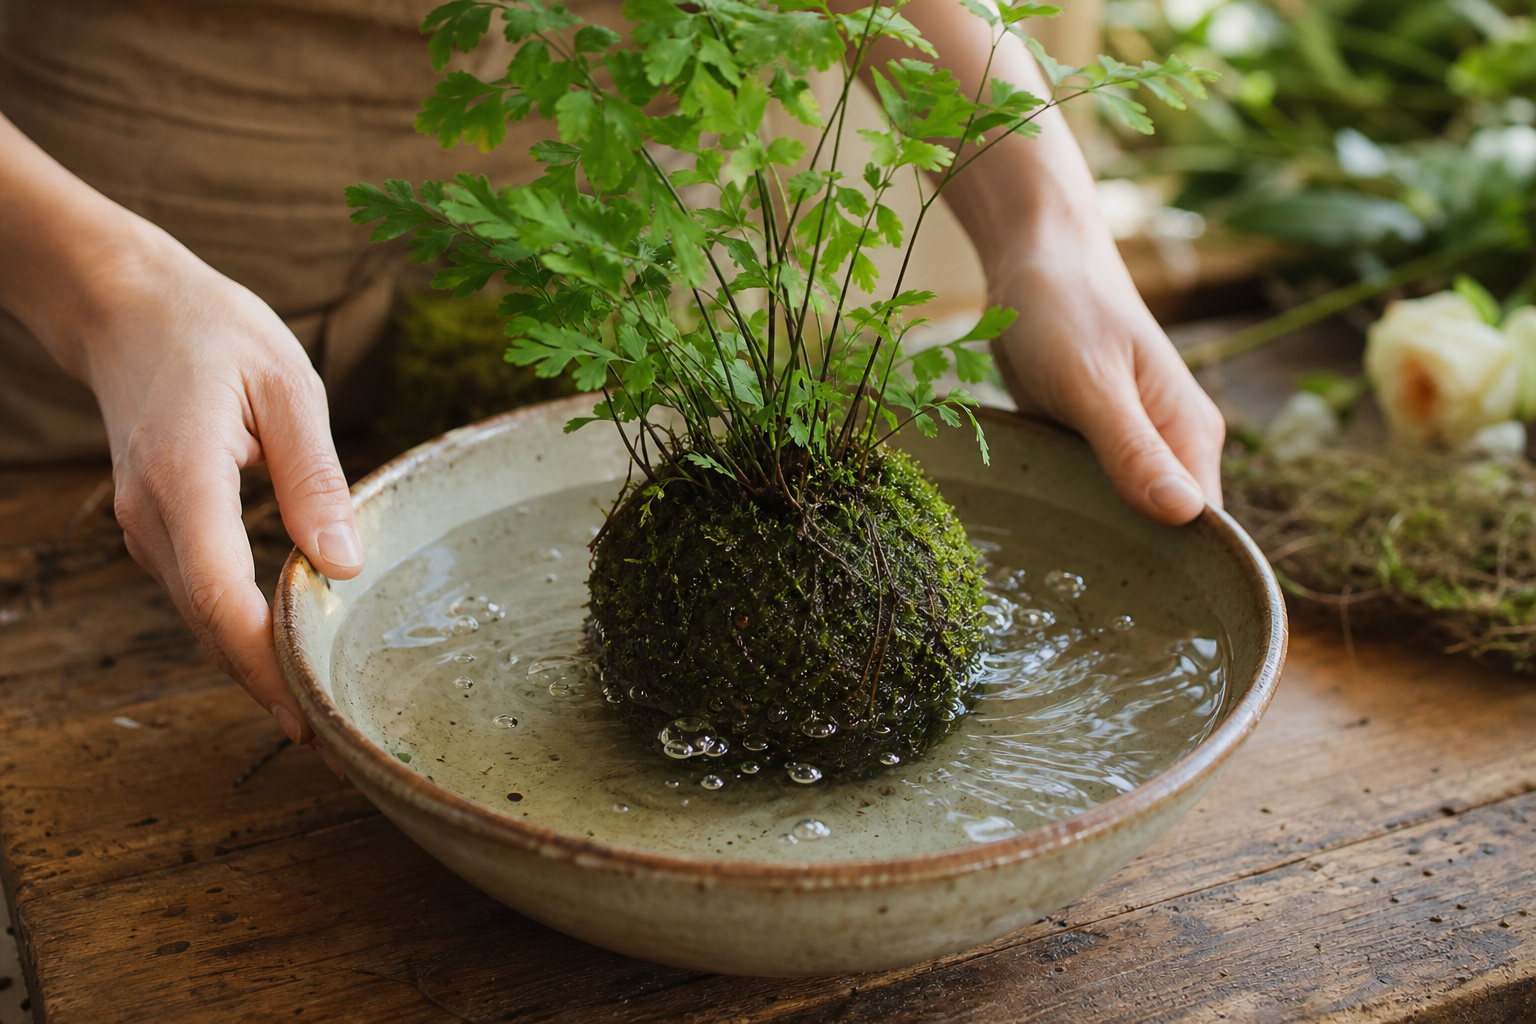
Watering. The standard method is submersion. Fill a bowl or sink with room-temperature water and set the kokedama in it for three to four minutes. You’ll see bubbles rising from the moss. That’s air escaping as the soil absorbs water. When the bubbling slows, it’s done. Lift the ball out, hold it over the sink for a few minutes to drain, then hang or display it. How often depends on your plant and your environment. Weekly is a good starting point. If the ball feels noticeably lighter than usual, water sooner.
Light. Most kokedama plants do well in bright, indirect light, the same conditions most indoor plants prefer. Avoid direct sun, which can dry out the moss quickly and stress the plant. A spot near a north or east-facing window is usually ideal.
Fertilizing. In spring and summer, add a water-soluble indoor plant fertilizer at half strength to your soaking water once a month. That’s it, no separate application needed.
Refreshing the moss. Over time, the moss may brown or thin out. You can replace it by removing the old twine, peeling off the old moss, and rewrapping with fresh sheet moss. The soil ball underneath is usually still fine. It’s just cosmetic maintenance.
Properly maintained, a kokedama can last several years indoors. The limiting factor is usually the plant, not the moss ball itself.
Frequently Asked Questions
What plants work best for kokedama?
Ferns, pothos, ivy, prayer plants, lucky bamboo, and peace lilies are all strong choices. The common thread is that they prefer consistent moisture and do well in indirect light. Avoid cacti and succulents. They need better drainage than a moss ball provides.
How do I know when my kokedama needs water?
Lift it. A dry kokedama feels noticeably lighter than a well-watered one. The moss may also look pale or feel crisp to the touch. When in doubt, do the lift test. You’ll develop a feel for it quickly.
Can kokedama be displayed outdoors?
Yes, in mild weather. They work well on covered porches or patios where they’re protected from heavy rain and direct midday sun. Bring them inside if temperatures drop below 50°F or if you’re expecting strong winds.
How long does a kokedama last?
Several years with proper care. The moss can be refreshed when it thins or browns, and the plant repotted into a larger ball if the roots outgrow the original one.
Do I need special soil to make kokedama?
Standard potting mix alone is too light; it tends to fall apart when wet. The bonsai soil and peat moss combination works because it binds together under pressure and holds moisture without becoming waterlogged.
Can I make a kokedama with a succulent?
Technically, yes, but it’s not ideal. Succulents need to dry out between waterings, and the moss retains moisture. If you want to try it, use a cactus/succulent mix instead of the standard soil blend and water less frequently than you would with other plants.
Closing Thoughts
Kokedama is one of those projects where the process is half the point. Once you’ve made one, and felt the soil take shape in your hands, wrapped the moss into place, tied off the last loop of twine, you’ll understand why it’s been part of Japanese garden culture for centuries. There’s something satisfying about turning a plant and a handful of materials into something that looks like it belongs in a design studio.
Make one for yourself first. Then make a few as gifts. By the third or fourth one, you’ll have the technique down and start thinking about how to hang a grouping in that sunny corner you never knew what to do with. Like most things in the garden, once it takes root, it tends to grow from there.
Have you tried making kokedama, or are you planning to give it a go? Drop a comment below. I’d love to hear which plant you chose and how it turned out.
Til next time,