Disclosure: This post may contain affiliate links. If you click and buy, we may earn a commission at no extra cost to you. As an Amazon Associate, we earn from qualifying purchases.
Last Updated: October 2026
Every hand-tied bouquet you’ve ever admired in a florist’s cooler started with the same technique. It’s called the spiral, and once you learn it, you can build a bouquet in minutes.
Watch the Video Before You Cut a Stem
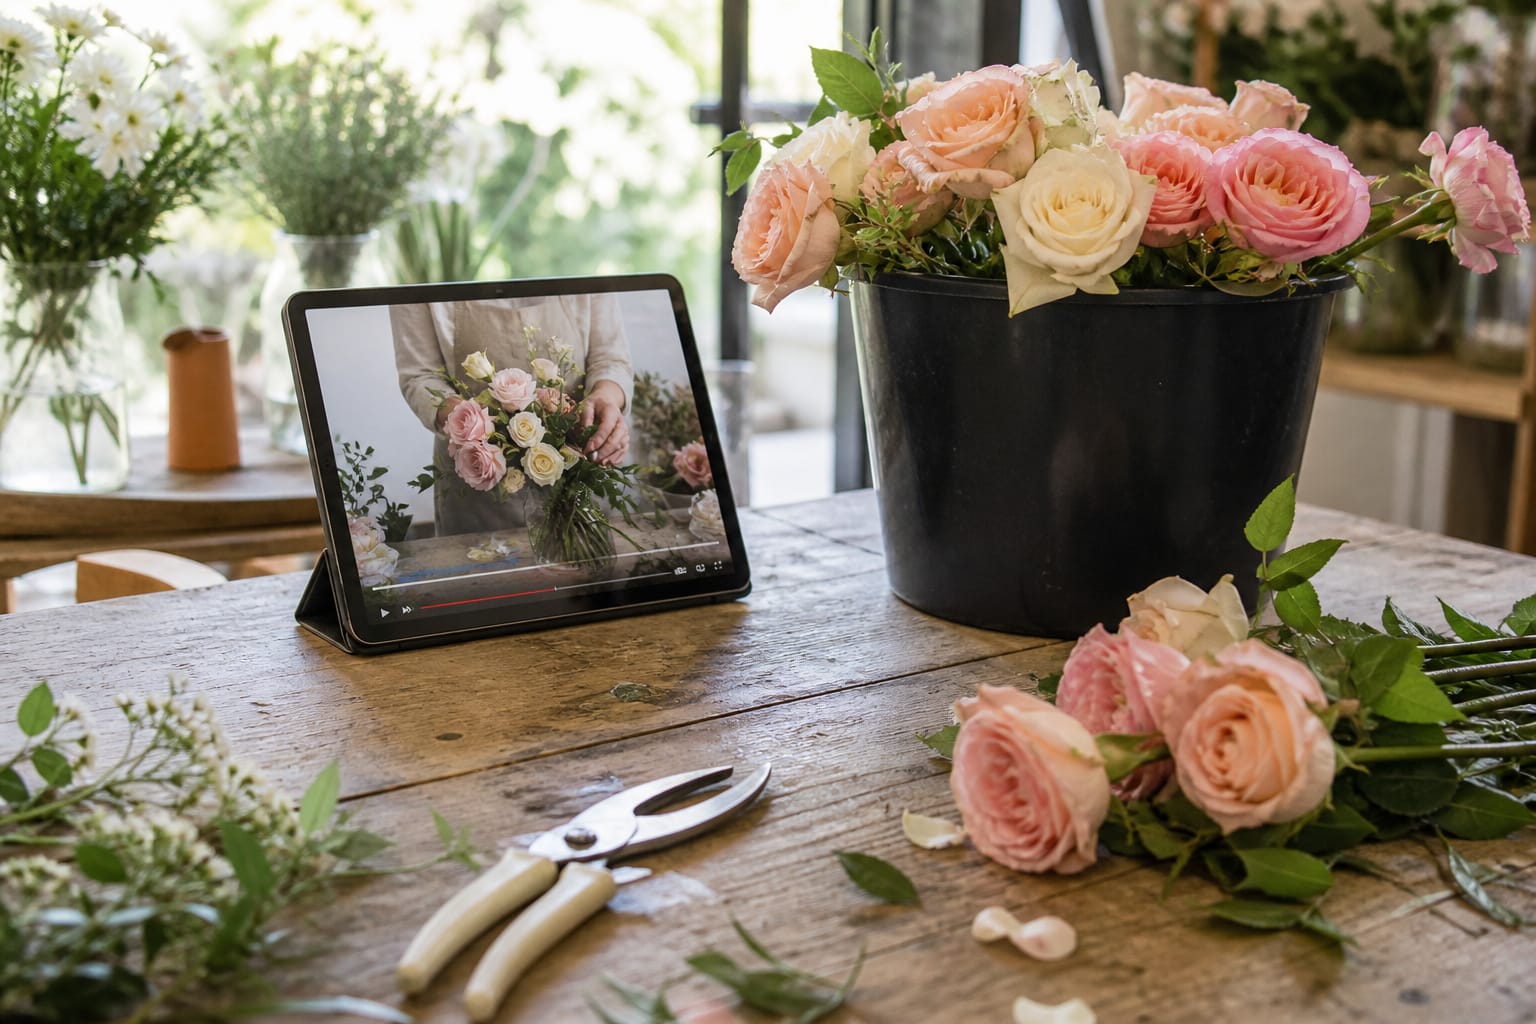
The video comes from Amy Bolster, The Floral Coach, for Mayesh Wholesale Florist. This tutorial walks you through the technique step by step, from stem prep to the final adjustments. Whether you’re a DIY bride or a working designer, the steps are the same.
It’s a fundamental floral design technique, one I’ve recommended and shown to people hundreds of times over the years.
Watch the whole thing once without flowers in your hands. Seeing the rhythm of the technique first makes your own first attempt far less clumsy.
Here’s a quick recap of the steps.
Clean Your Stems First
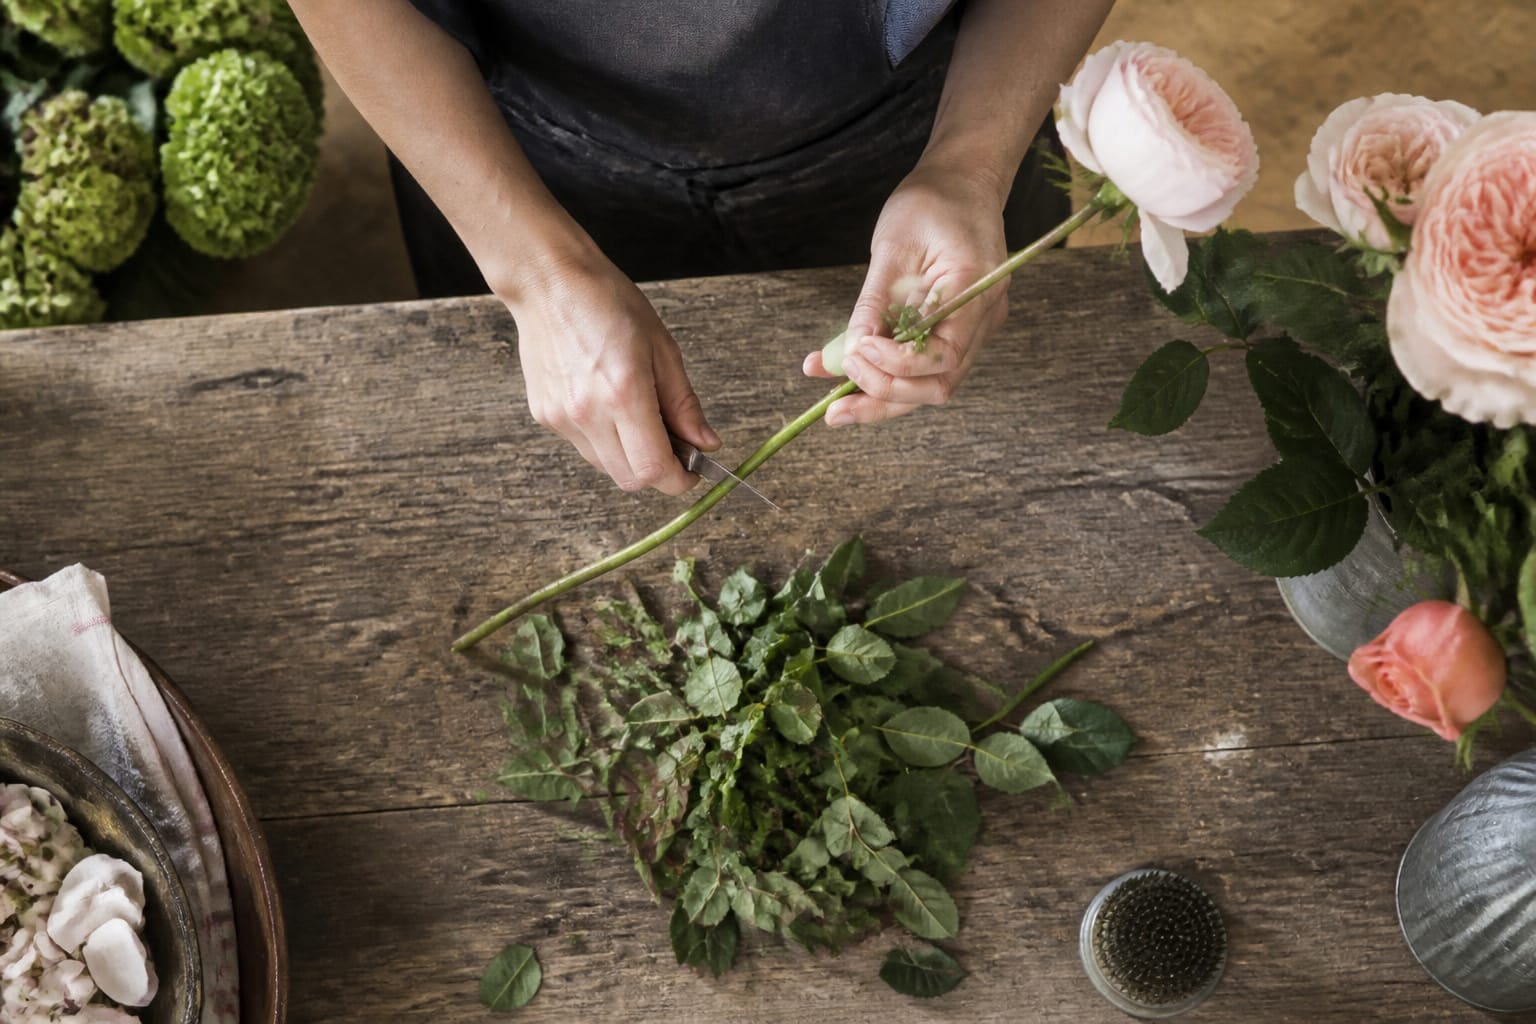
Strip every bit of foliage, nodule, and thorn from the lower stems before you start building. Use a sharp knife and shears.
Bare stems slide past each other without friction, and nothing sits below the water line to rot in the vase. Leaves and thorns snag, tear petals, and shorten the bouquet life.
Give your flowers a fresh cut and a drink before you design. My guide to processing fresh flowers shows you how, making every bouquet you build last longer.
Build the Spiral One Stem at a Time
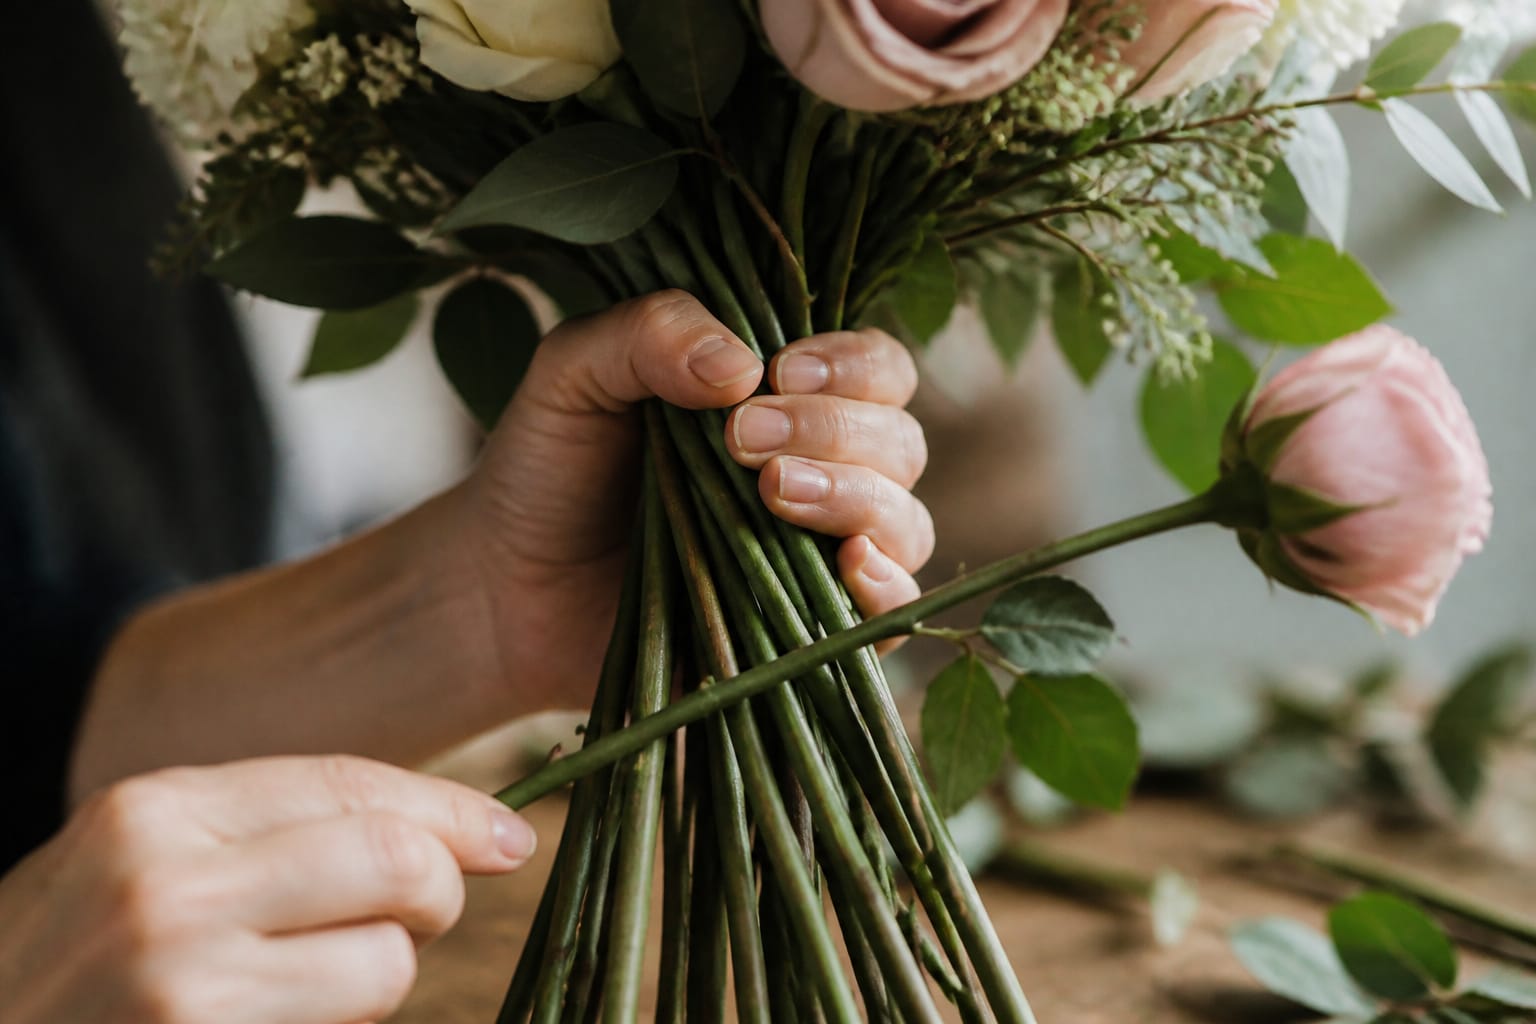
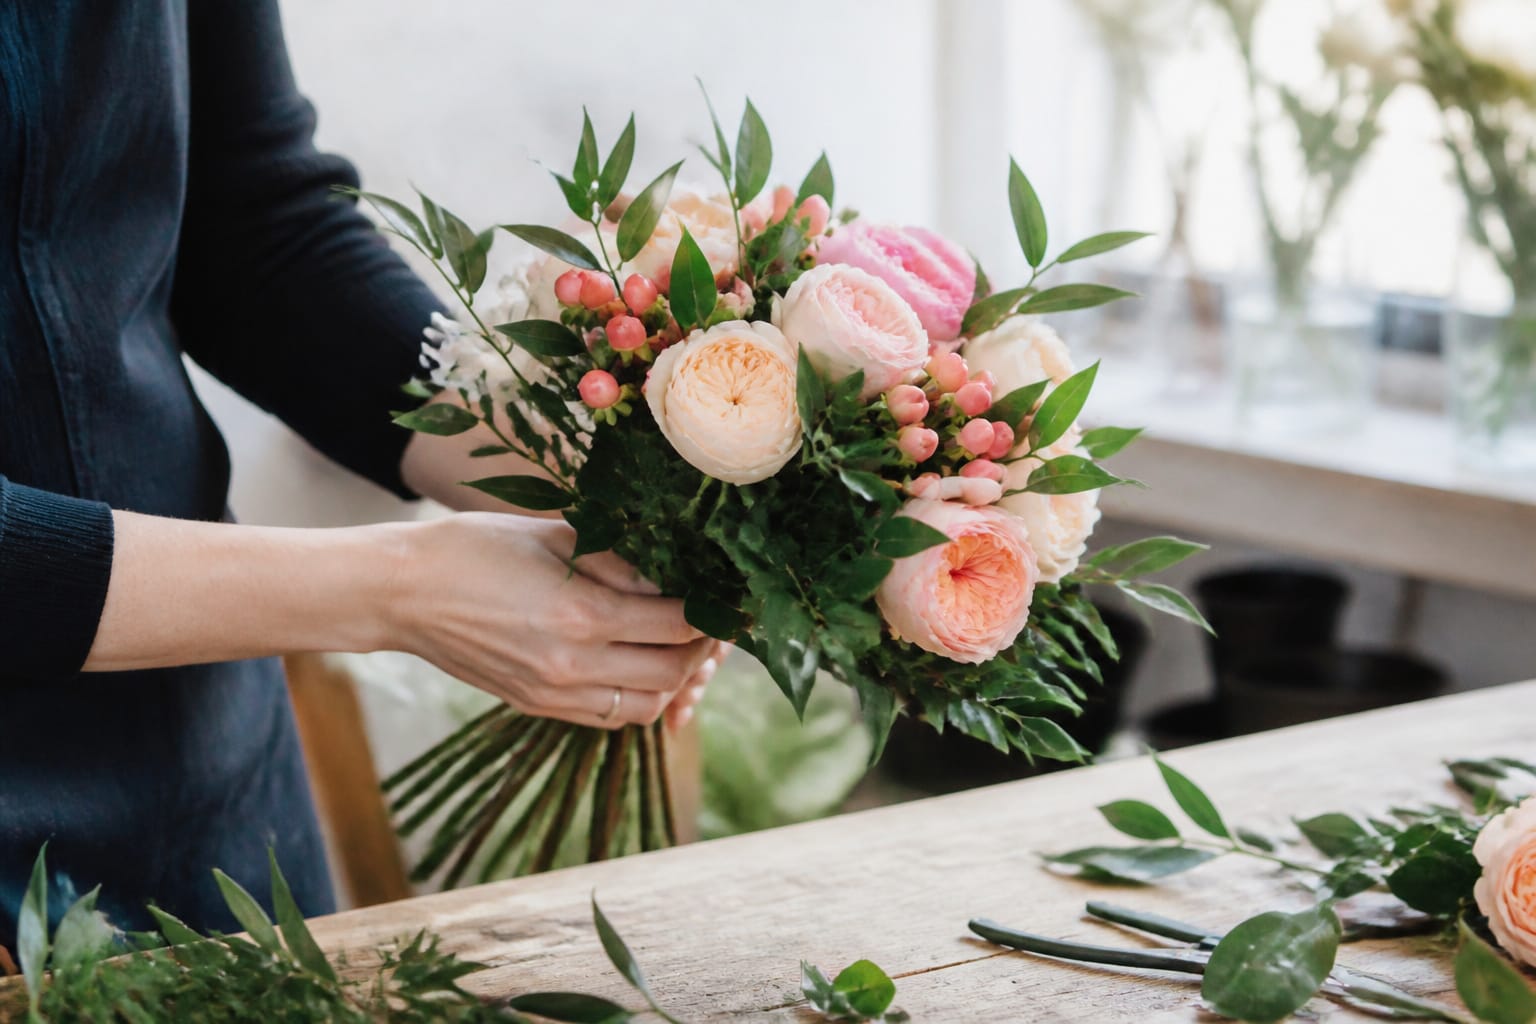
Start with a focal flower, like a garden rose. Hold it in your non-dominant hand at the binding point, where your thumb and fingers grip the stems.
Lay each new stem over the front at a 45-degree angle, with the flower head pointing left and the stem pointing right. Then rotate the bouquet inward, toward you, before you add the next one.
That repeated angle and turn creates the spiral. The stems cross evenly, and the heads build out evenly on all sides.
As the bundle grows, trim the lower stems. A balanced bundle is easier to maneuver in your hand, and it keeps the handle slim.
If you’re building a wedding bouquet, pair this technique with my walkthrough on a garden rose wedding bouquet. The spiral is the engine underneath it.
Bind Light and Adjust Often
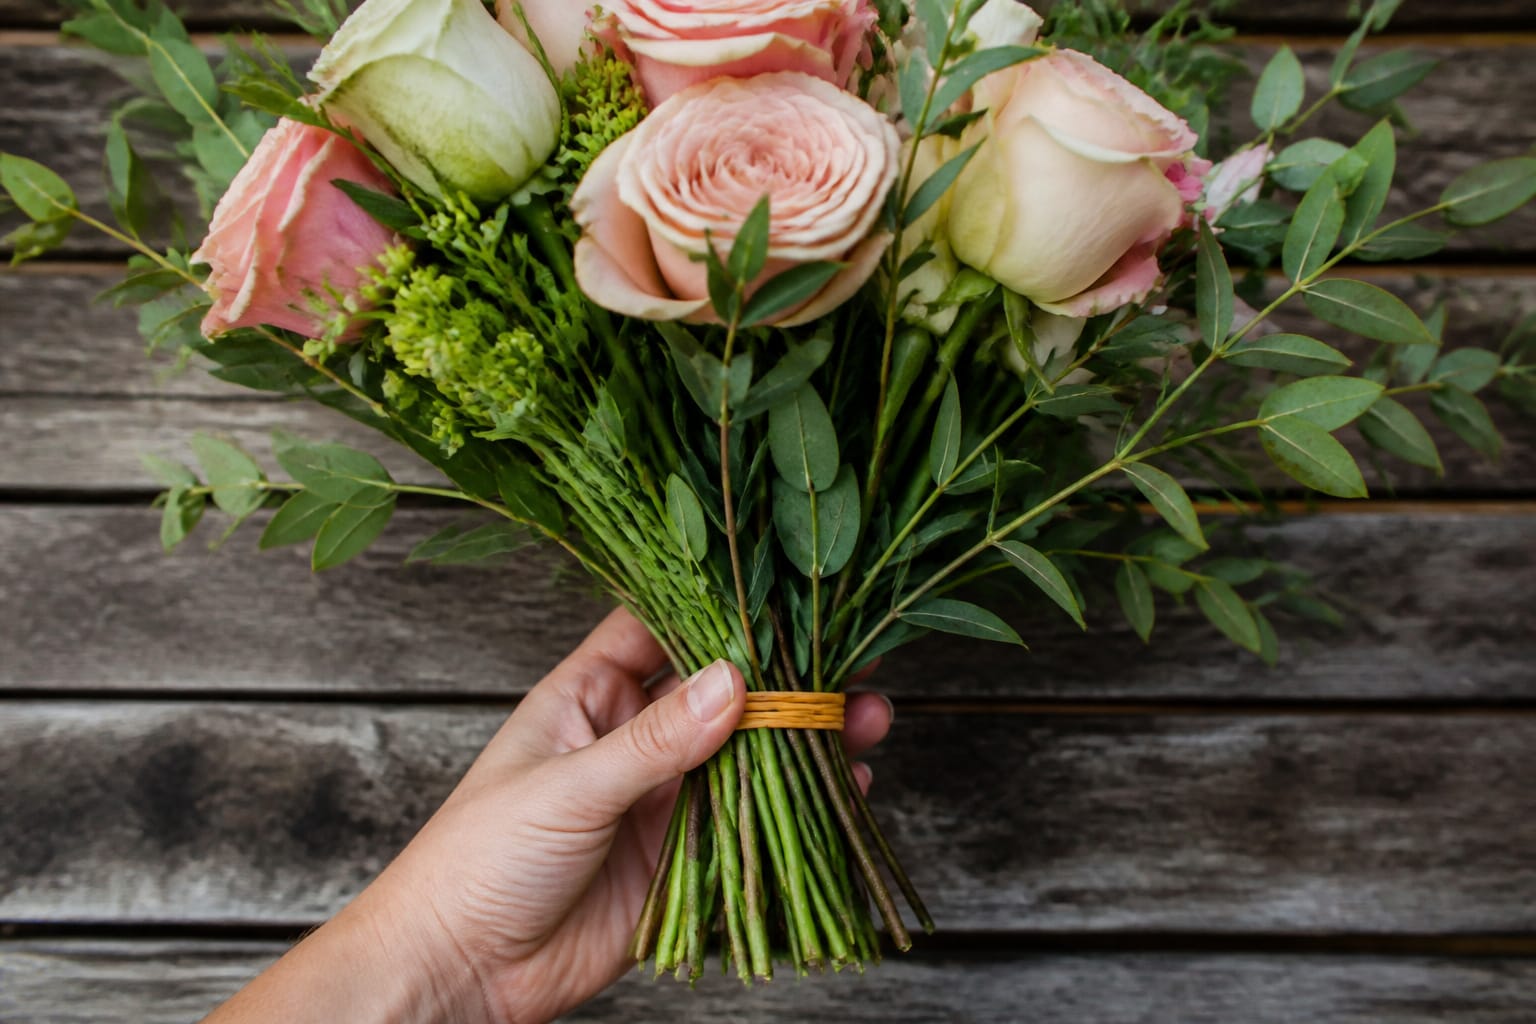
Slide a rubber band up to your binding point instead of tying anything permanent too early. The band holds the structure but still lets you add or adjust stems.
Need to fix a stem? Twist it and lift it out. Forcing it breaks petals and wrecks the pattern around it.
Layer in Line Flowers and Foliage
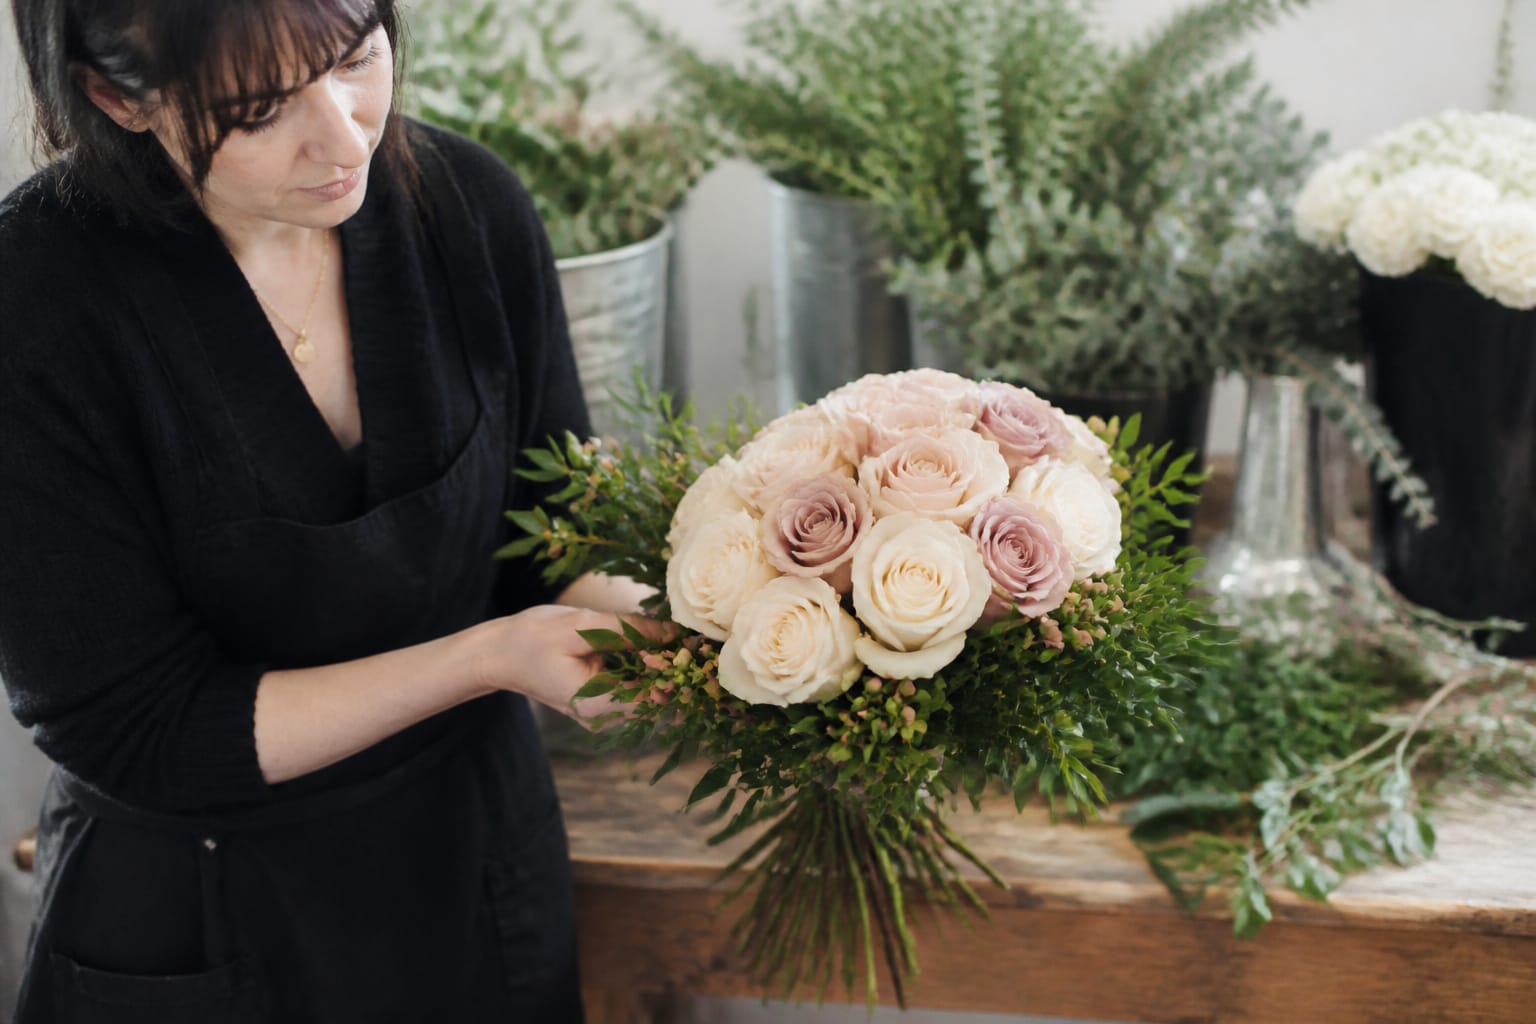
Once your mass blooms are in place, work in the line flowers, greenery, and filler. This is where the bouquet picks up texture and an airy look around the outside.
Keep following the same spiral direction as you add them. Every stem should lie in the pattern you’ve already established.
Resist the urge to cram everything in. A bouquet with a little breathing room always beats a crowded one.
Finally, rearrange the flowers for a balanced color composition. Spread each color around so no single shade ends up lopsided.
When you’re happy with the shape, trim the stems evenly on an angle and place the bouquet into water right away. Cover the rubber band with ribbon or twine if it will be seen.
Gather Your Tools Before You Start
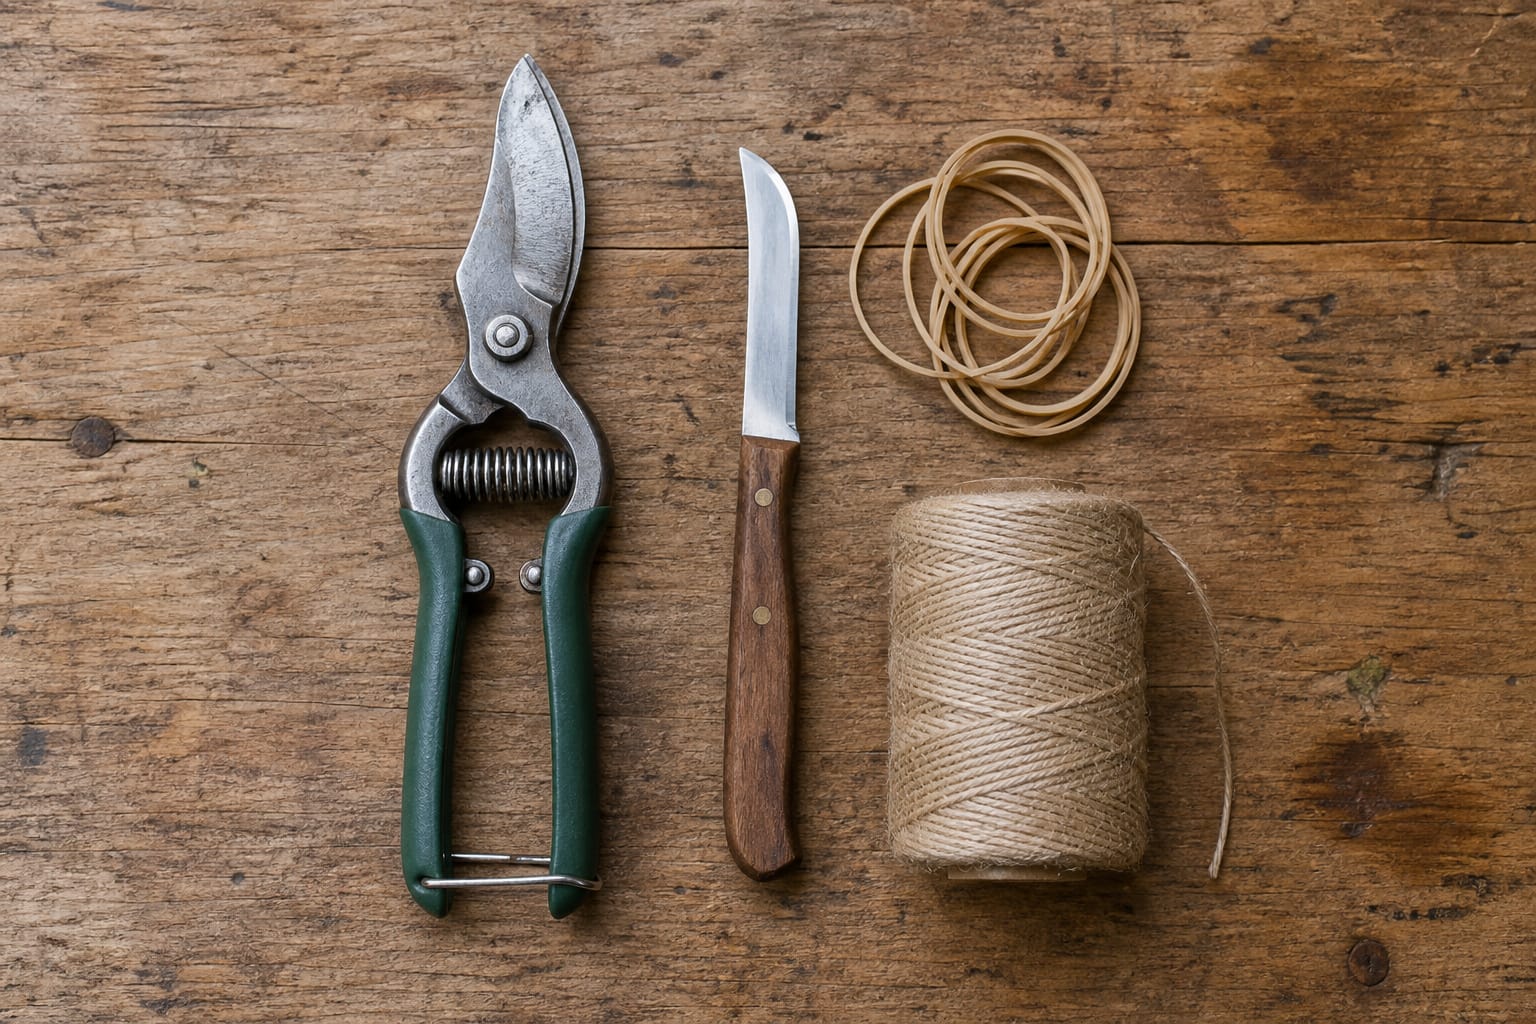
You don’t need much. A sharp flower knife, clean shears, and a handful of rubber bands will get you through your first bouquet.
Dull blades crush stems and block water uptake. Sharp ones make clean stem cuts so they drink well.
For a closer look at the gear I reach for most, see my list of essential floral design tools. You can also browse my favorites in my Amazon storefront, from shears to mechanics.
If your flowers are arriving soon and your toolkit is thin, Amazon Prime shipping can get shears, rubber bands, and floral tape to your door in a couple of days.
Planning an entire wedding? My post on DIY wedding flowers will help you decide what to tackle yourself.
Frequently Asked Questions
What is the spiral technique in floral design?
This method builds hand-tied bouquets by adding each stem at the same 45-degree angle while turning the bouquet as you go. The stems cross in a spiral pattern, which creates an even shape and a slim handle.
How do I position each stem?
Lay it over the front at a 45-degree angle, with the flower head to the left and the stem to the right. Then rotate the bouquet inward toward you before adding the next stem.
Why do I need to remove the foliage and thorns?
Clean stems slide past each other without friction, and nothing rots below the water line. Thorns also snag petals and your hands.
How do I fix a stem that’s in the wrong spot?
Twist it and lift it out, then place it again following the spiral direction. Pulling straight out or forcing it can bruise the flowers.
Can I use a rubber band to hold the bouquet?
Yes, and it’s the better choice while you’re building. A rubber band slid up to the binding point holds the bouquet but lets you adjust, and you can cover it with ribbon or twine at the end.
Closing Thoughts
The spiral takes practice, and your first bouquet may come out a little lopsided. That’s normal, so grab another bunch and try again.
Keep your angles consistent, trust your eye, and watch your skills bloom with every bouquet you build. Which part of the spiral gave you the most trouble? Tell me in the comments.
Til next time,