Disclosure: This post may contain affiliate links. If you click and buy, we may earn a commission at no extra cost to you. As an Amazon Associate, we earn from qualifying purchases.
A customer came into the shop last week with a photo on her phone, a fresh evergreen garland draped along a staircase, and asked if we could build six feet of it to match. Once I quoted the price, I watched her do the math in her head before she thanked me and headed for the door.
She came back an hour later with a roll of paddle wire and an armload of blue spruce cuttings from her own backyard. Building a fresh garland yourself isn’t complicated once you know the trick, and it’s one of the more satisfying projects you can knock out for the holidays with your own two hands. Here’s exactly how I build mine.
Gather Your Materials Before You Start Wrapping
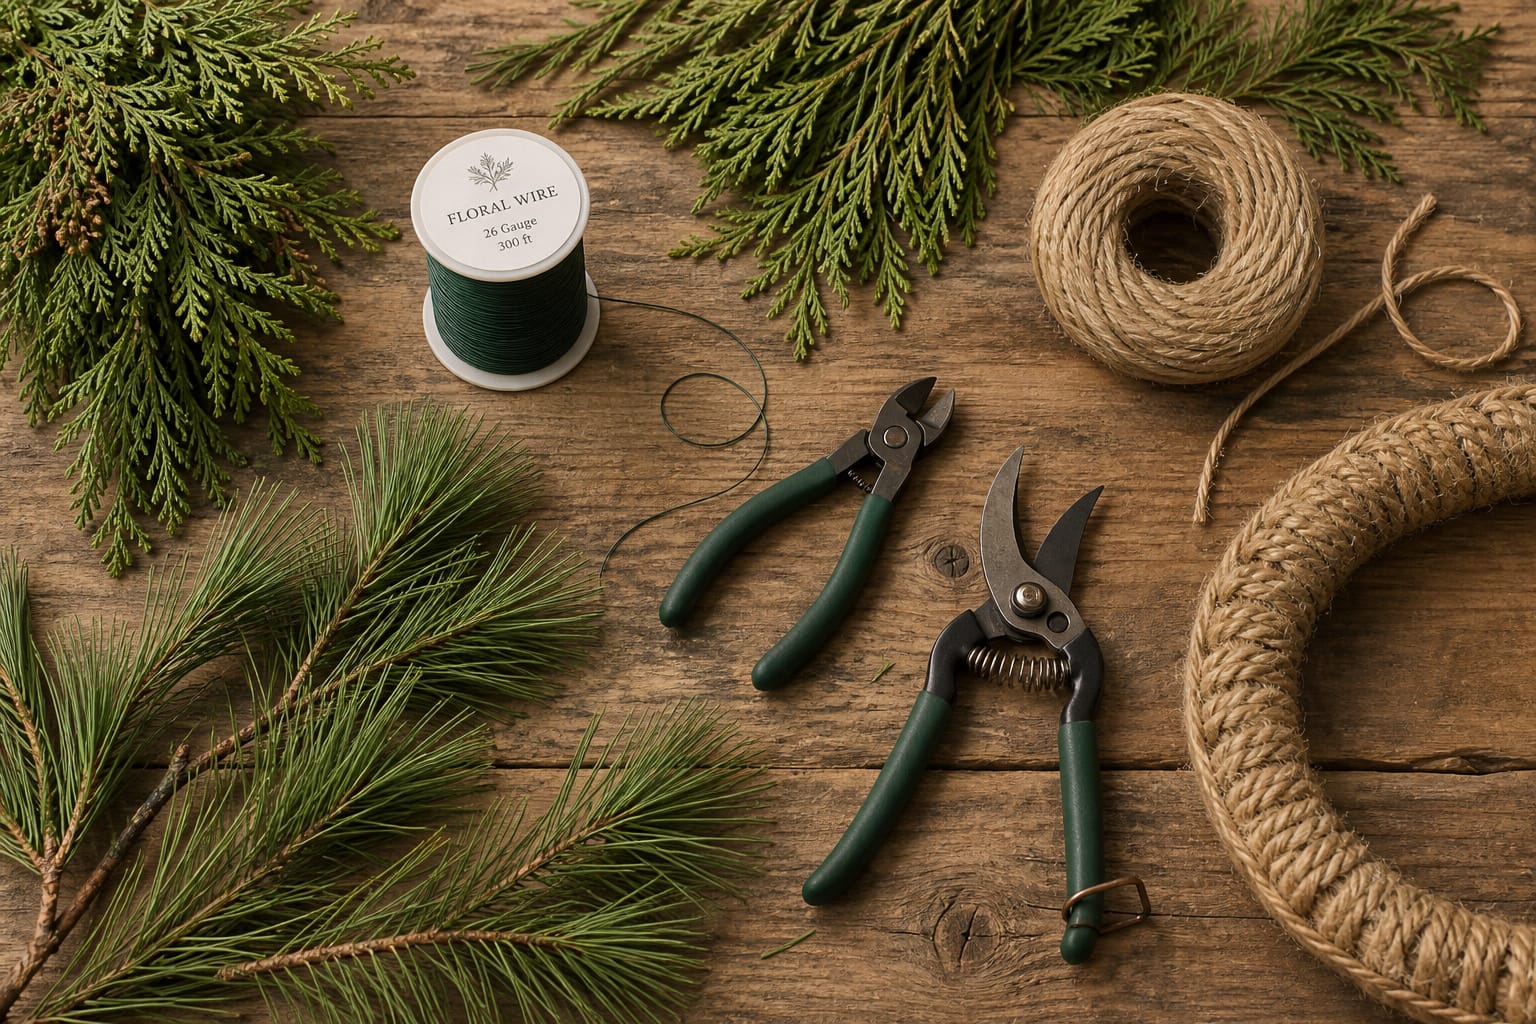
You don’t need much to build a garland that outshines anything from a big box store. Here’s what I keep on the bench before I start:
- Heavy twine or rope, cut to your finished length, as your central guide
- 22-gauge paddle wire, the thing that actually holds it all together
- Sharp hand pruners
- A mix of fresh evergreens and accents: arborvitae, blue spruce, juniper with berries, winterberry holly, and a few stems of arctic fire dogwood for a pop of red
- Pine cones, if you want them, wired at the base so they act like their own stems
- String lights, if you want the garland to glow after dark (optional)
Pine cones don’t grow with stems, so we give them one. Nobody said florists don’t cheat a little.
Planning ahead? Paddle wire, twine, and string lights are easy to order before you start cutting greens. Prime gets eligible orders to your door fast, and eligible new members can start a free Prime trial. As an affiliate, we earn on qualifying purchases.
What I use in the shop: 22-gauge paddle wire. It’s heavy enough to anchor thick bundles without snapping, and light enough that you’re not fighting it the whole way down the rope.
Build The Garland One Bundle At A Time
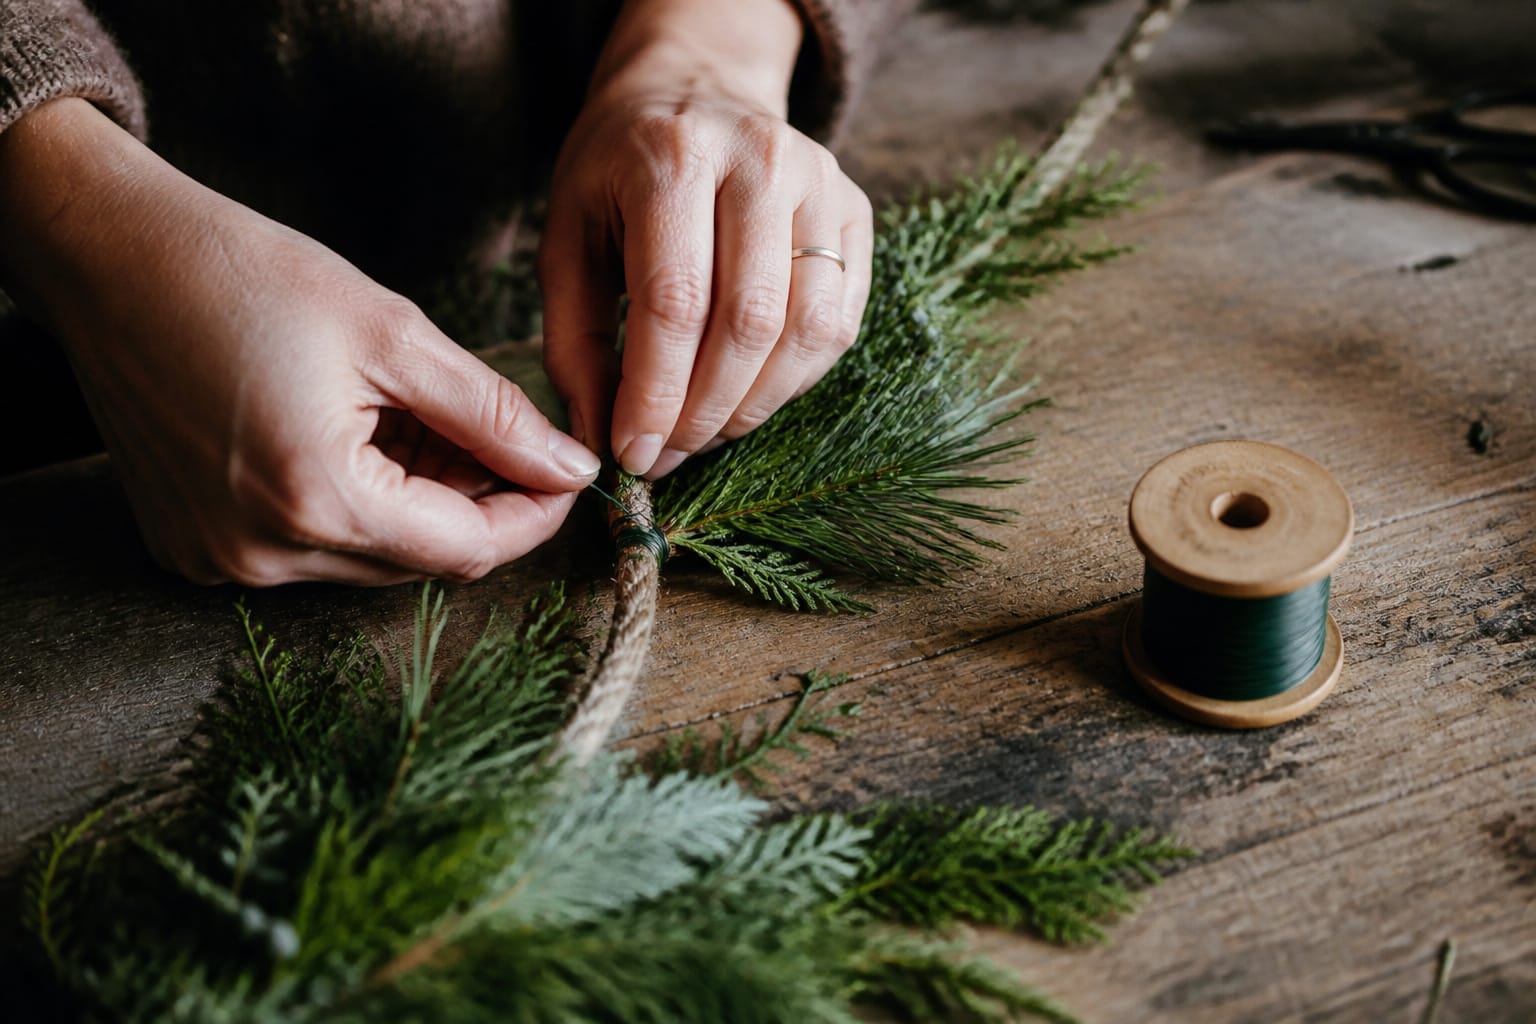
This looks harder than it is. The whole technique comes down to repeating the same motion down the rope.
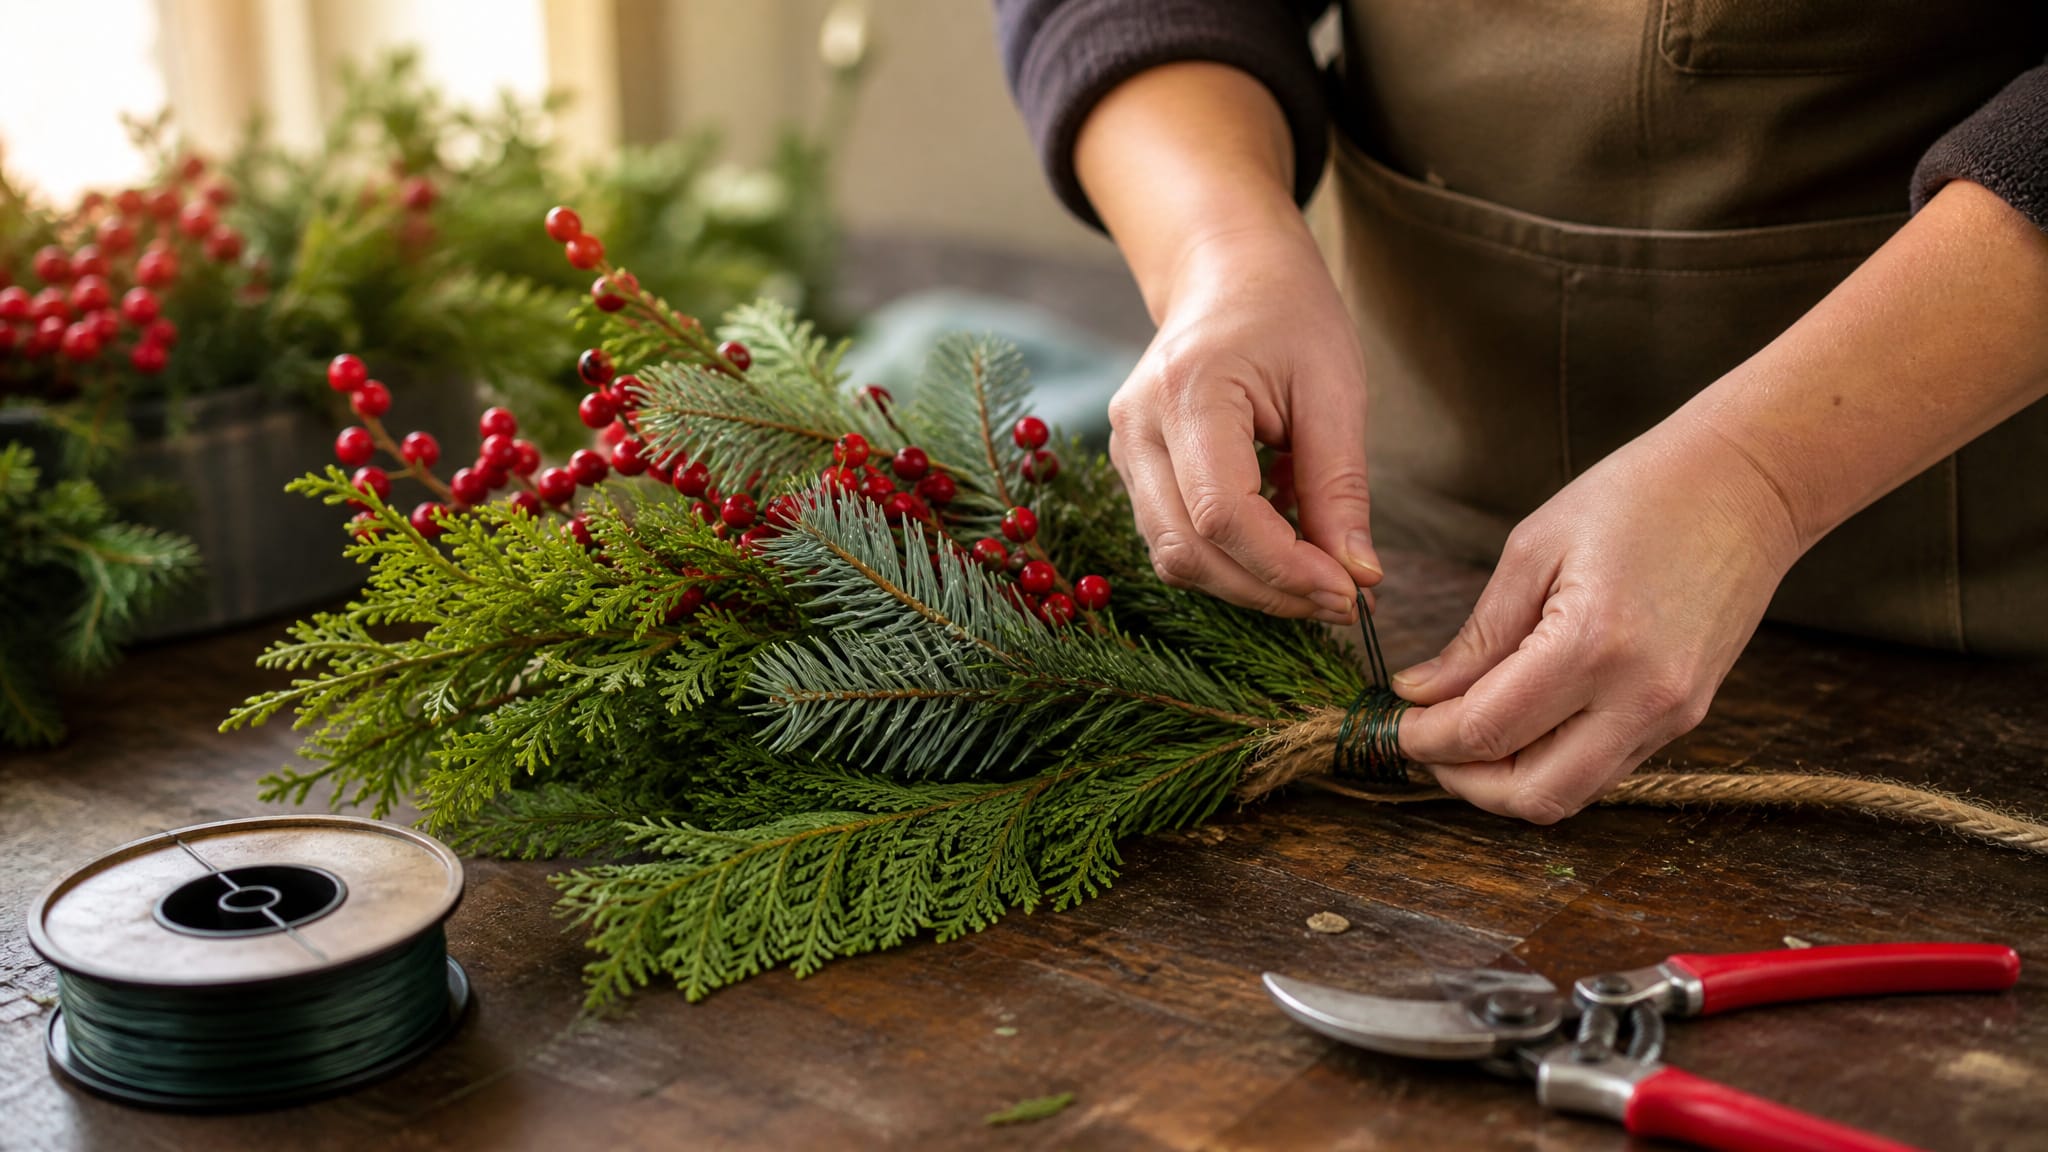
Step 1: Anchor your wire. Tie or coil the paddle wire tightly around one end of the twine, without cutting it. You’ll work with one continuous length of wire the whole way down.
Step 2: Build small, even bundles. Gather a handful of mixed greens into a bundle roughly the same size each time. Bundle thickness decides how full the finished garland looks, so keep it consistent.
Step 3: Attach the first bundle. Lay it against the twine and wrap the paddle wire around the stems three times, snug. Keep the twine running straight down the middle. That’s your guide for the whole build.
Step 4: Keep building. Lay each new bundle so it overlaps the stems of the last one, then wrap it in with the same continuous wire. Work your way down the rope this way, bundle after bundle.
Step 5: Finish the end. If the garland only faces one direction, draped along a banister, say, tie off the wire and cover the raw stems with a bow or tuck them into your display. If it needs to look good from both sides, like a mantelpiece people will walk past on either end, flip your last bundle to face the opposite way. That leaves a small gap in the middle. Fill it with a few individual sprigs, wired in tightly, and the seam disappears.
Step 6: Lock it down. Snip the wire, leaving a short tail, then weave that tail back through the greenery a couple of times so it can’t work loose.
In my experience, most first-timers make their bundles too thin, worried about running out of greens before they run out of rope. Buy more than you think you need. A skimpy garland reads cheap no matter how nice the ribbon is.
This same wire-wrapping technique is also what I use to build a Christmas wreath that lasts the whole season. Once you’ve got the hang of it here, that project is basically the same skill in a circle instead of a line.
If you’d rather watch the whole process from start to finish, this video does a great job of it. Laura at Garden Answer walks through the exact technique step by step, including the double-sided finish. Watch it, and see if you agree it’s easier than it looks.
Don’t Overpay For Greenery You Can Get For Less
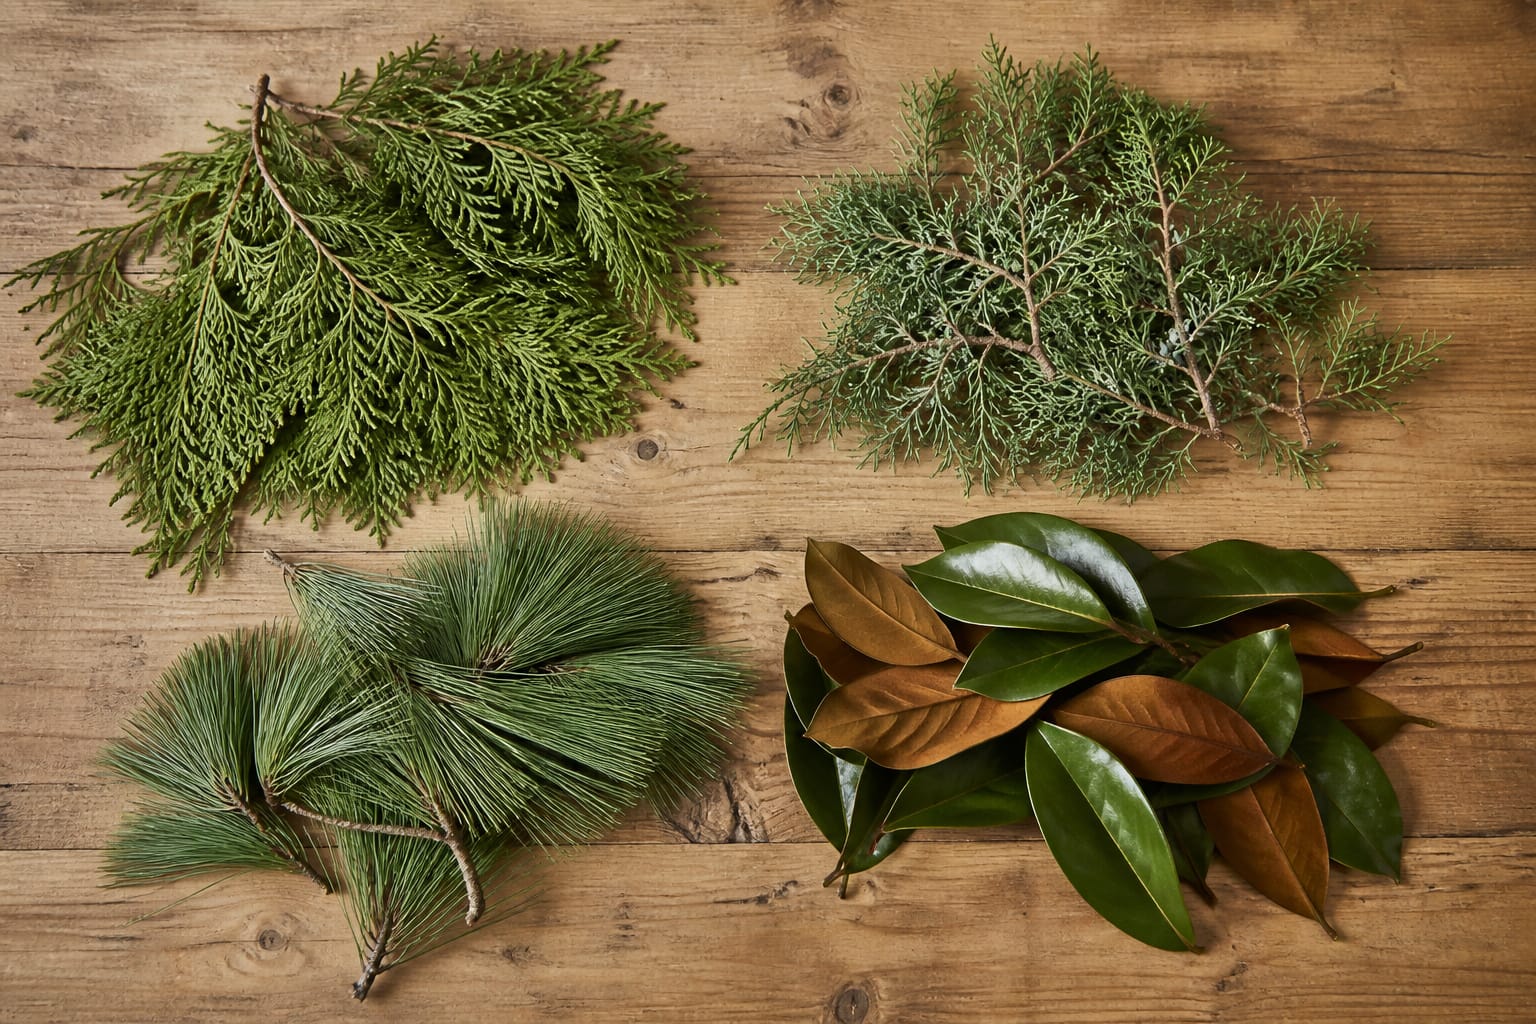
Fresh greens don’t have to come from a florist. Clip branches straight from your own yard if you’ve got spruce, juniper, or arborvitae growing there. Local garden centers and florists, including us, often have leftover fresh cuts this time of year worth asking about.
If you’re on a tight budget, an inexpensive live Christmas tree will give you more usable greenery than you’d think. Buy one, cut it apart, and you’ve got material for a garland and probably a wreath too. It’s the same trick behind repurposing scraps into a Christmas kissing ball if you have extra.
Silk greenery from a craft store is the other option if you want something reusable year after year. It costs more upfront and won’t smell like a Christmas tree, but it also won’t drop needles on your stairs. From my perspective, nothing beats the scent and texture of real evergreen, but I understand why some people go artificial.
Keep It Looking Good All Season Long
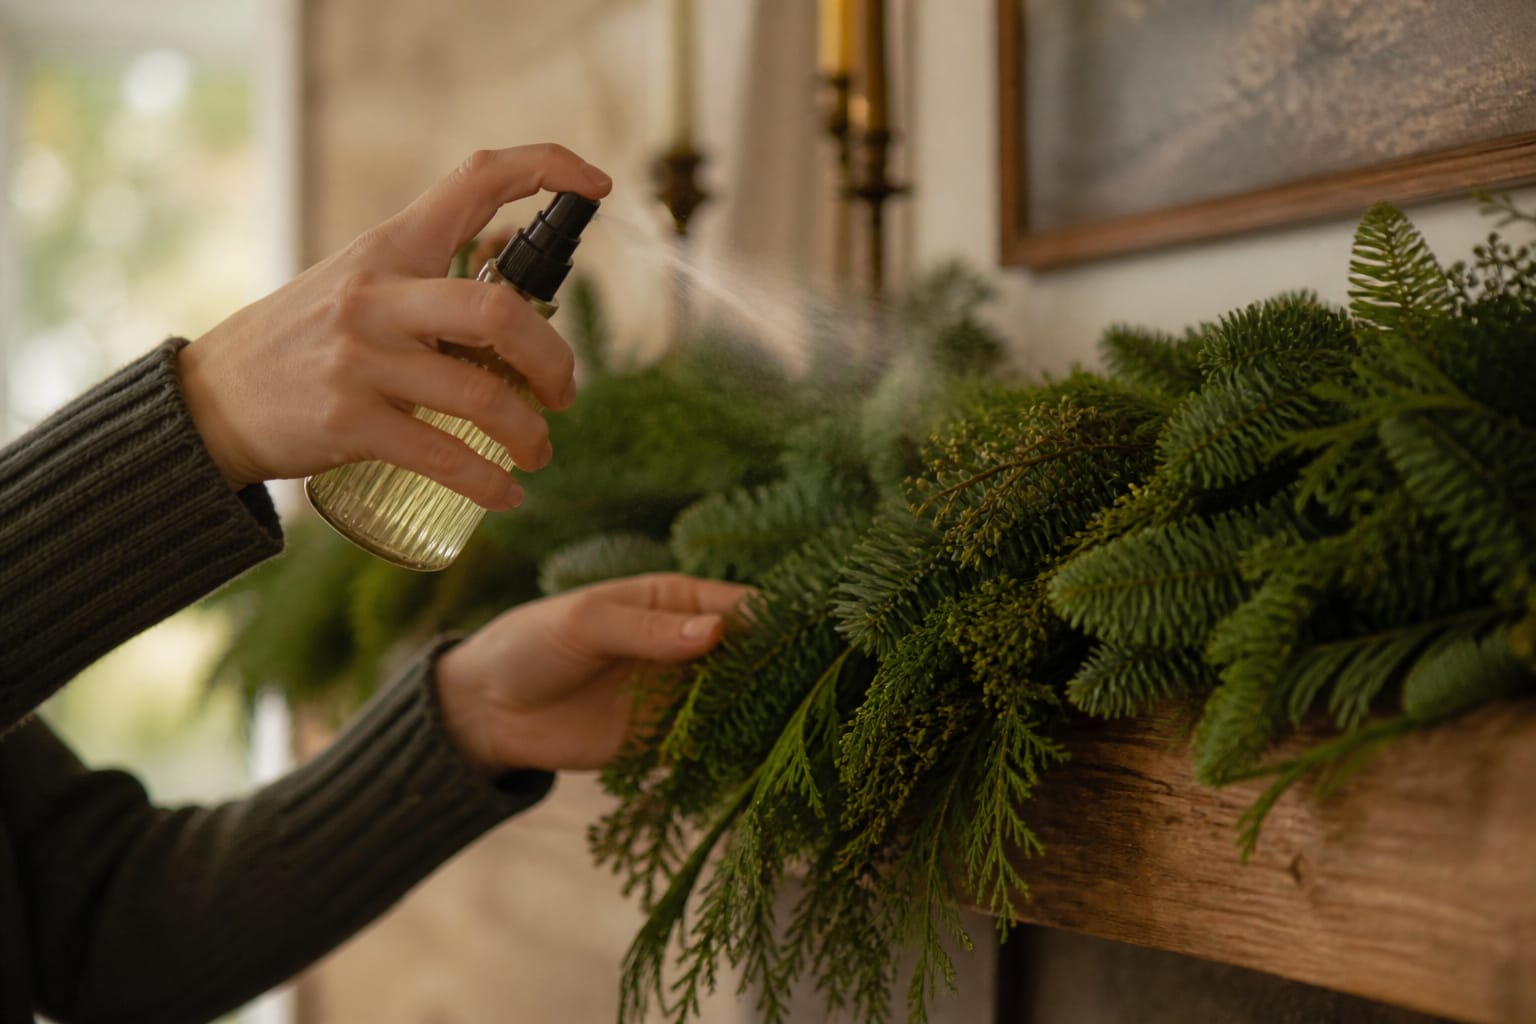
Fresh garland needs a little attention if you want it looking sharp through New Year’s. Keep it away from heat vents and direct sun; both dry it out fast. A light misting with water every few days helps, especially indoors where the heat’s running.
The conditioning rules here are the same ones I rely on for any holiday centerpiece built to last: cool, humid, and out of direct heat keeps fresh material going far longer than people expect.
If you’re hanging it outside on a porch or railing, cold weather actually works in your favor. It slows the drying process instead of speeding it up. I cover the cold-hardy greenery choices and outdoor display care in my guide to front porch holiday florals, and most of it applies directly to garland too.
When the season’s over, compost a natural garland or place it with your yard waste. If you built with artificial greens instead, wrap it loosely in tissue paper or bubble wrap so you don’t crease the branches, then store it somewhere cool and dry in a bin or bag that’ll keep out moisture and pests. Label the container. You’ll thank yourself next November.
Frequently Asked Questions
How Long Will A Fresh Christmas Garland Last?
Indoors, plan on two to three weeks before it starts dropping needles or drying out, especially near heat vents. Outside in cold weather, it’ll hold up longer since the cold slows the drying process. Misting it every few days and keeping it away from direct heat buys you extra time either way.
How Much Greenery Do I Need For A Six-Foot Garland?
More than you’d think. In my experience, a full, professional-looking garland uses roughly a five-gallon bucket of loosely packed greens per finished foot. Buy extra. A skimpy bundle is the fastest way to end up with a garland that looks thin no matter how good your technique is.
Can I Mix Fresh And Artificial Greenery In The Same Garland?
You can, though I’d keep them in separate sections rather than mixing them stem for stem. Wire the fresh material the same way described above, and glue or wire the artificial pieces in separately. Just know the fresh sections will need replacing well before the artificial ones do.
Do I Need A Special Wire For This Technique?
Regular 22-gauge paddle wire is all I use in the shop, for garlands, wreaths, and kissing balls alike. It’s heavy enough to hold bundles tight without cutting into the stems, and one roll goes a lot further than you’d expect.
Is Fresh Evergreen Garland Safe Around Pets?
Most evergreens used for garland, like spruce, fir, and juniper, aren’t toxic to cats or dogs, but the needles can cause stomach upset if chewed and swallowed in quantity. Watch curious pets closely, and keep floral wire and pine cone stems out of reach since those pose more of a choking risk than the greenery itself.
Closing Thoughts
A fresh garland like this one costs a fraction of what a florist would charge for the same six feet, and in my experience it holds up as well when you take care of it. Drape it along a staircase, wrap it around a porch column, or lay it across a mantel. However you use it, it reads like something that took a lot more skill than it actually did.
That’s the part I like best about a project like this one. You start with a coil of wire and a pile of cuttings, and bundle by bundle it turns into something worth stopping to admire. Keep building a little at a time, and by the time you tie off that last wire, the whole thing has bloomed into more than you started with.
Which finish are you planning: the single-direction drape, or the double-sided version for a mantel? Tell me in the comments, and I’ll help you troubleshoot if you get stuck.
Til next time,