Disclosure: This post may contain affiliate links. If you click and buy, we may earn a commission at no extra cost to you. As an Amazon Associate, we earn from qualifying purchases.
Last Updated: September 16, 2026
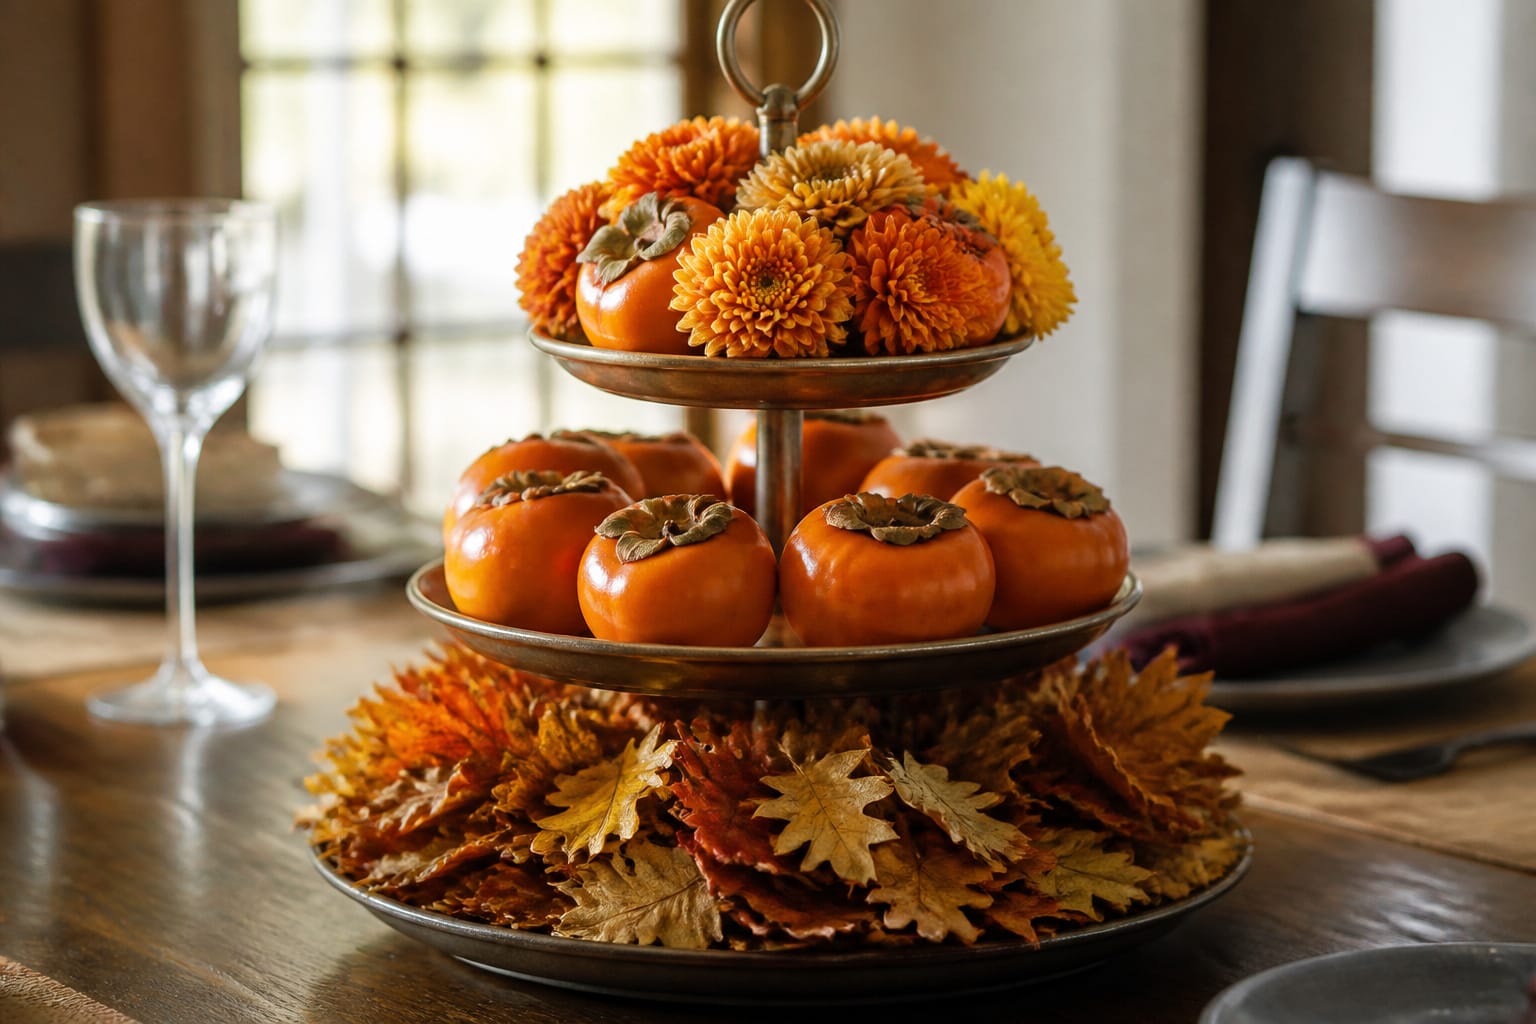
A customer called the shop once about an hour before guests were due, wanting something on the table that looked like she’d planned it for weeks. She hadn’t. Nobody ever has. I told her to grab whatever tiered dessert stand she already owned and gave her the same three-layer trick I use myself when I’m short on time.
It’s still the fastest centerpiece I know how to build, and it works because it isn’t really floral design at all. It’s stacking three simple layers in the right order.
Layer It Foliage, Fruit, Then Flowers
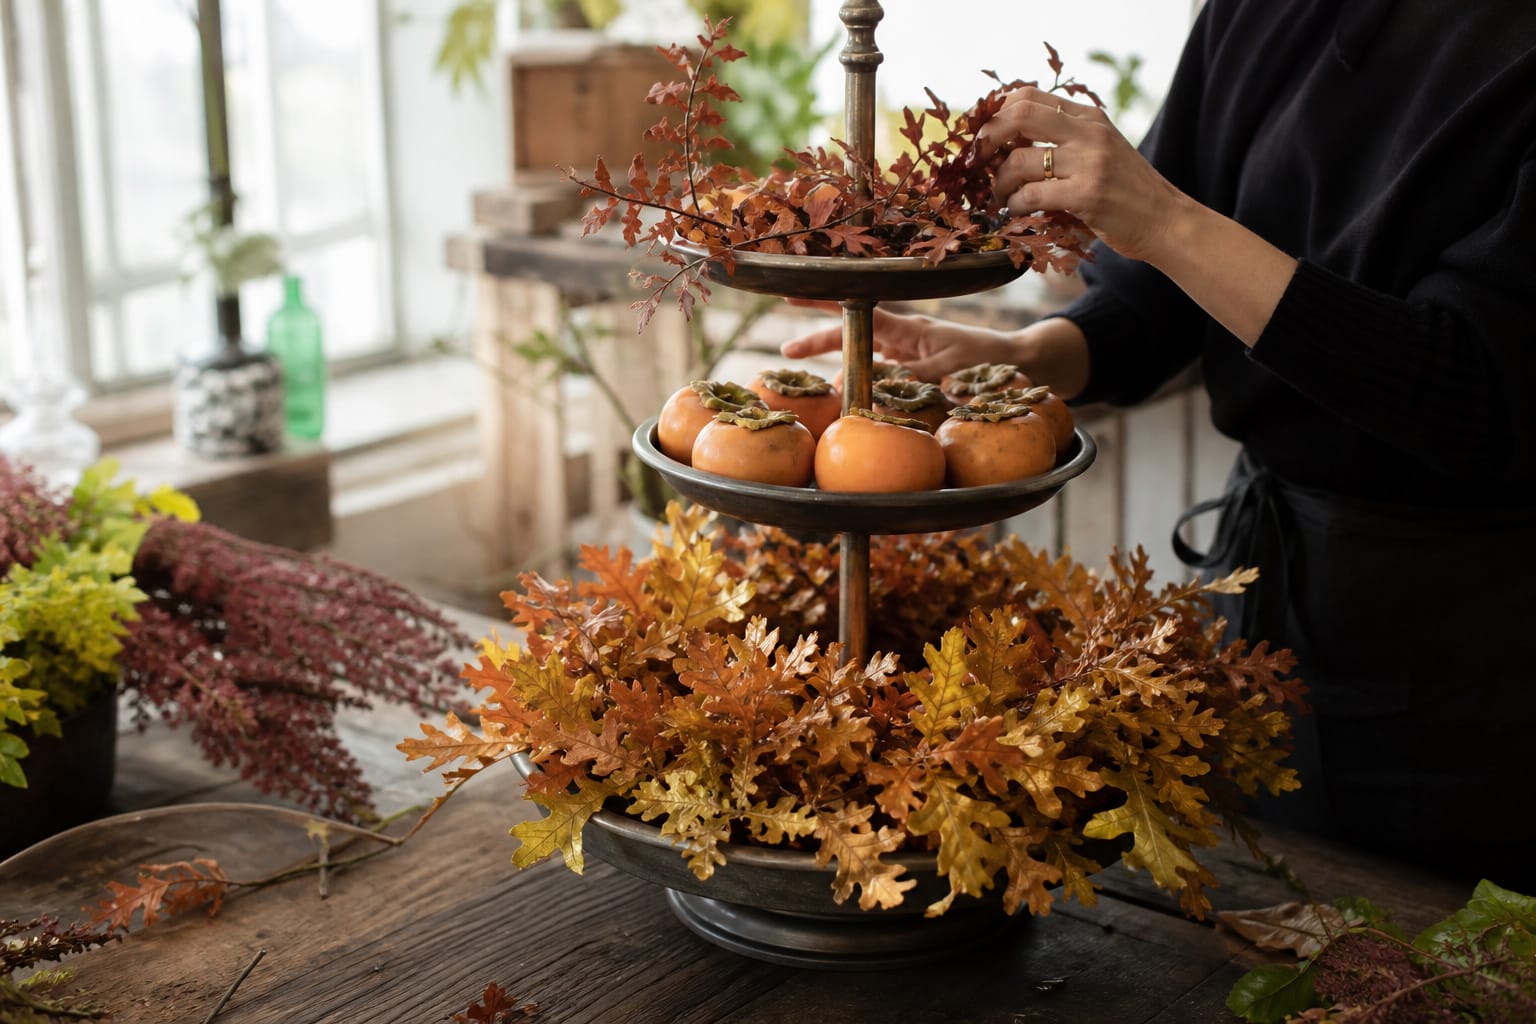
Start with a three-tier dessert stand or cake plate. If you don’t own one, stacked footed cake plates get you the same effect.
The bottom layer is foliage. Trim preserved leaves so they lie flat against the plate, and mix a couple of colors; gold-yellow and orange work well for fall, so the base has some depth instead of reading as one flat color.
The middle layer is fruit, or whatever stands in for it. Whole persimmons are the classic choice, but small apples, mini squashes, or clusters of grapes all sit just as well on top of the foliage.
The top layer is flowers. It’s the last thing you add. Trim the stems off your chrysanthemums and tuck the individual heads into the gaps between the fruit. That’s it. Foliage, fruit, flowers, in that order, and you’ve got a finished centerpiece in less time than it took to read this section.
Watch the Whole Design Build
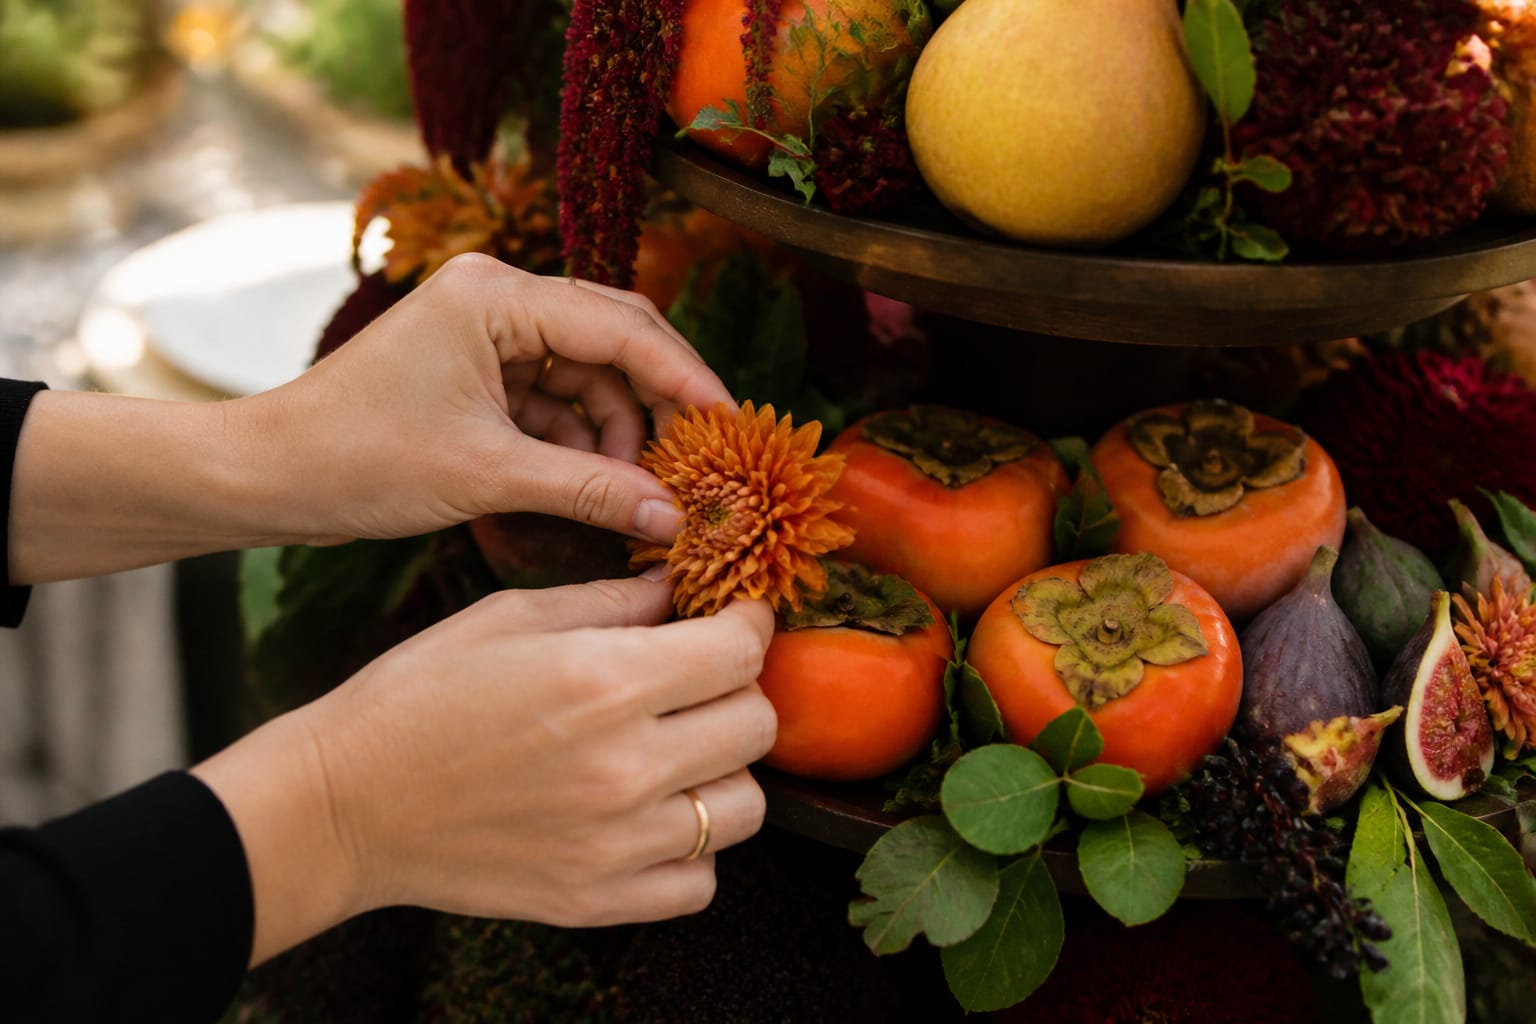
If you’d rather see the layering in motion, designer Eddie Zaratsian walks through this exact build in about a minute. If you’re considering trying this for your own table, you’ll enjoy watching how quickly it comes together. Watch it, and see if you agree it’s easier than it looks on paper.
Swap the Season Whenever You Want
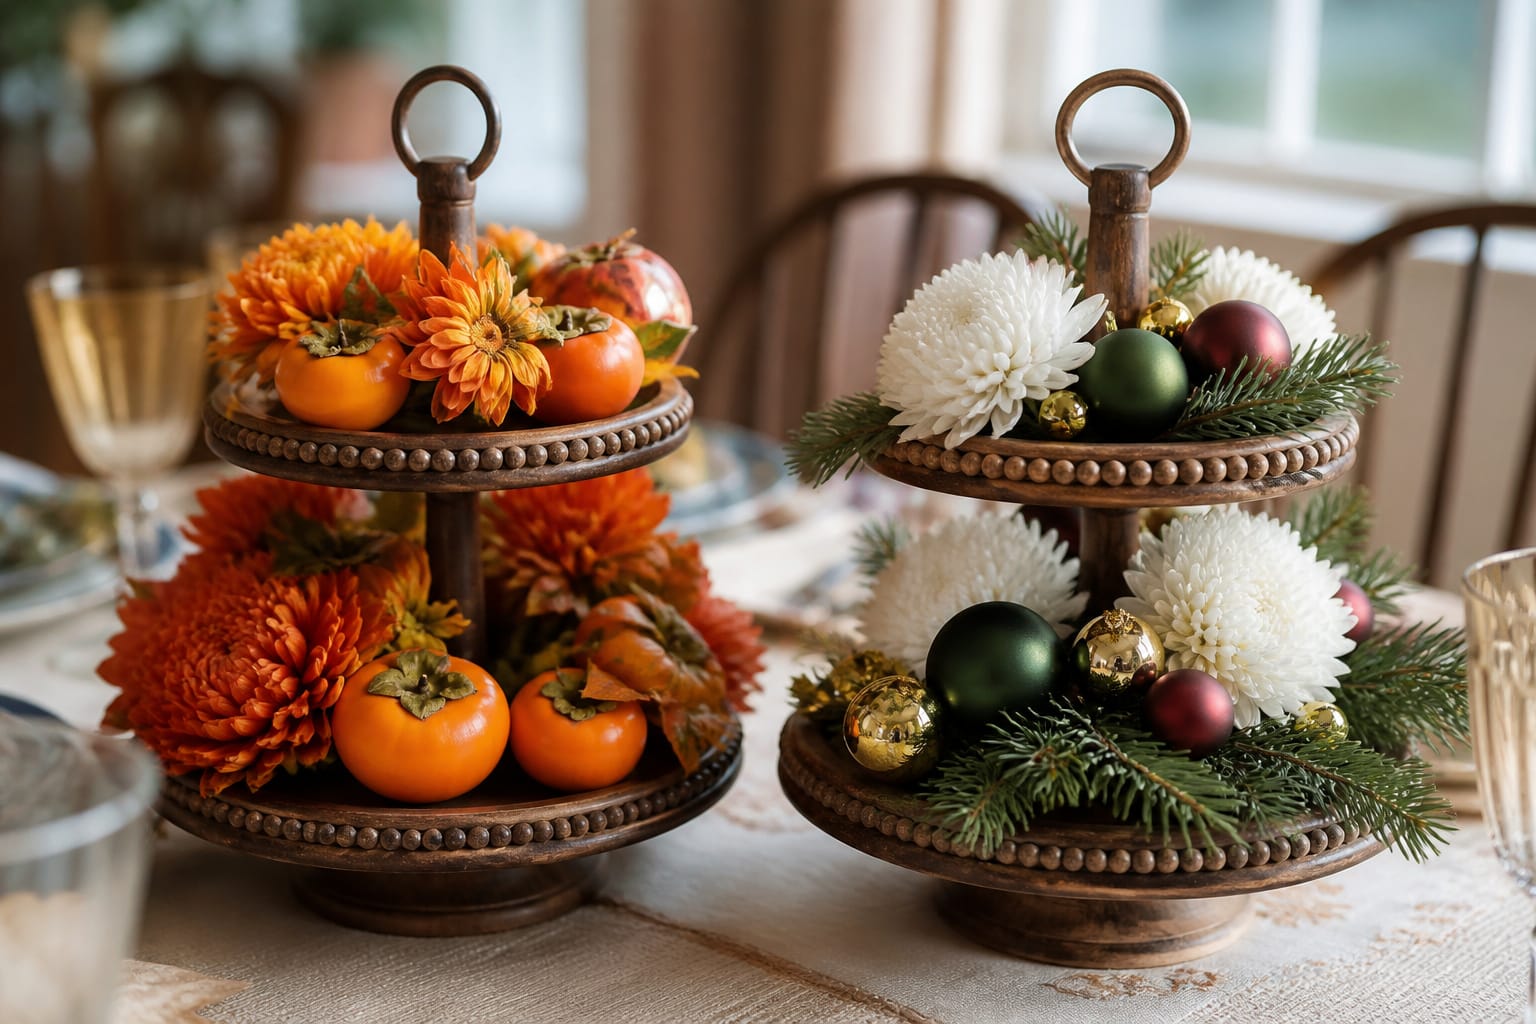
I keep coming back to this design because the structure never changes, only what fills it. The video builds a fall version, but the same three layers carry every holiday on the calendar.
For Christmas, swap the persimmons for small ornaments or pine cones, trade the fall foliage for holiday greens, and use white mums instead of the yellow and orange tones. For spring, colorful Easter grass and a handful of plastic eggs do the same job the persimmons did in fall.
What I’d do differently from the video: I keep a small bin of preserved foliage and decorative fillers year-round specifically for this, since the permanent materials are reusable and the only thing that actually needs replacing each time is the flowers on top.
If you want more ideas for filling out the rest of a fall table once this centerpiece is done, my Friendsgiving decor guide covers the rest of the setup.
Find Your Stand and Materials Without Overspending
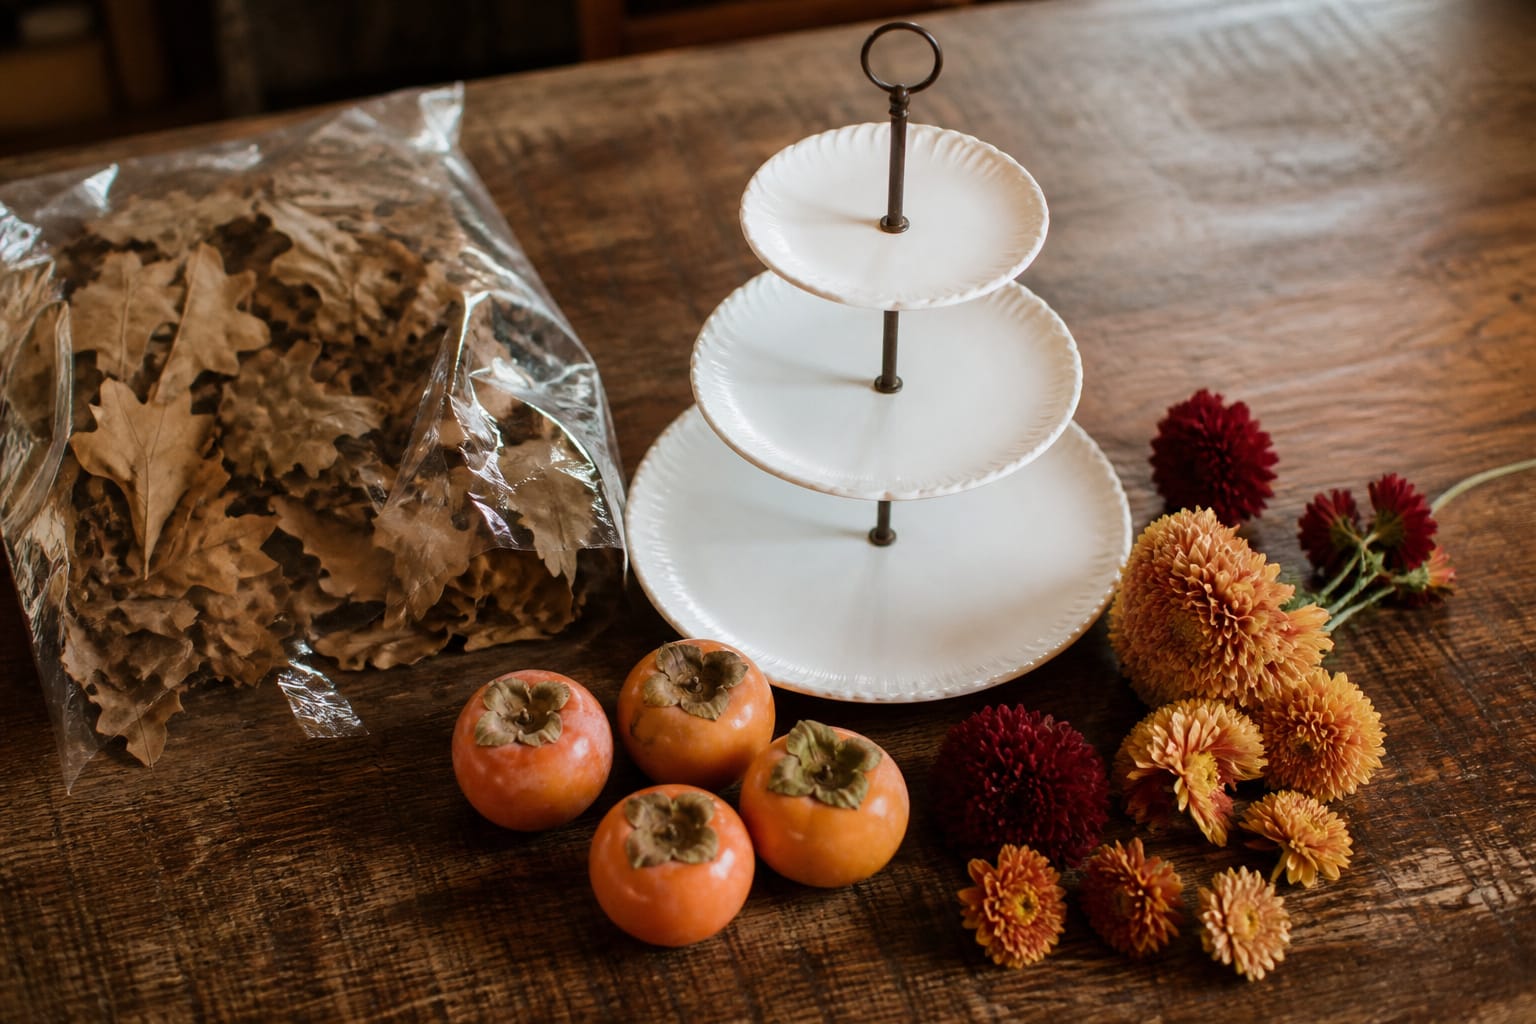
A three-tier stand costs less than ten dollars online, and tutorials showing you how to build one using plates and candlesticks. Either way works fine here.
Your local dollar store is worth a stop for the fruit stand-ins and seasonal fillers. You’ll find something for almost every holiday, and you won’t spend much.
For the flowers themselves, mums are easy to find at any grocery store floral section, though your local florist will have a better selection if you want something less common. Keep in mind that cut mums without a water source will only last a day or so, which is fine for a dinner party but worth knowing if you want the centerpiece to last. My fall cut flower care guide has a few tricks that stretch that further if you want the arrangement to outlast the evening.
Silk flowers work just as well, and a well-stocked craft store will have decent options alongside the dollar store’s more basic picks.
What I use in the shop: Preserved oak leaves serve as the base layer in the video. A bag lasts through several arrangements.
Frequently Asked Questions
Can I really finish this in 10 minutes?
Yes, once your materials are trimmed and ready to go. Most of the time spent on a project like this goes into gathering supplies beforehand, not the actual assembly. Trim your foliage, pick your fruit or fillers, and cut your flower heads off ahead of time, and the stacking itself takes just a few minutes.
What if I don’t have a 3-tier dessert stand?
Stack footed cake plates for a similar look, or pick up an inexpensive stand online. You don’t need anything fancy since the layers themselves carry the design.
Do the fresh flowers need a water source to survive?
Not for this design, and that’s actually the point. The flower heads are trimmed short and tucked in dry, which means they’ll only hold up for a day or so. That’s plenty for a dinner party or a single event, and you can always swap in fresh heads if a few start to fade before you need them again.
Can I use silk flowers instead of fresh ones?
Absolutely, and it’s a smart choice if you want the arrangement to last well beyond one event. Higher-quality faux flowers from a craft store will look more realistic than dollar store options, but either can work depending on how close guests will get to the table.
How do I adapt this for a different season or holiday?
Keep the same three-layer structure and change what fills it. Ornaments and pine cones with holiday greens work for Christmas. Easter grass and plastic eggs work for spring. The foliage and fruit layers are just placeholders for whatever fits the season you’re decorating for.
Where can I find preserved foliage like the kind used in the video?
Knud Nielsen is the brand most professional florists use. Your local florist may sell it by the bunch if you only need a small amount for one project. It’s on Amazon and some craft stores.
Closing Thoughts
This is the arrangement I reach for when I’m short on time. Three layers, five minutes of trimming, and a table that looks like it took a lot longer than it did.
Tell me in the comments which season you’re building this for first; I’m curious whether fall or Christmas wins out.
Til next time,