Disclosure: This post may contain affiliate links. If you click and buy, we may earn a commission at no extra cost to you. As an Amazon Associate, we earn from qualifying purchases.
Last Updated: September 2026
A customer came into the shop a few weeks ago holding her phone up with a photo of a large, front-facing arrangement she’d found online. She asked if she could build something like it at home. Then she watched me reach for a dome of wire mesh instead of a brick of floral foam, and her face fell a little. “Don’t I need the foam for that?” she asked.
You don’t. In my experience, foam-free mechanics create the same look, and the flowers usually last longer because they’re arranged in water instead of soaking it through a brick of floral foam.
Why I Skip the Foam Now
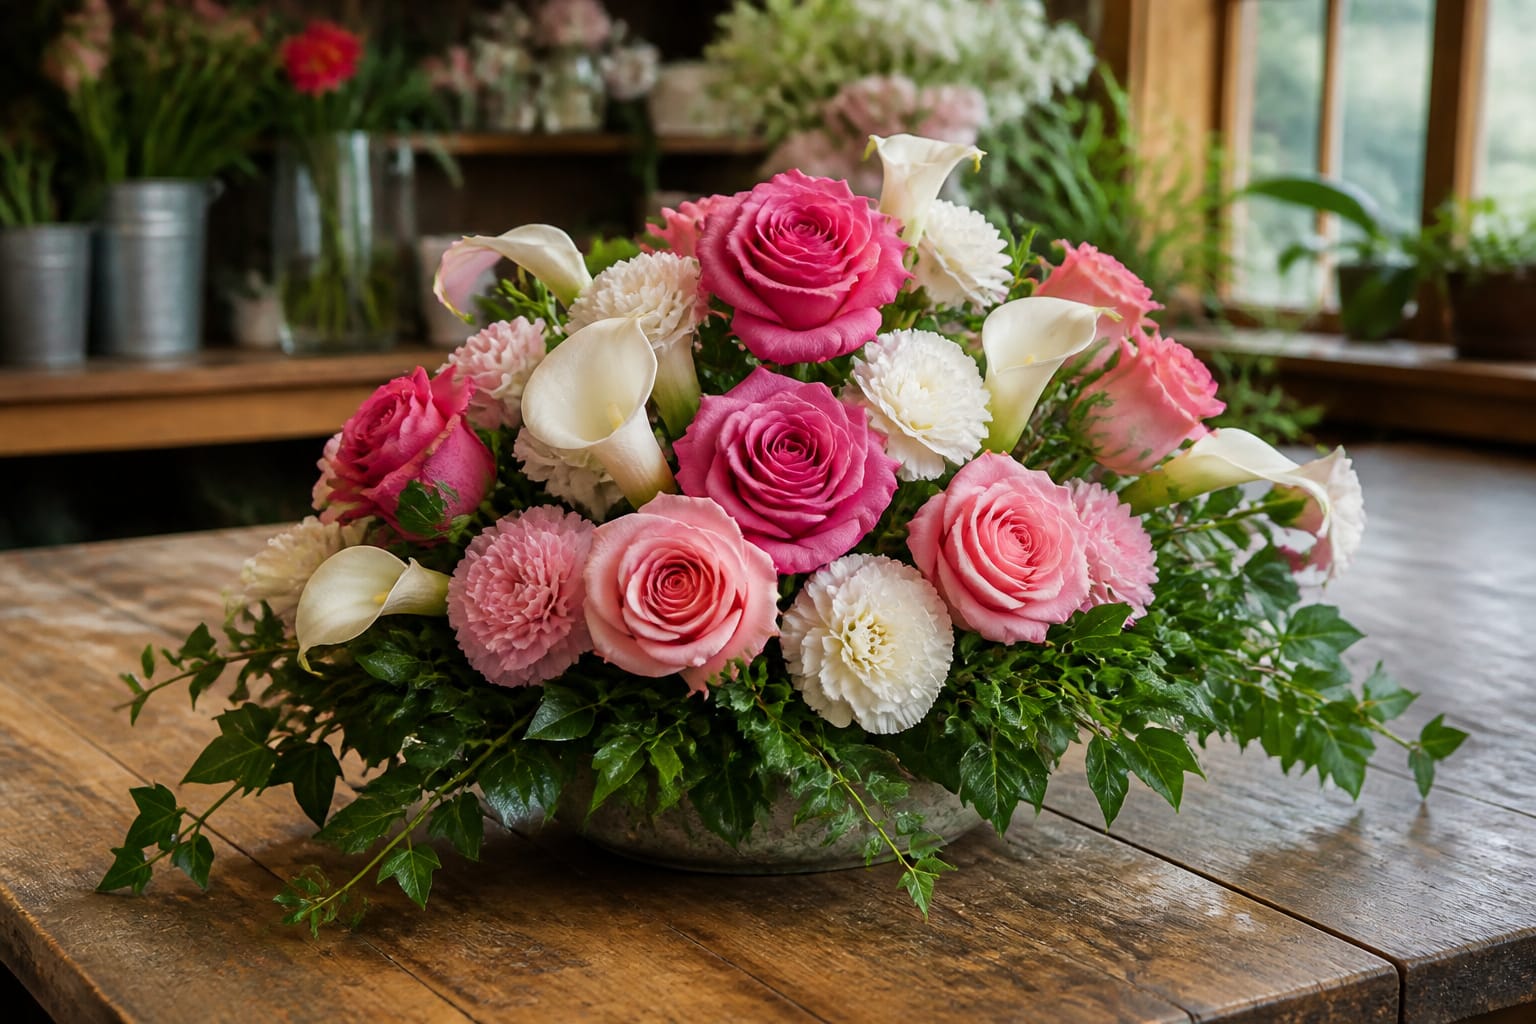
This style works on a mantel, a console table, or a dining table. It gives you that full, professional look with fewer stems than you’d think.
And the mechanic you’ll learn here can be reused in dozens of other designs down the road. Once you’ve got it, you’ve got it for good.
Here’s the technique in action, walked through step by step. I want you watching hands on stems, not just reading my description of it.
What You’ll Need On Your Counter
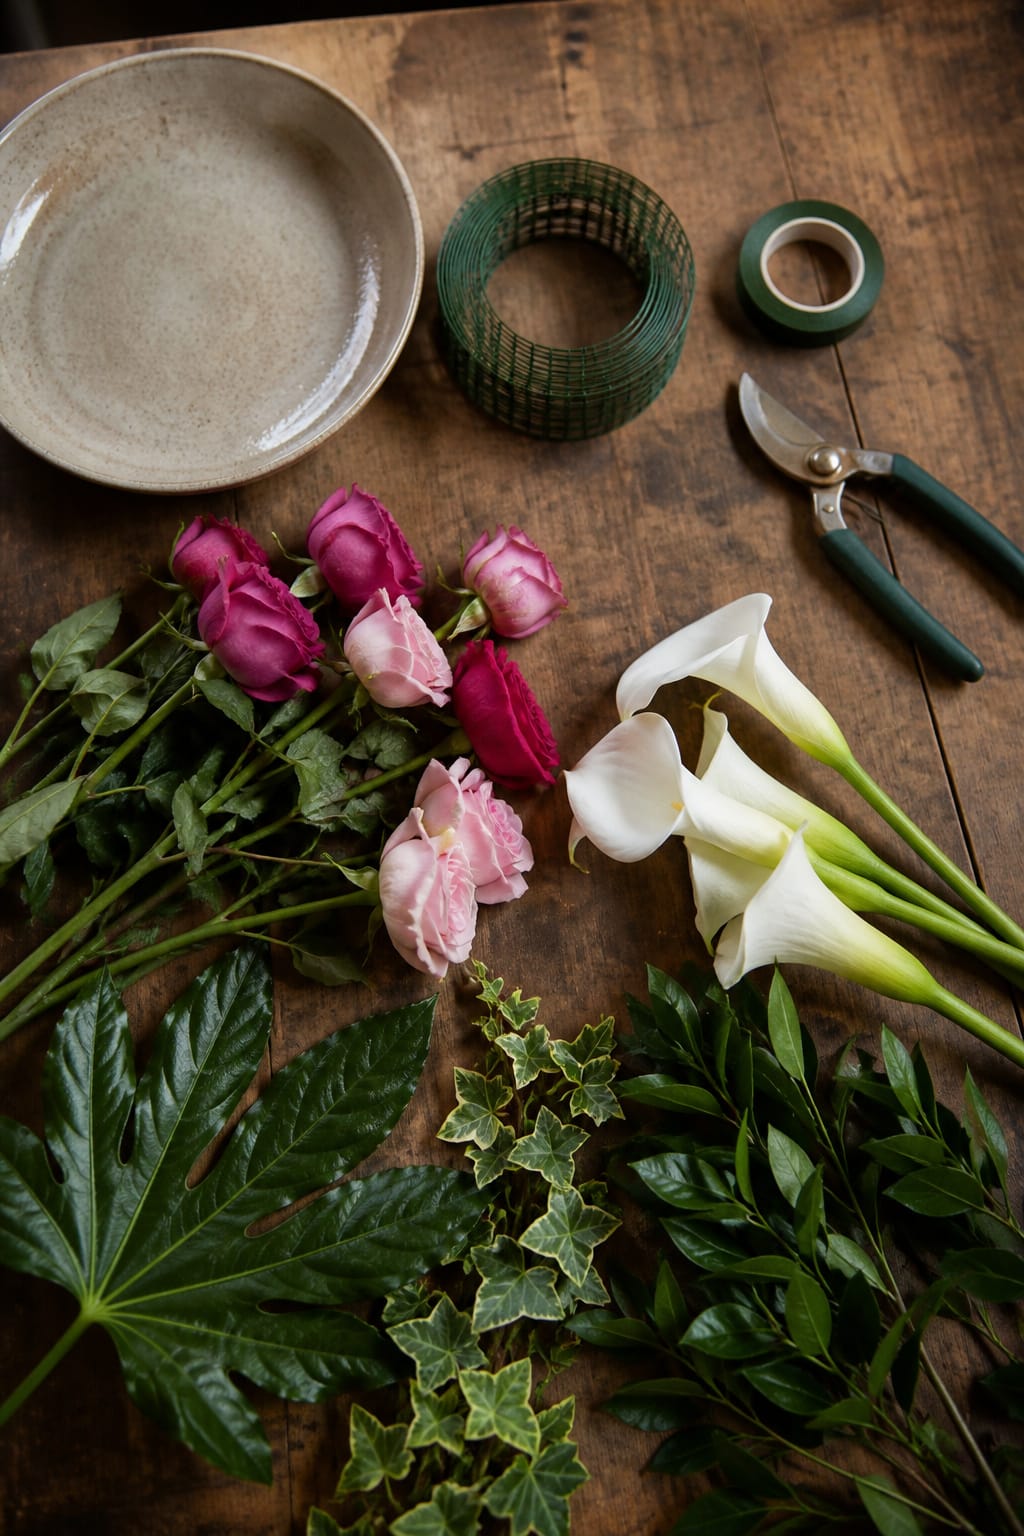
Start with a shallow, watertight vessel. A ceramic or glass casserole dish is ideal, but any shallow container that holds water will do.
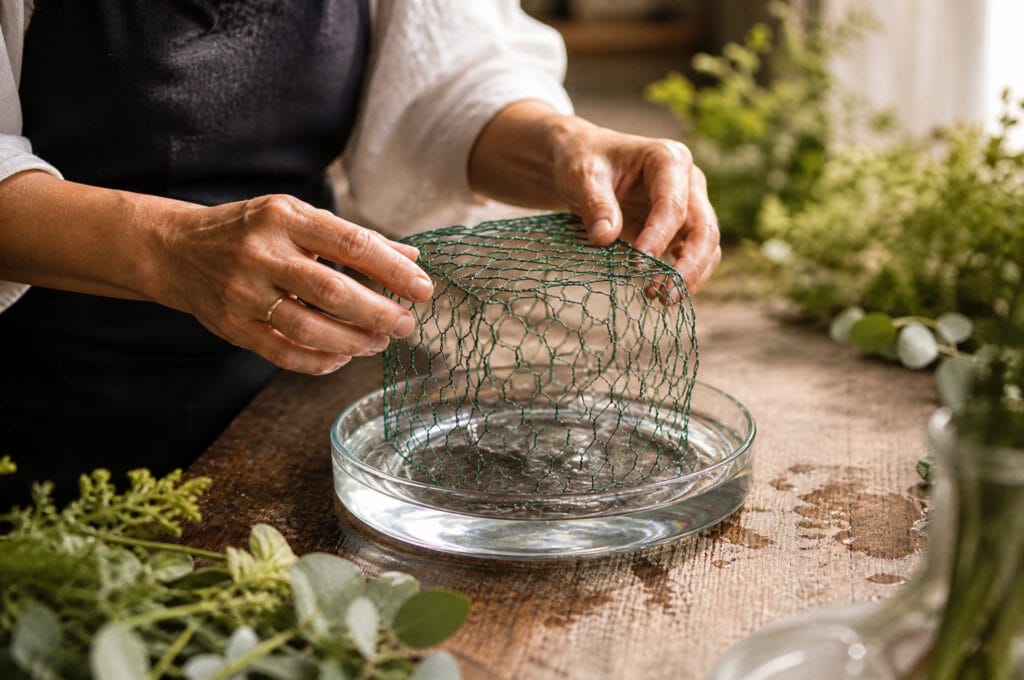
For the mechanic, use a reusable plastic-coated wire mesh, not the raw chicken wire your grandfather might have used. The coating protects delicate stems like calla lilies from getting nicked as you push them through. Waterproof tape secures it to the vessel, and a decent pair of garden snips handles the stems.
What I use in the shop: a reusable plastic-coated floral mesh, because it holds its shape through several arrangements and won’t rust in water like uncoated wire.
For flowers, plan on five to seven roses as your focal flowers, ideally in two complementary shades like a dark pink and a light pink. Add three to five calla lilies or standard carnations as your secondary blooms. For foliage, fatsia and laurel give you structure, while ivy, forsythia leaves, and Italian or French ruscus add movement.
No casserole dish? A clean, sanitized plastic berry container works in a pinch. No wire mesh on hand? Try a reusable pillow-style mechanic instead, which I cover in my floral pillow guide. Use what you already have in your kitchen before you buy anything new.
Products Worth Considering

Product Dimension: This plastic bird netting comes in a standard size of 16 inches wide x 50 feet long and is equipped with 100 pcs zip ties (in the middle of netting), providing ample coverage suitable for a variety of settings, including large gardens, farms, and orchards. This standard-size design meets the needs of most users while being easy to install, ensuring practicality and convenience.

Galvanized & PVC-Coated for Extra Durability: Our upgraded chicken wire is made from hot-dipped galvanized iron and coated with a layer of PVC plastic, offering withstand for elements

【4 × 236 in Floral Wire Netting】You will receive a fully assembled green chicken wire netting kit that includes 1 roll of 4 × 236 in green chicken wire netting, 1 pair of scissors, 50 pieces of plant ties and 1 pair of gloves. Ready to use right out of the box for a variety of garden protection, garden decorative molding and home craft projects.
Build the Base First
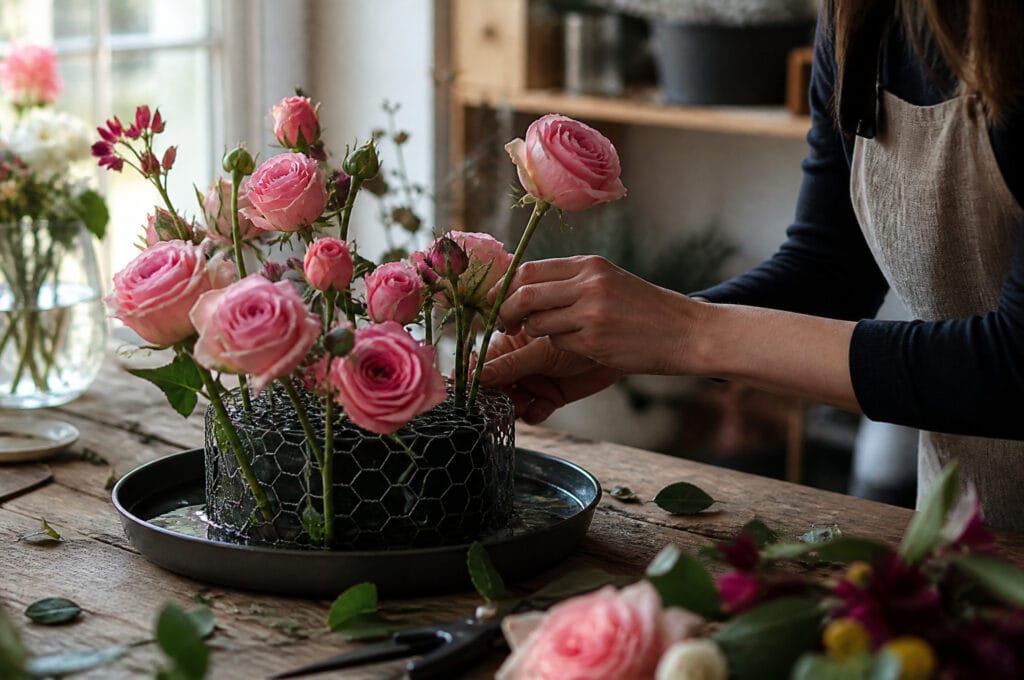
Fill your dish with one to two inches of fresh, room-temperature water. Form the wire mesh into a cube that fits inside the container, then tape it down firmly around the edges.
Strip any foliage that would sit below the waterline. Left on, it rots and clouds the water fast. Cut every stem at a 45-degree angle so it drinks as much as possible.
Place your roses first, pushing stems through the mesh and down into the water. When I design, I place the tallest stems back and center, then step them down toward the front and sides in a loose arc. That arc is what gives the whole piece its shape, so don’t rush it.
If the dome shifts or slides while you’re working, don’t panic and don’t start over. Add another strip of tape and keep going. Nobody sees the mechanic once the flowers are in.
Products Worth Considering

【Larger Size】 You will receive a roll of chicken wire mesh, which measures about 16 inches x 13.1 feet, longer than others, 1 x 0.63 inch fine mesh, wire diameter: 0.9mm, perfect chicken wire for floral arrangements and craft projects

FLORAL WIRE NETTING SUPPLIES: It comes with a floral wire netting, which measures 4 inches (width) x 118 inches (length). Wire netting is suitable for making small crafts decorations, suitable for chicken wire for floral arrangements and craft project

【All-In-One Floral Arrangement Kit】This chicken wire floral kit includes everything you need—1 roll of 4" x 158" green chicken wire(1.1mm diameter), 1 roll of floral tape, zip ties, a pair of pliers, and a pair of garden gloves.Ideal for custom DIY floral arrangements, wedding bouquets and small craft projects, no extra supplies needed.
Layer In the Secondary Blooms and Foliage
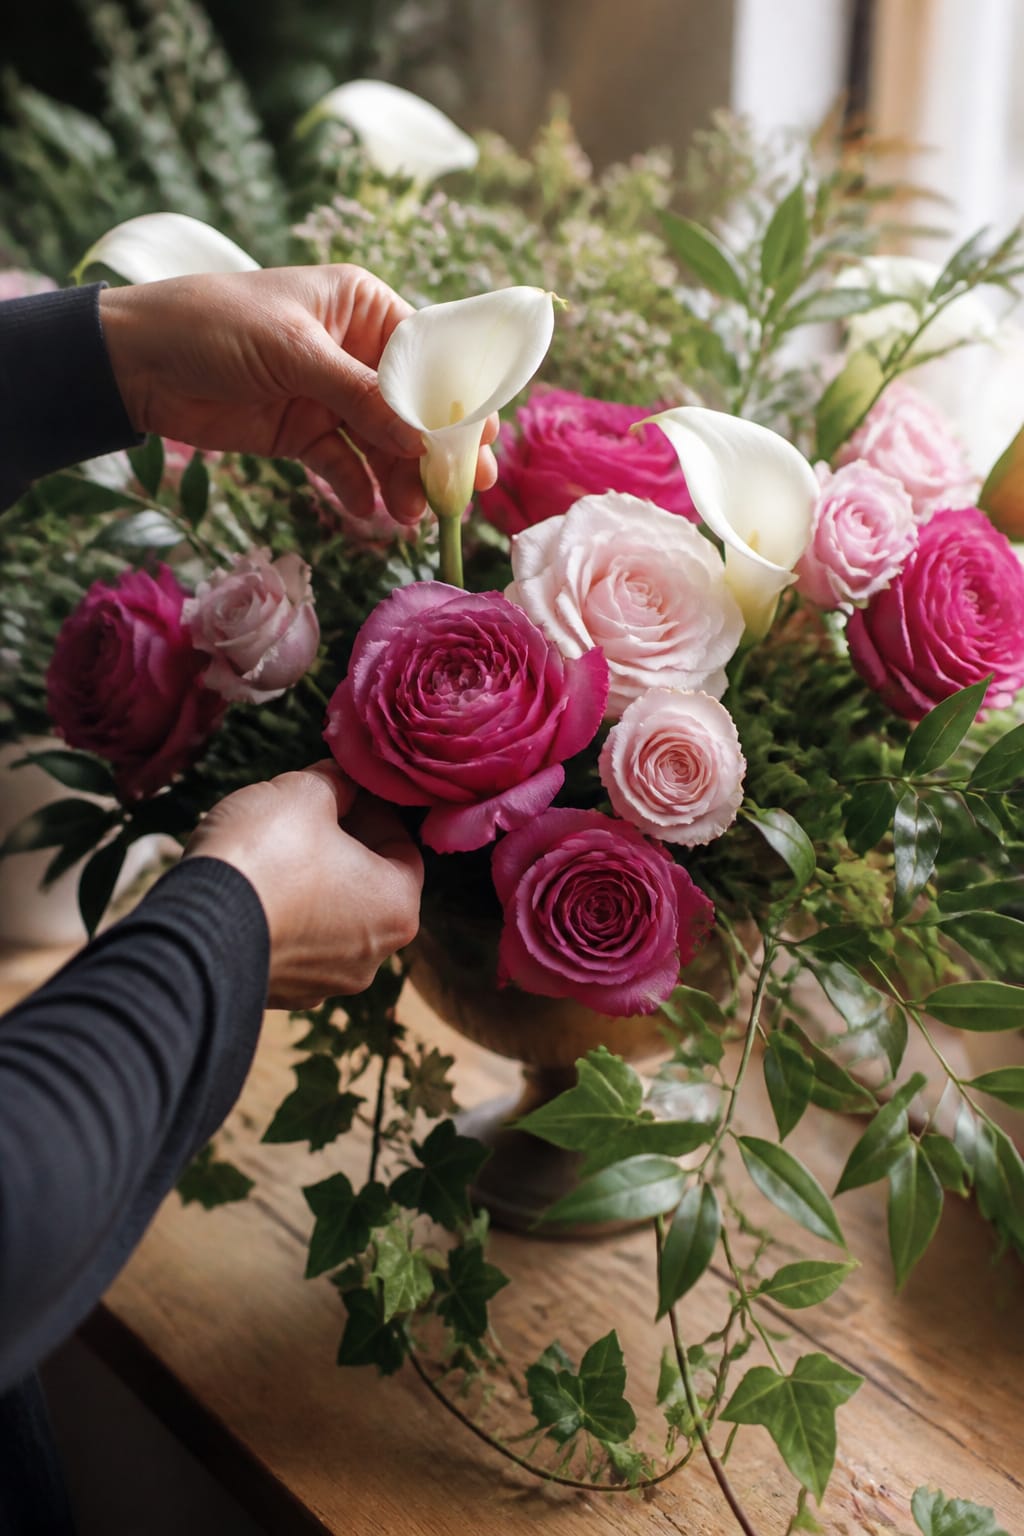
Work your calla lilies and carnations in between the roses, varying their height and angling a few outward so the piece doesn’t read flat. Strip the lower foliage off the carnations first to keep the water clean.
Foliage goes in last, never first. Set your broader leaves like Fatsia and laurel near the base and back to build a frame, then work in the lighter, trailing pieces, like ivy, forsythia leaves, and ruscus, around the edges to soften the outline.
Step back and look at the whole piece from a few feet away, not just from where you’re standing. If a spot looks empty, it probably is. Trust what your eye is telling you.
Products Worth Considering

Romantic Pink Bouquet — A lush mix of light to medium pink roses, pale cream Alstroemeria, green lily buds, and fresh greenery creates a dense, dome-shaped centerpiece with soft color contrast and florist-quality presence.


Sustainable & Plant-Based: Made with bio-based ingredients and packaged in a recyclable plastic jar to reduce environmental impact.
Mistakes I See Every Season
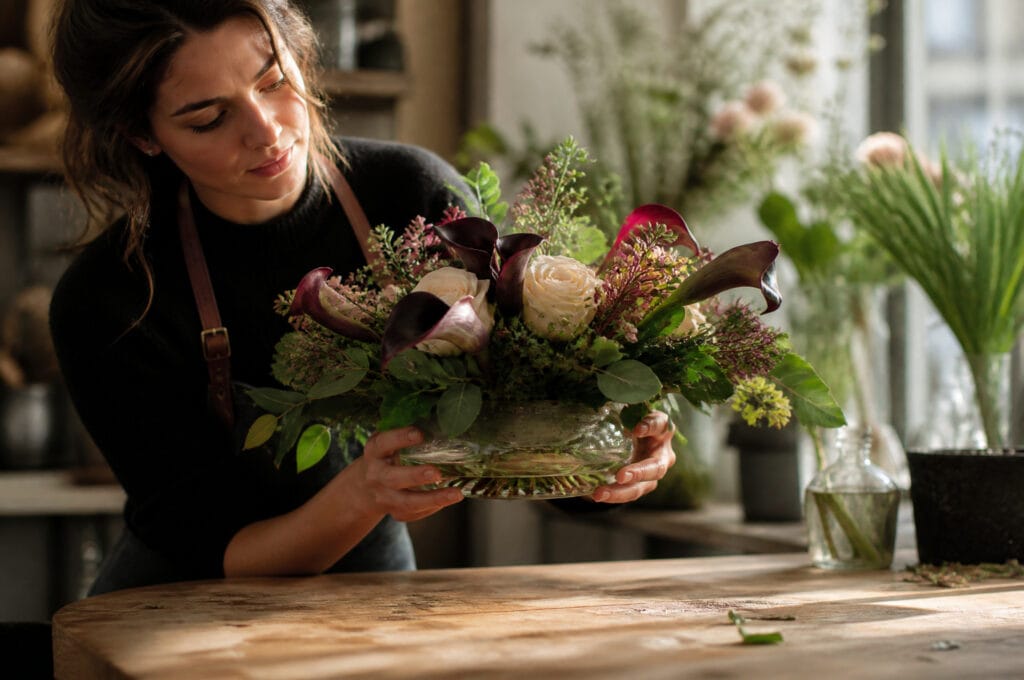
Check your water level daily. A shallow dish like this one dries out faster than a tall vase, and a dry container means wilted flowers by tomorrow.
Make sure every stem actually reaches the water and isn’t just resting in the mesh. I’ve seen beautifully placed roses go limp in a day because the stem stopped an inch short of the waterline.
Don’t overstuff it. Leave breathing room between blooms so the piece looks designed, not crammed. If you’re using heavier flowers like full roses, balance them with something airy like ruscus so the whole arrangement doesn’t feel top-heavy.
Make It Your Own
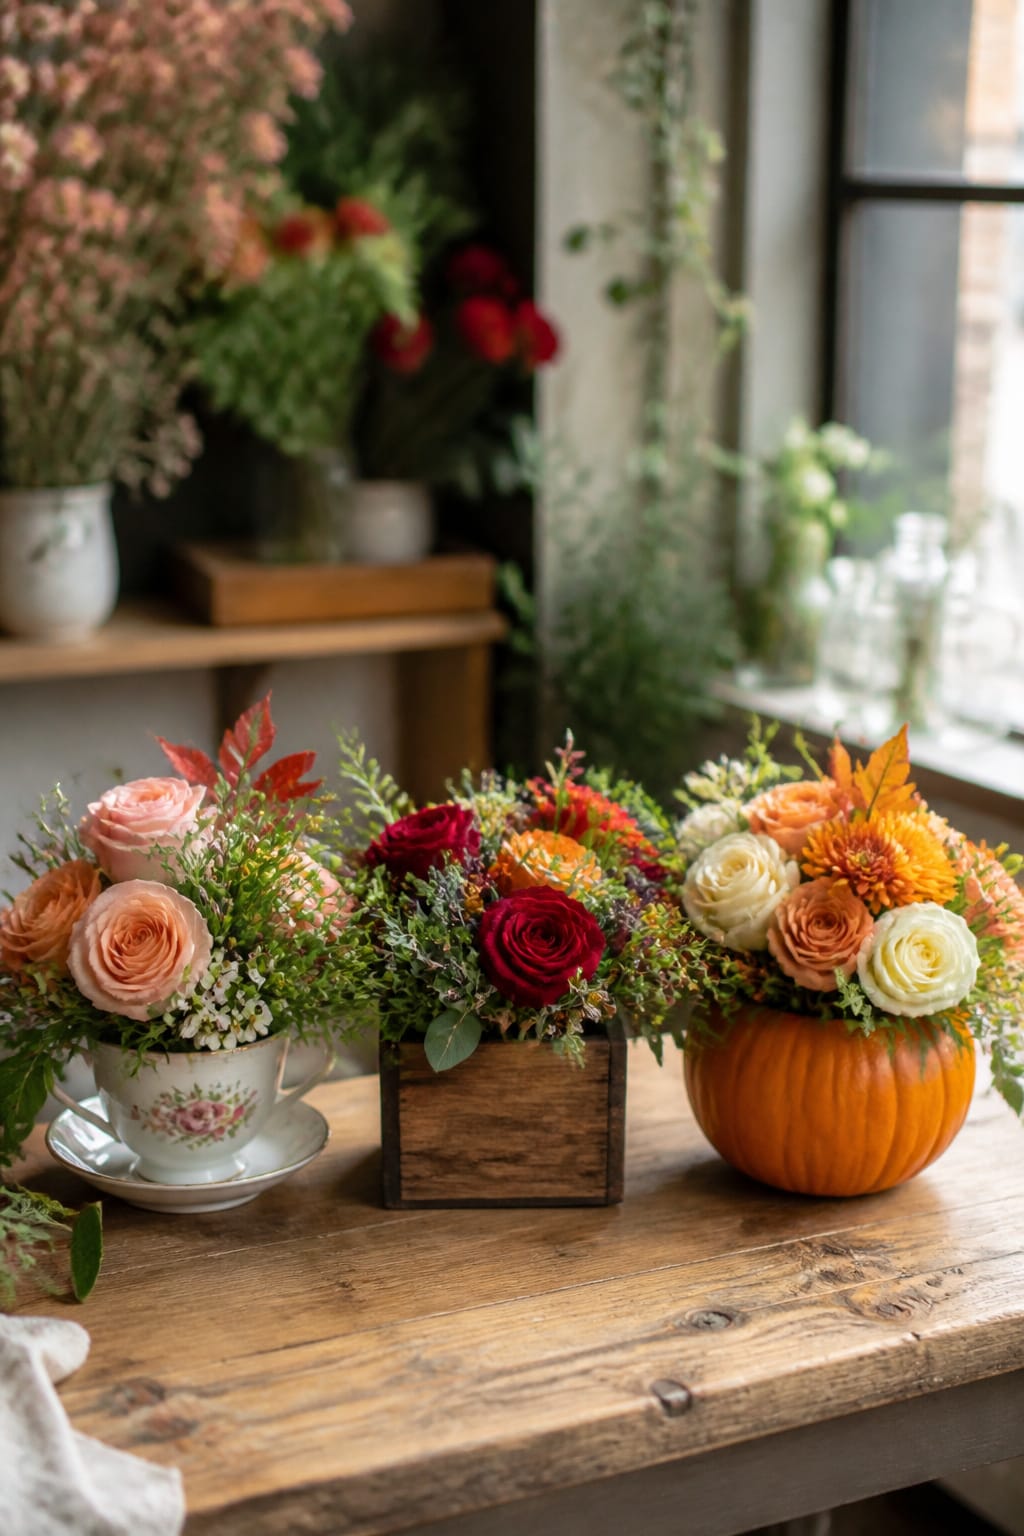
Swap in seasonal flowers like daffodils, tulips, and forsythia branches in spring; sunflowers and dahlias in summer; evergreen sprigs and berries once the weather turns.
Try a monochromatic version using several flowers in the same color family for an elegant look with almost no extra effort. For weddings, lean into whites and pastels; for a birthday, go bright; for sympathy, stay soft with whites and greens.
The vessel doesn’t have to be a casserole dish forever. A vintage teacup makes a sweet mini version, a rustic wooden box lined with plastic gives it texture, and a hollowed pumpkin is a fun swap once fall arrives.
Frequently Asked Questions
Is foam-free really better for the flowers? In my experience, yes. Stems get continuous access to water instead of pulling it through soaked foam, and that usually means a longer vase life.
Can I reuse the wire mesh? Yes, it can be reused. That’s one of the bigger reasons I switched away from foam in the first place.
What if I don’t have chicken wire? A sanitized plastic berry container works in a pinch, and a floral pillow mechanic is a good permanent substitute if you’d rather not deal with wire at all.
How often should I change the water? Check it daily since these shallow containers evaporate fast, and top it off or refresh it fully every two to three days.
Do I need floral tape to hold the mesh in place? I use waterproof floral tape, but any strong, clear tape that won’t peel off wet ceramic will hold.
Can beginners really pull this off? Yes. The mechanic does most of the structural work for you. Your job is placement, and that gets easier with every arrangement you build.
Closing Thoughts
Flower arranging is a craft, not a formula. There’s no wrong way to make something beautiful, so let go of the idea that it has to look like the photo.
Your first attempt won’t look like mine, and it shouldn’t. It’ll be yours, and it’ll get better every time you do it.
Tell me in the comments which flowers you’re planning to use first, or what’s kept you reaching for foam out of habit. I read every one.
Start with this mechanic, and let the rest of your designs bloom from there.
Til next time,