Disclosure: This post may contain affiliate links. If you click and buy, we may earn a commission at no extra cost to you. As an Amazon Associate, we earn from qualifying purchases.
Last Updated: August 2026
A customer came into the shop a few Octobers back holding a photo of a wreath covered in plastic skeleton hands, wanting to know if we could “make it look less like a dollar store.” We could, and it took the same base I use for every wreath that leaves this shop: a wire frame, some paddle wire, and a little restraint on how much you glue to it.
A Halloween wreath doesn’t need to look like a haunted house exploded on your front door. Dark florals, real texture, and a few well-placed accents get you something that actually looks intentional, and it takes about an hour.
Start With a Base That Can Handle the Weight
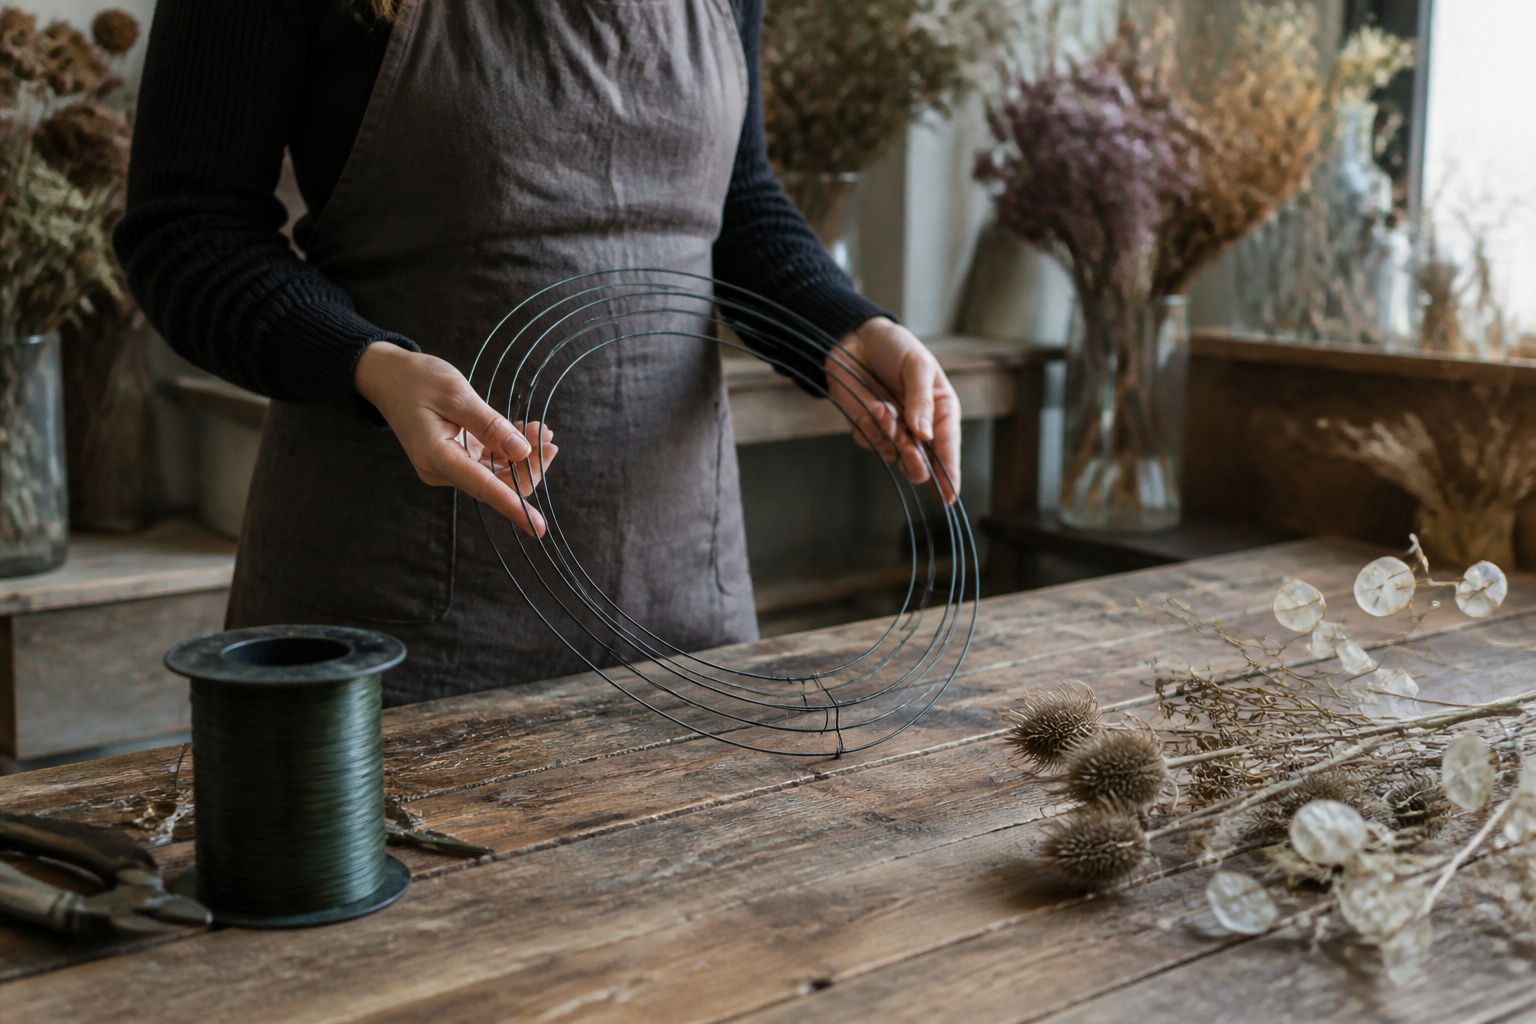
A wire frame is where I start every wreath, Halloween or otherwise. It holds bundles of florals and foliage without collapsing under heavier accents the way a straw or grapevine base sometimes will once you start hanging skulls and ravens off it.
Grapevine works fine if you’re keeping things light: a bow, a few stems, nothing structural. Once resin skulls or glass ornaments enter the picture, I switch to wire every time.
What I use in the shop: a wire wreath frame holds its shape through a full season of hanging outside, which the flimsier stamped-metal frames don’t manage past the first windy week.
Products Worth Considering


More strong! It is produced with 2.3 mm diameter steel bending process. Tighter gaps! Provides tight wrapping and tight appearance. It reduces the cost of winding material used. Flatter design! Provides a more stable assembly of decoration parts and prevents sagging.

Use our frame to form something fabulous for fall.
Reach for Dark, Textural Material Before Anything Orange

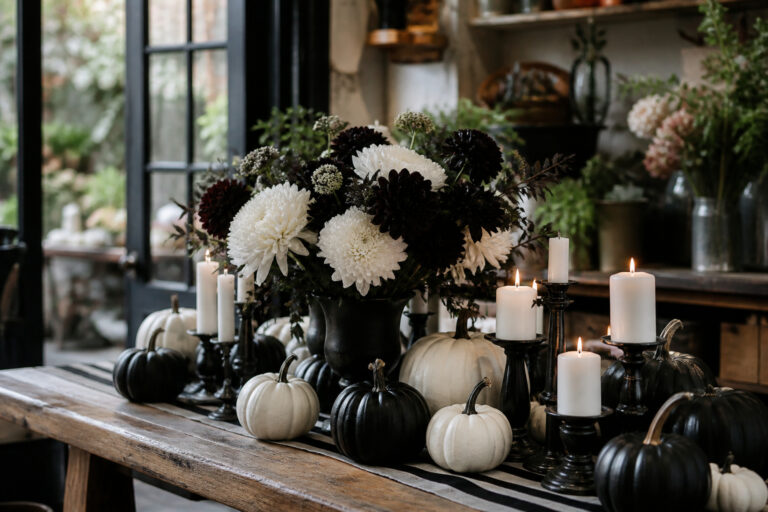
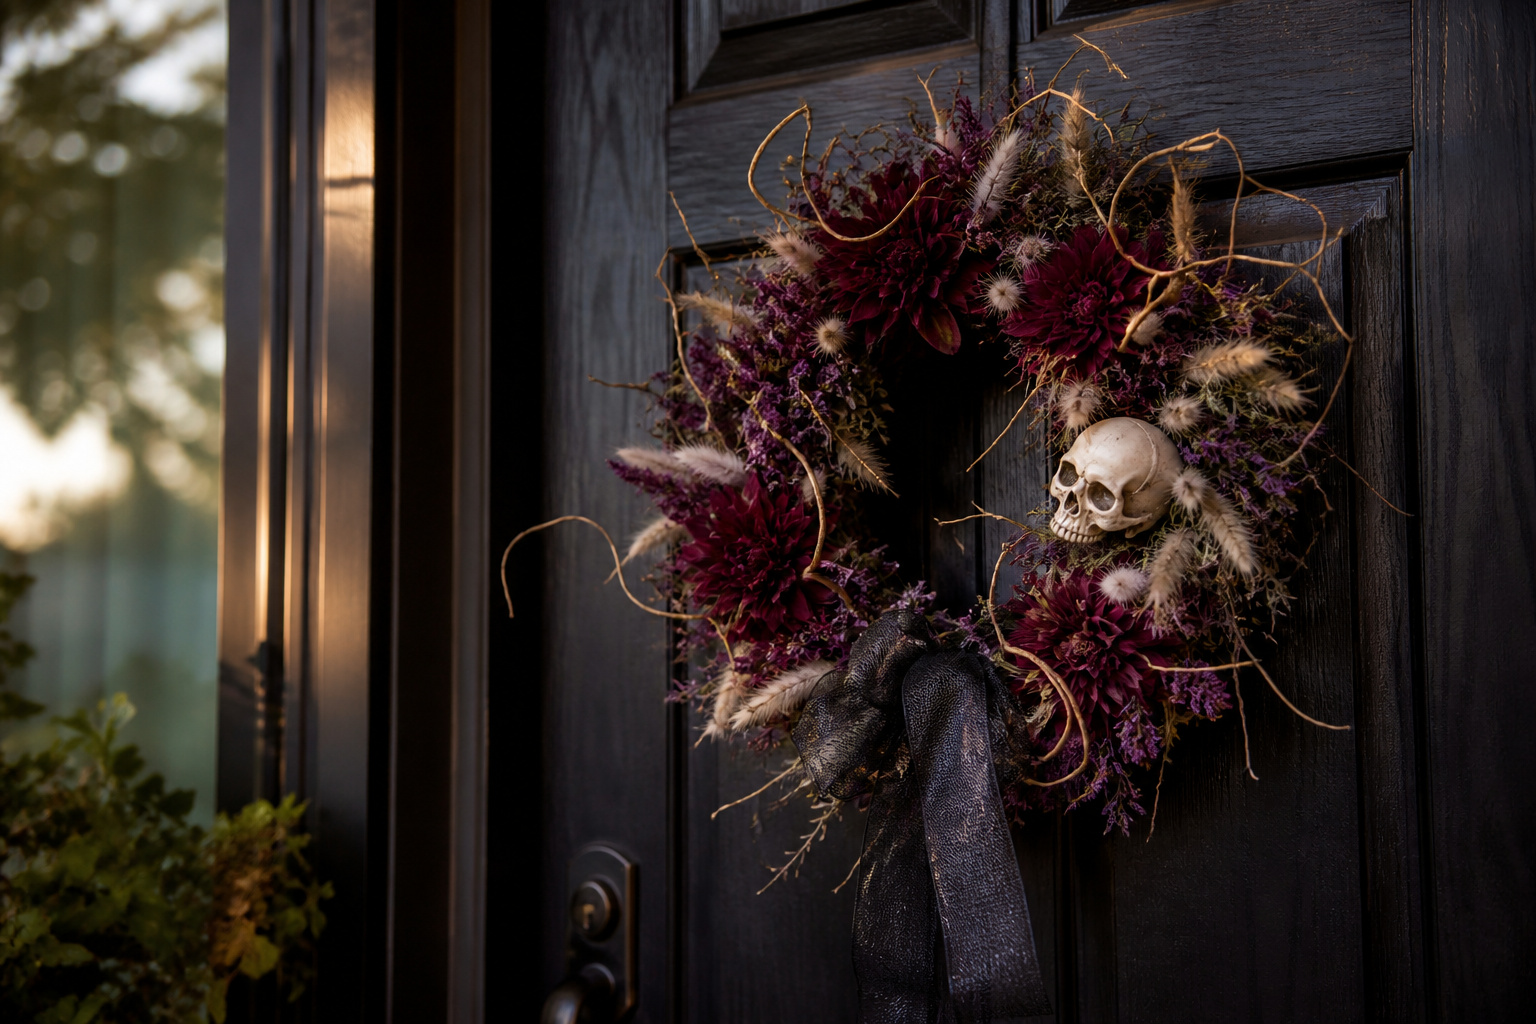
Skip the bright orange mums for this one. A Halloween wreath reads better with deep burgundy, near-black, and muted purple doing most of the work, the same palette I use for a black flower arrangement: dark dahlias, dried statice, and bunny tail grass for contrast.
Dried and preserved material is worth leaning on here specifically, since a wreath hangs outside for weeks and fresh flowers won’t make it past the first warm afternoon. I go deeper on why dried material actually suits this holiday better than fresh in my dried and preserved Halloween flowers post, and most of what applies there applies here too.
Wind curly willow or bare branches around the frame first for structure, then work dried statice and bunny tail grass into the gaps. Save your focal material, dahlias or a cluster of dried roses, for three or four spots rather than spacing them evenly. Evenly spaced flowers on a wreath read like a shower curtain pattern, not a design.
Add the Halloween Accents Last, Not First

This is the step most first-timers get backward. Build the entire floral base first: branches, dried material, focal flowers, before a single skull or spider touches the frame.
What I’d do: wire the accents in rather than glue them, even the small plastic ones. A glued skull that comes loose in October wind ends up in your neighbor’s yard. A wired one needs a twist to sit back where you left it.
One or two accents beat five scattered around the frame. A single raven perched at the bottom of the wreath, or one small skull tucked into the focal cluster, does more than a wreath covered edge to edge. I use the same restraint building a skull-and-bones arrangement, and it holds here too: the framework carries the design, the props are just punctuation.
What I use in the shop: black wired ribbon for the bow. The wired edge holds a shape instead of flopping by week two, which matters more on a wreath than almost anywhere else, since it’s the one floral project that has to survive actual weather.
Short on time? Halloween is closer than it looks, and you don’t want to rely on the mail for a time-sensitive project like this. Wire, ribbon, and accents arrive in a couple of days with Prime, and if you’ve never tried it, new members can start a free Prime trial and see if it’s worth keeping. As an affiliate, we earn on qualifying purchases.
Wire Small Pieces, Glue Only What Won’t Move
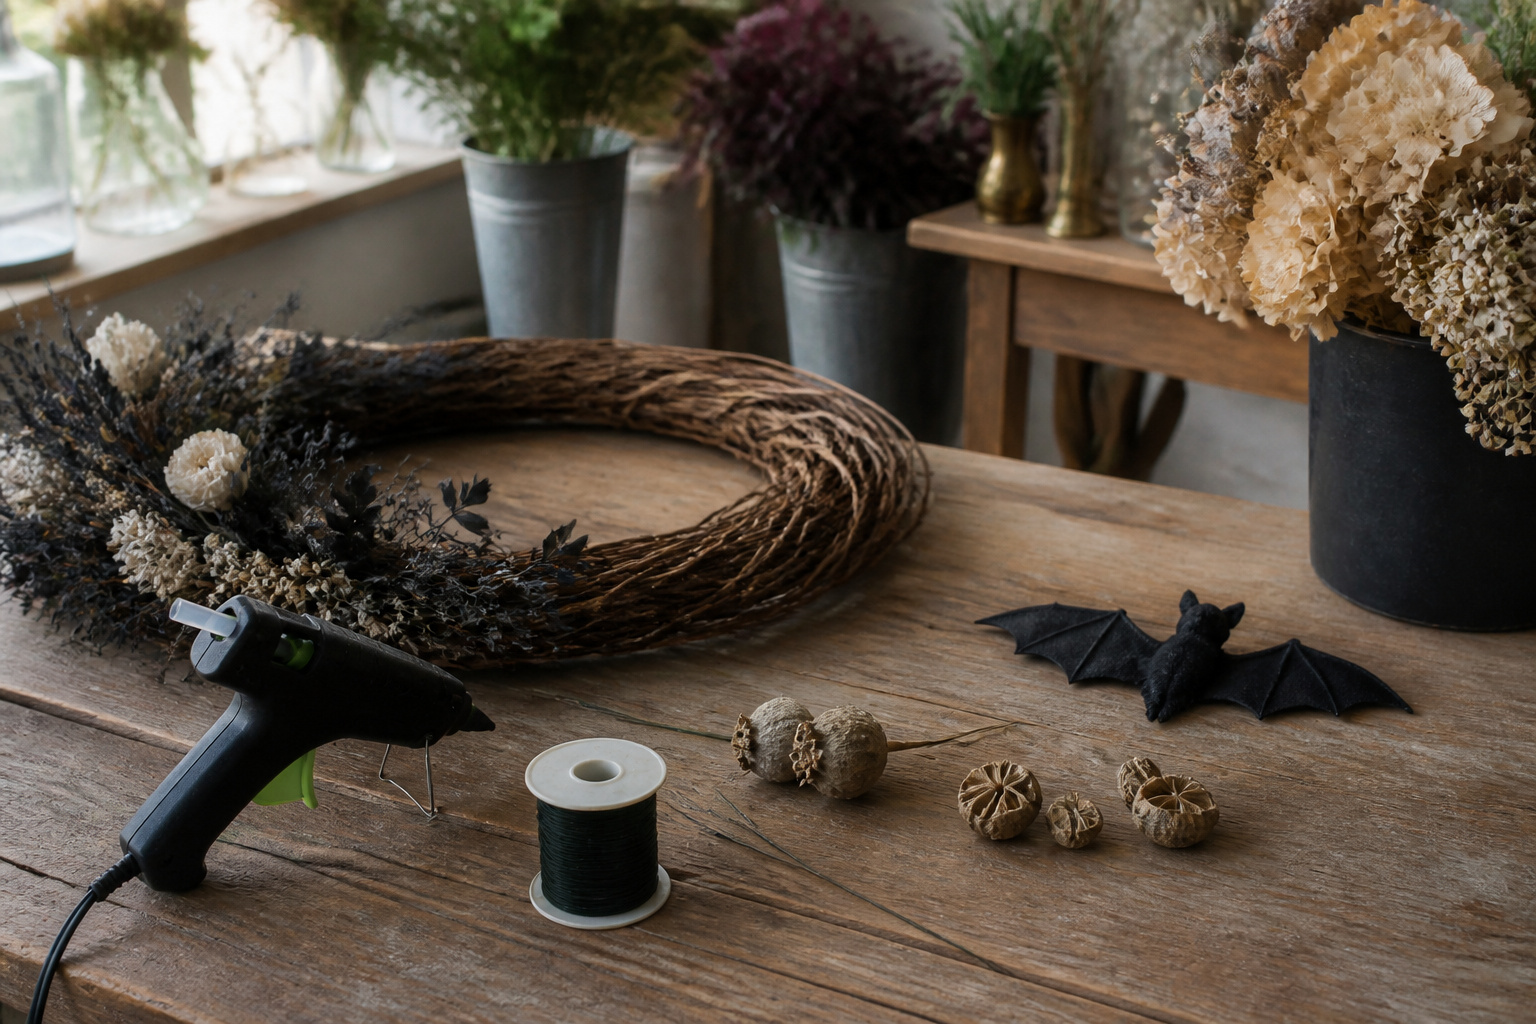
Anything without a stem, dried pods, small skulls, fabric bats, needs to be attached with intention. My rule: if it’s load-bearing or likely to catch wind, wire it. If it’s flat, light, and staying put on its own, floral glue is fine.
A wreath that sheds its own decorations across the porch by week two isn’t spooky. It’s just sad. Get the attachment right the first time, and you won’t be out there in a windstorm re-gluing a bat to a twig.
What I use in the shop: a low-temp floral glue gun for anything flat and stationary, paired with paddle wire for everything else. One spool of wire goes a long way, and it’s the actual reason your bundles stay put through October instead of sliding around the frame.
Products Worth Considering

LOW-TEMPERATURE BONDS - With an operating temperature of 240°F, this glue gun is specifically designed for low-temperature glue applications with delicate materials like foam, fabric, lace, ribbon, wood, plastic, and more.

LOW TEMPERATURE - Ideal for bonding delicate materials such as paper, fabric, foam, or flowers that could be damaged by higher temps. Glue melted by this glue gun can only reach a maximum temperature of 170°F.

Dual temp: Use the right hot glue temperature for the job; Low Heat for delicate materials like floral, fabric, foam, jewelry, and more; High Heat for strong bonding on wood, plastic, metal, glass, and more
Weatherproof It Before You Hang It Outside
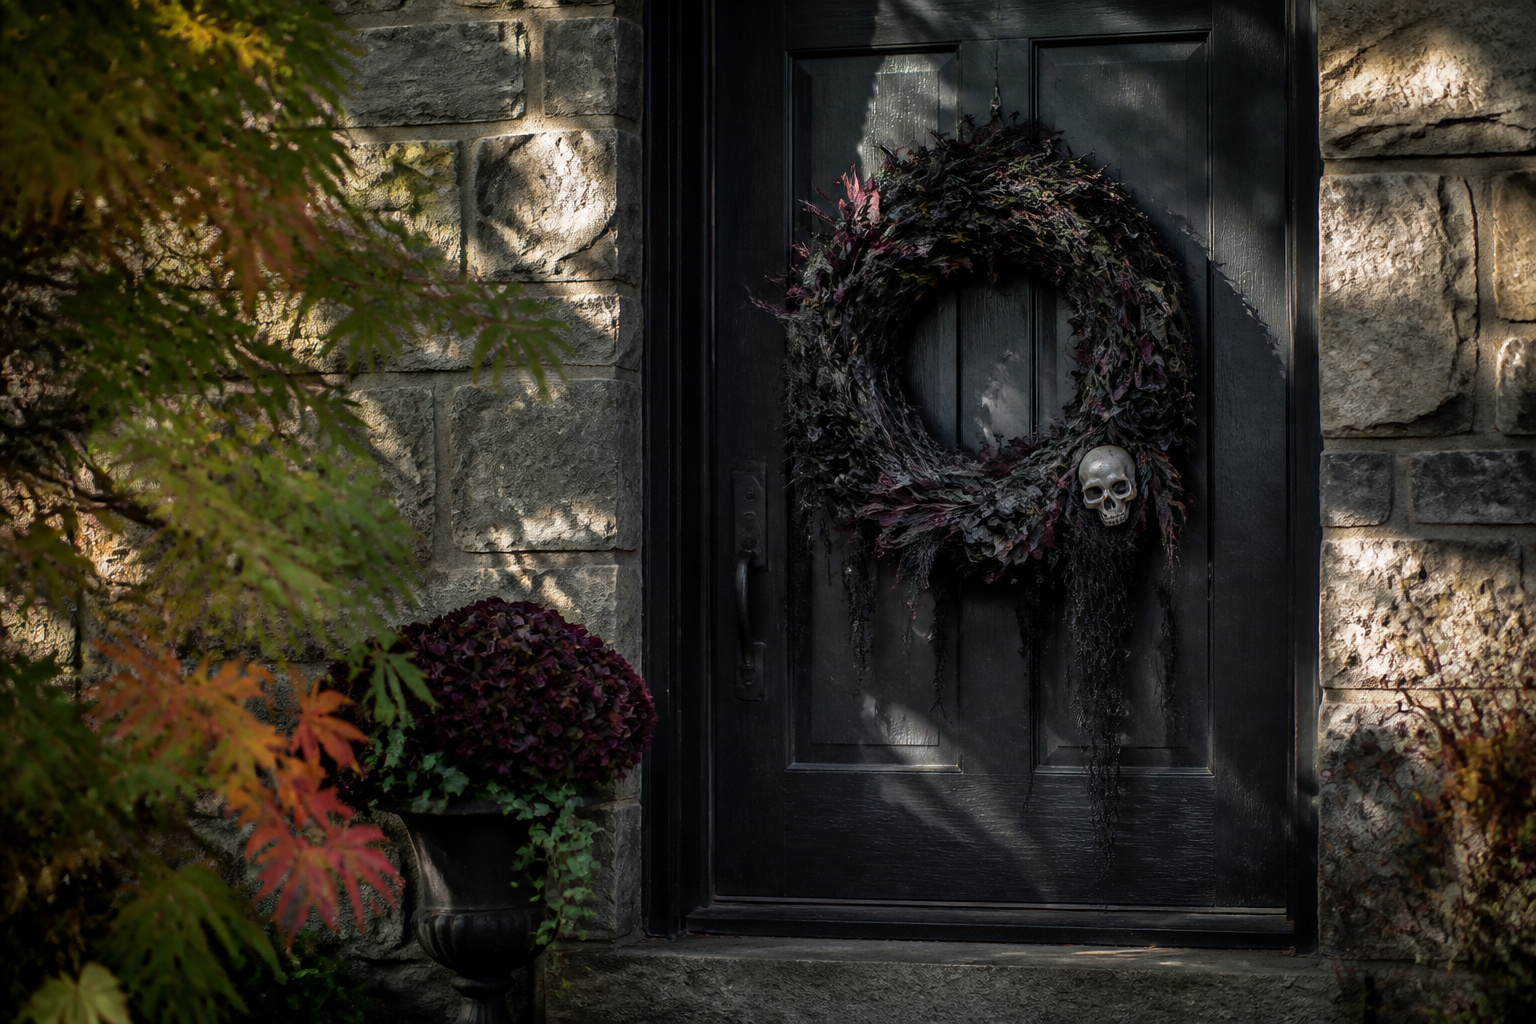
A front door gets more sun and rain exposure than almost any other spot on the house. If this wreath is living outside for a full month, plan for that before you hang it, not after it starts fading.
Dried florals and preserved foliage hold up far better outdoors than fresh material, but direct sun will still fade the deep colors over a few weeks. An east- or north-facing door keeps my dried wreaths looking close to how they started throughout the season. A south-facing door in full sun bleaches burgundy to a dusty pink faster than most people expect.
If you’d rather not gamble on the weather, faux materials solve the problem outright and pack away clean for next year. That’s the same logic I use for a standard fall wreath, just with a darker palette and a couple of spooky accents instead of the pumpkins.
Products Worth Considering

【Fall Wreath】:This fall wreath is composed of orange-red campanula flowers and eucalyptus. We've used hundreds of campanula flowers and eucalyptus leaves to make the wreath large and plump, which will bring a cheerful autumn atmosphere to your home.

【All Season Wreath】This greenery wreath is made of light and dark boxwood, suitable for any season. You can also add themed decorations to the boxwood wreath to DIY different holiday wreaths to record your happy life all year round

【Exquisite Appearance】: This artificial fall wreath features a variety of orange and yellow wildflowers in full bloom. Their bright tones contrast with the autumn leaves, making the whole work fuller and more layered, capturing the essence of autumn at a glance.
Frequently Asked Questions
How long will a dried Halloween wreath last outside?
Most dried material holds its shape and color for four to six weeks outdoors, longer in a shaded spot. That covers the entire Halloween stretch with room to spare, and often carries right into a Thanksgiving swap-out.
Can I use fresh flowers instead of dried?
You can, but expect five to seven days before they fade, and fresh flowers in water tubes are a pain to keep filled. I’d save fresh flowers for a single party or event and switch to dried or faux for anything hanging longer than a week.
What’s the easiest way to keep the wreath from looking cluttered?
Limit yourself to one or two Halloween accents and let the florals carry the rest. The most common mistake I see is piling on every skull, spider, and bat available at once instead of picking a couple and trusting them to do the job.
Do I need floral foam for a wreath?
No. The wire-frame-and-bundle technique in this post doesn’t use foam at all. Foam has its place in floral design, but a wreath built this way holds everything through wiring alone.
Can I reuse the base next year?
Yes, especially the wire frame itself. Strip it down after Halloween, store the frame somewhere dry, and it’s ready to rebuild next October, or repurpose for a completely different season in the meantime.
Closing Thoughts
A crooked bow gives away an amateur wreath before anyone even notices the skeleton hand. Get the frame, the wiring, and the dark florals right first, and the spooky accents are just the easy part at the end.
Tell me in the comments: are you going full skull-and-raven this year, or keeping your wreath more restrained?
A wreath is really just a circle of small decisions, wired together one bundle at a time, until there’s something worth walking up your own front steps to see.
Til next time,